15 Easy DIY Mini Craft Ideas You Can Make in No Time
Not every craft project needs a full weekend and a trip to three different stores. Some of the nicest little touches in a home come from small projects you can finish while a show plays in the background, using things you probably already have in a drawer somewhere. These 15 mini crafts are all small in scale but big on charm, and none of them ask for special tools or years of practice. They are the kind of projects that turn a plain shelf or empty corner into something that looks like you actually put thought into it, because you did. Grab a few basic supplies, clear off a table, and pick one or two of these to try this week.
1. Painted Terracotta Pots
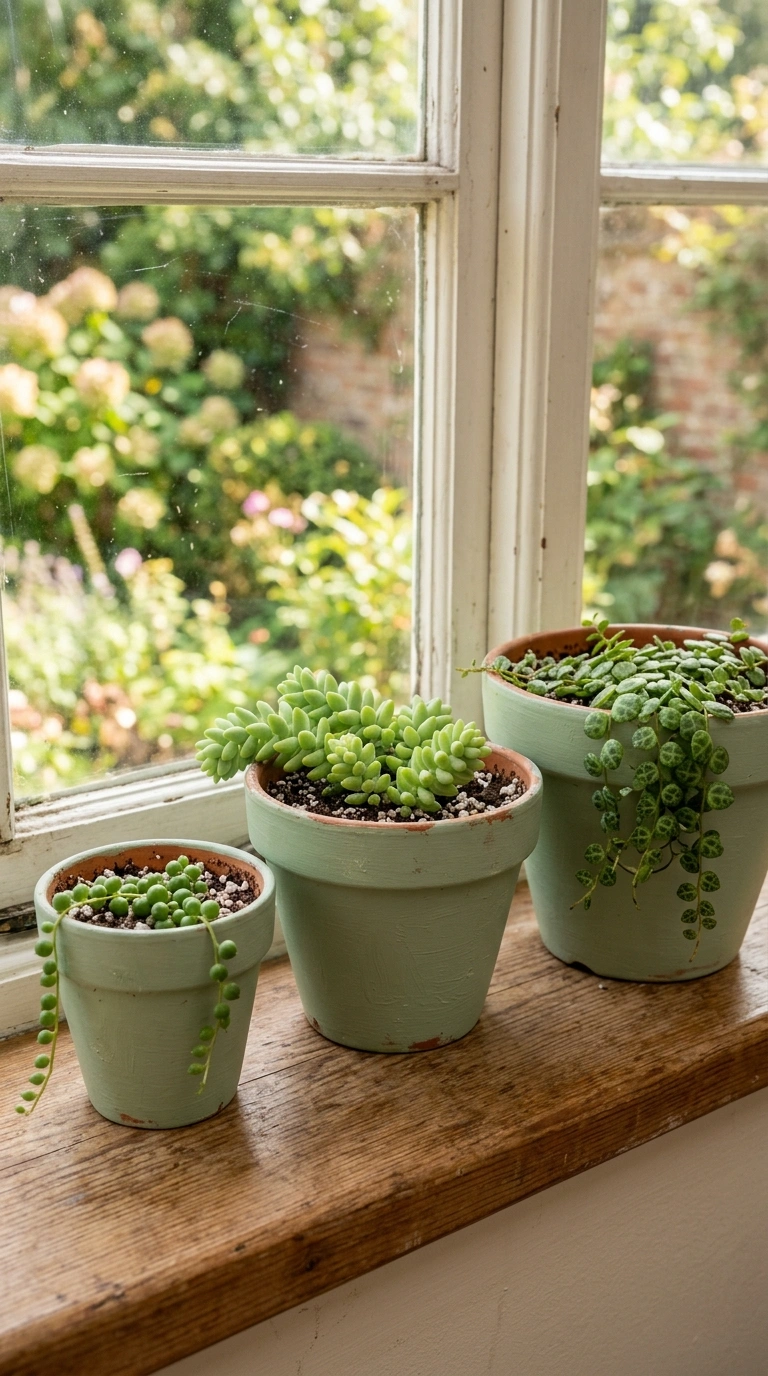
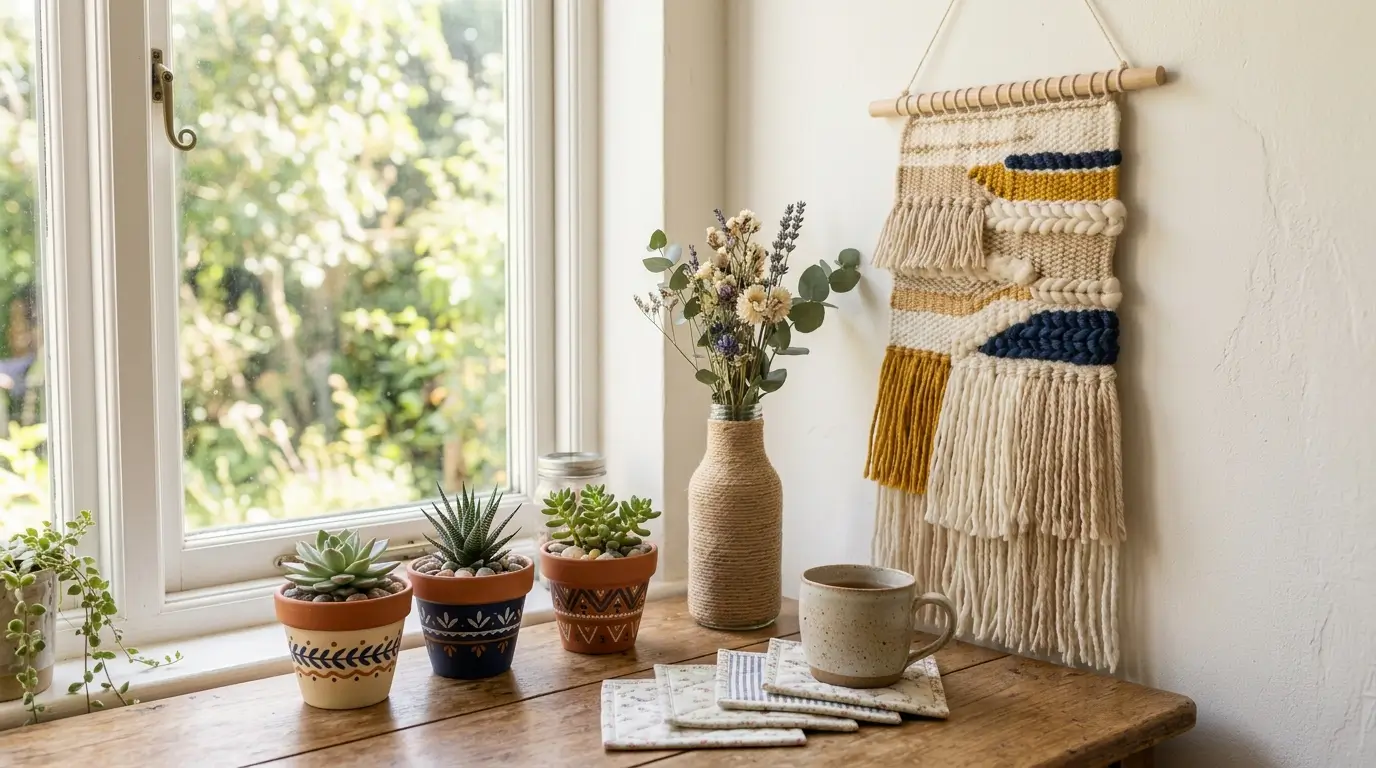
Plain terracotta pots are cheap and easy to find, but a coat of paint turns them into something that looks like it came from a boutique shop instead of a garden center. Choose acrylic paint in a color that fits your room, like a soft sage or warm terracotta red, and apply two thin coats so the finish looks smooth rather than streaky. Once dry, you can leave the pot solid or add a simple pattern, like hand painted dots or a single stripe near the rim, using a fine brush. Group three pots of different sizes together on a windowsill or shelf, each holding a small succulent or trailing plant, for a display that looks curated rather than random. This project takes under an hour per pot and works well as a way to use up leftover craft paint from other projects.
2. Macrame Plant Hanger
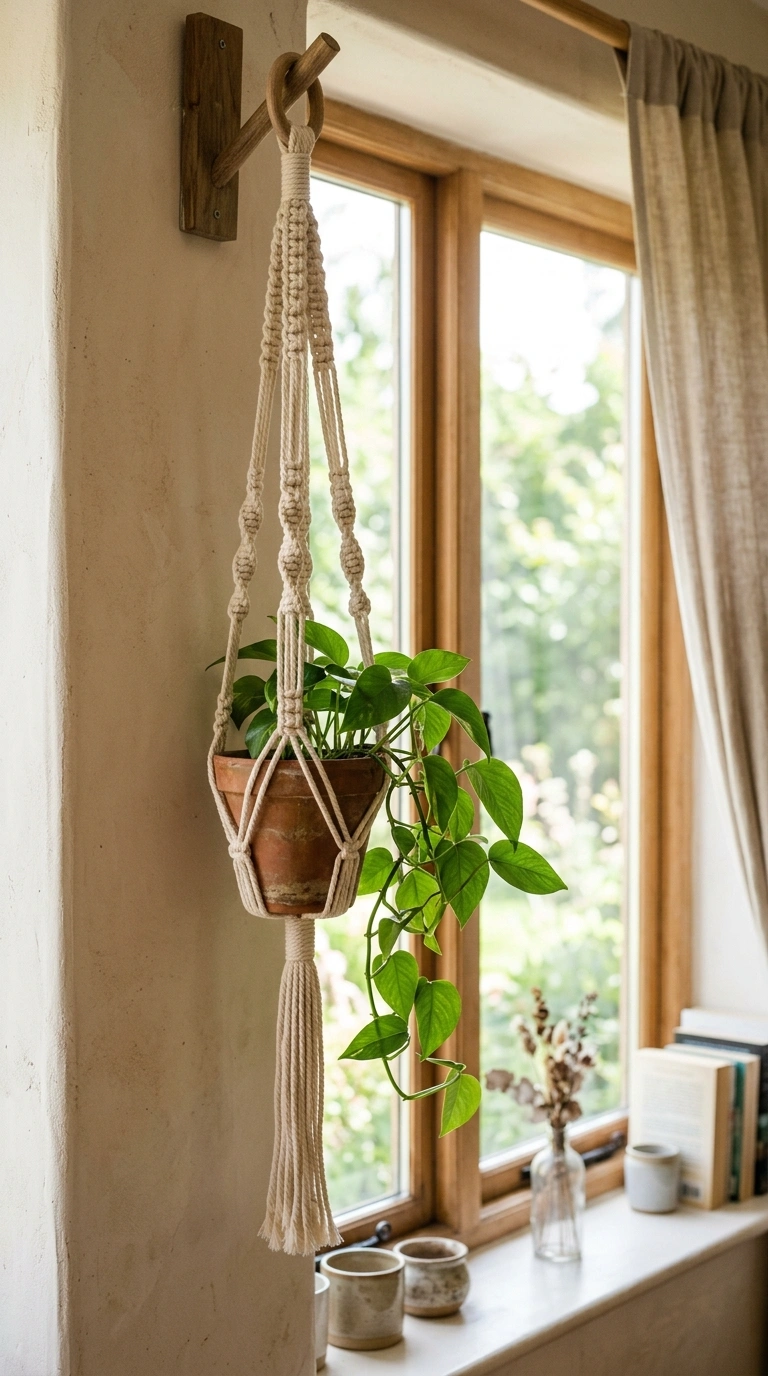
A simple macrame plant hanger made with basic knots is one of the most forgiving beginner crafts, since small mistakes in knot spacing barely show once the cord is holding a plant. Use plain cotton cord in a natural cream color, and stick to just two or three knot types, like a simple square knot repeated in a pattern, to keep the project approachable. Once finished, hang it near a window with a small potted plant inside, letting the trailing leaves spill over the woven cords for a soft, textured look. This piece works especially well in a corner that feels a bit empty, like beside a reading chair or above a side table. A basic hanger like this takes about an hour to knot once you get the rhythm down.
3. Fabric Scrap Coasters
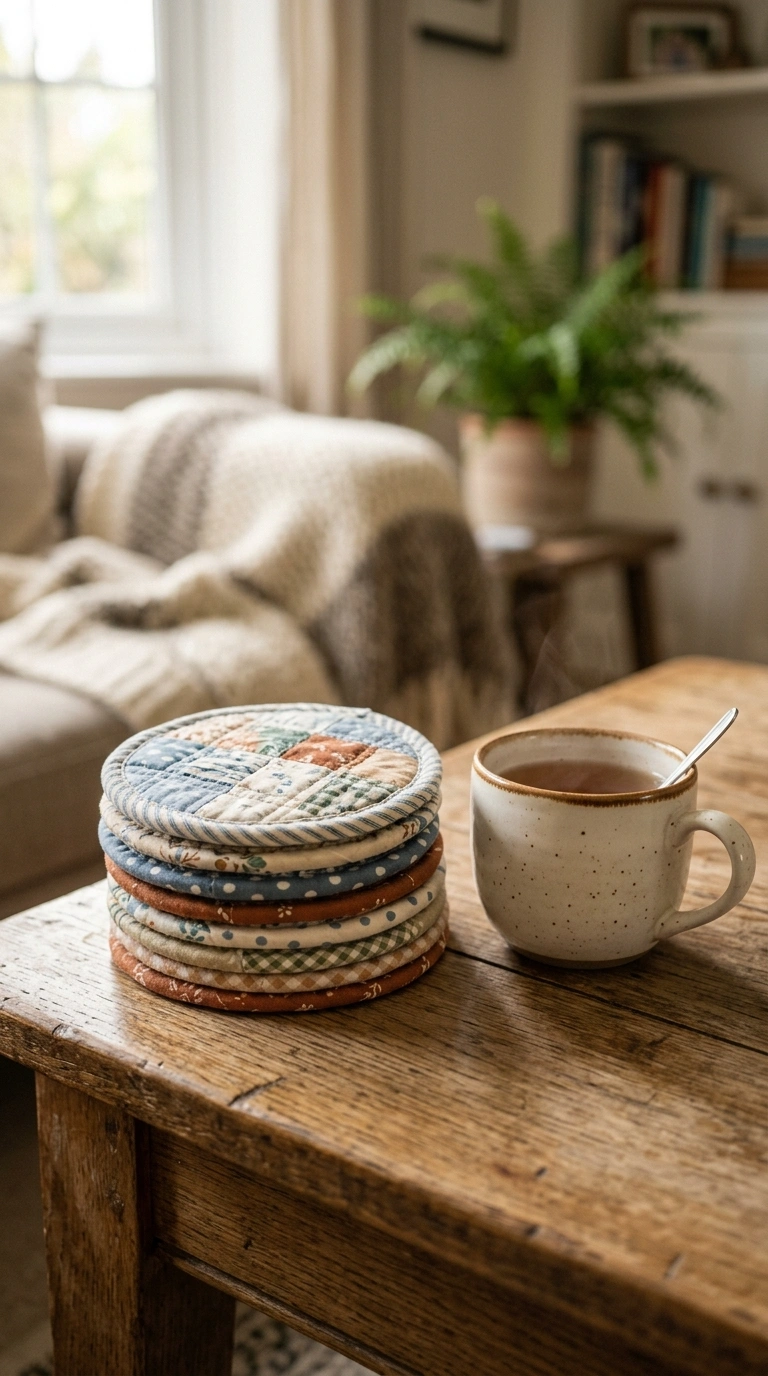
Leftover fabric scraps from other projects, or even an old shirt you were about to donate, can become a set of simple coasters with just a bit of cutting and stitching. Cut two matching circles or squares from your fabric, layer a bit of cotton batting between them for thickness, and stitch around the edge, leaving a small gap to turn it right side out before closing it up. Mix and match patterns across a set of four or six for a collected look on a coffee table or side table. This is a great way to use up small fabric pieces that are too little for bigger projects but too nice to throw away. A finished set makes a coffee table look styled and adds a soft, homemade touch that store bought coasters rarely have.
4. Twine Wrapped Vases
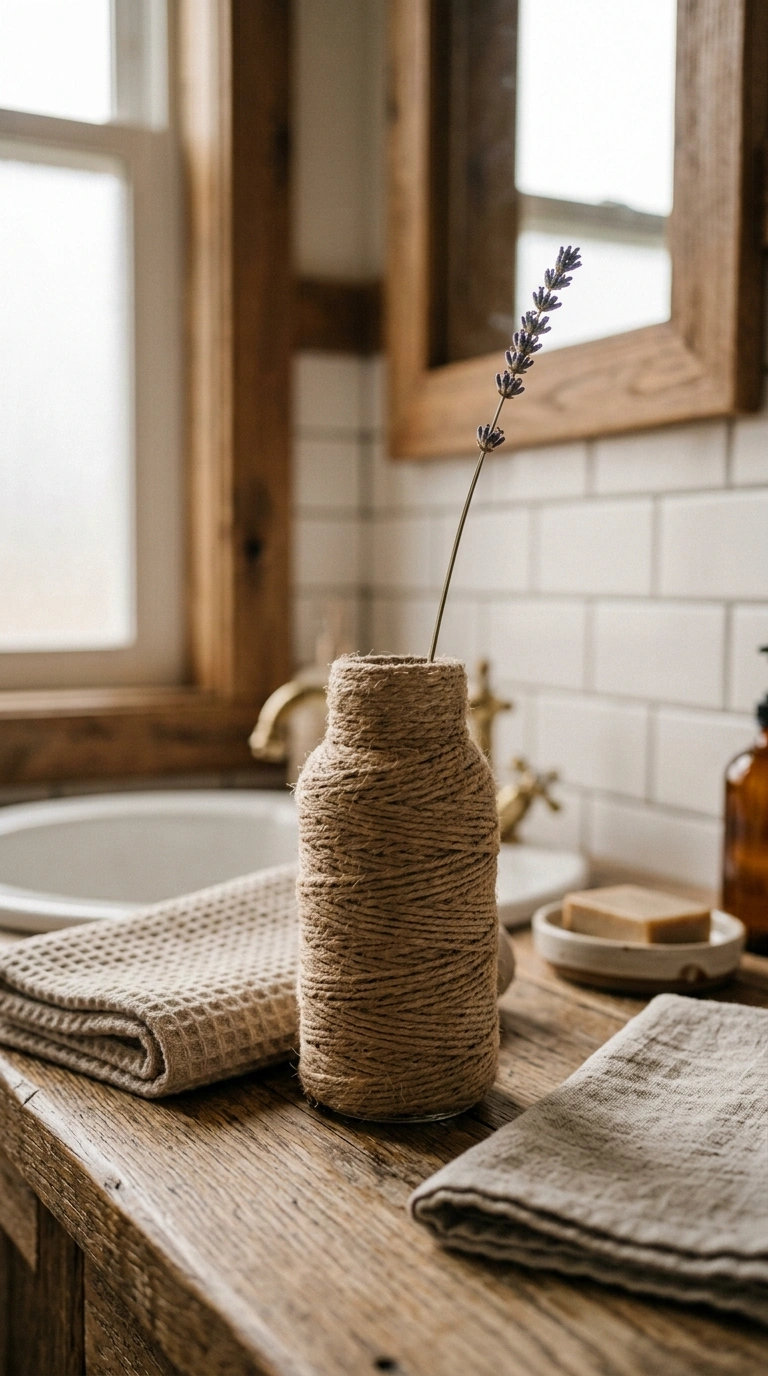
An old glass jar or plain vase becomes something entirely different once it is wrapped in natural twine from top to bottom, hiding the glass completely and adding warm texture instead. Apply a thin line of craft glue around the base of the jar, then begin wrapping the twine tightly and evenly, adding more glue every few rows to keep everything secure. Continue wrapping until the entire vase is covered, tucking the end of the twine underneath the last wrap so it stays hidden. This project works well for holding dried flowers or a single stem in a bathroom or entryway, where the natural texture adds warmth against tile or hard surfaces. A single vase takes about thirty minutes to wrap fully, making it one of the fastest projects on this list.
5. Pressed Flower Frame
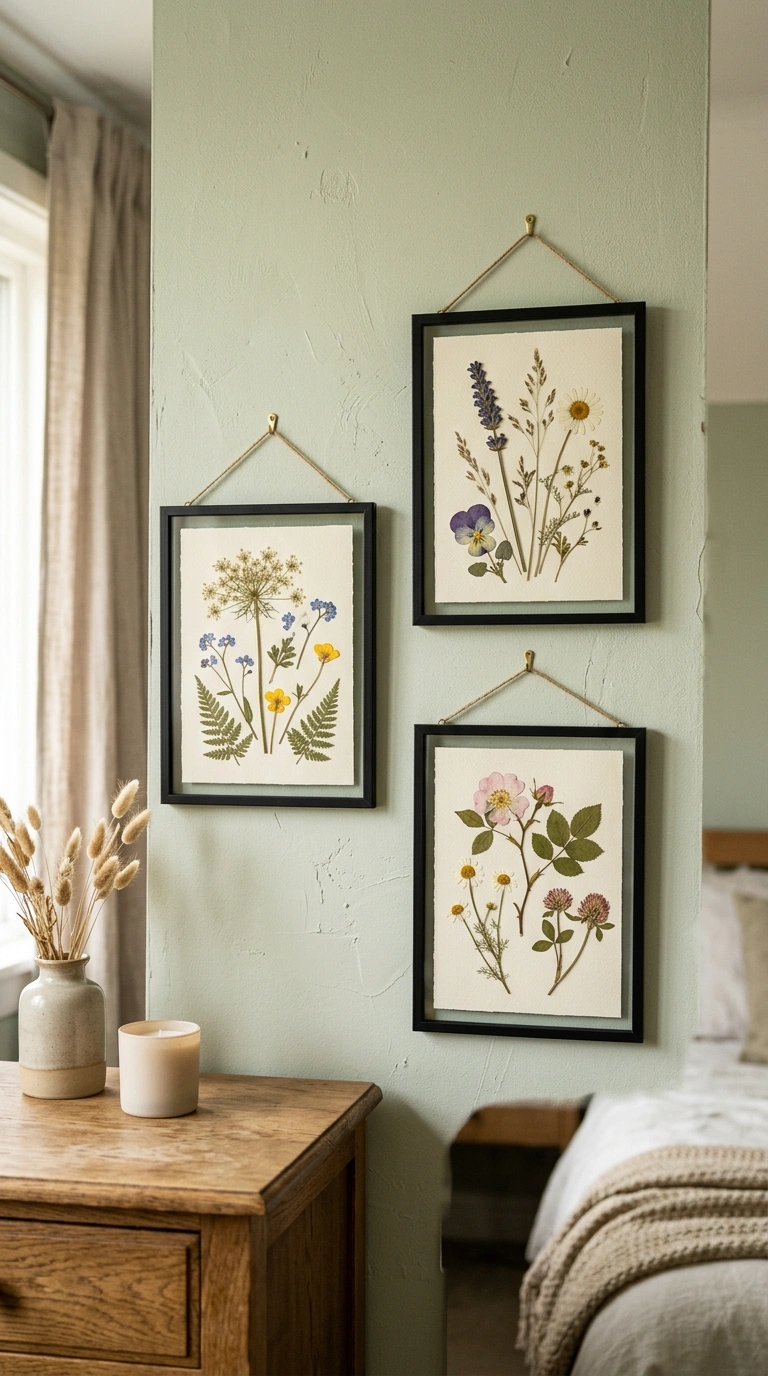
Pressing a few flowers from your garden or a recent bouquet and arranging them inside a small frame creates a piece of wall art that feels personal in a way that store bought prints never quite manage. Press flowers flat between the pages of a heavy book for about a week, then arrange the dried blooms on a piece of plain white or cream cardstock inside a simple frame. Choose flowers with thin, flat petals, like pansies or small daisies, since thicker blooms do not press as cleanly. Hang the finished piece in a small grouping of two or three frames on a bedroom or hallway wall for a soft, botanical touch. This project has a bit of a waiting period for the pressing, but the actual assembly takes only a few minutes once the flowers are ready.
6. Mini Wood Shelf
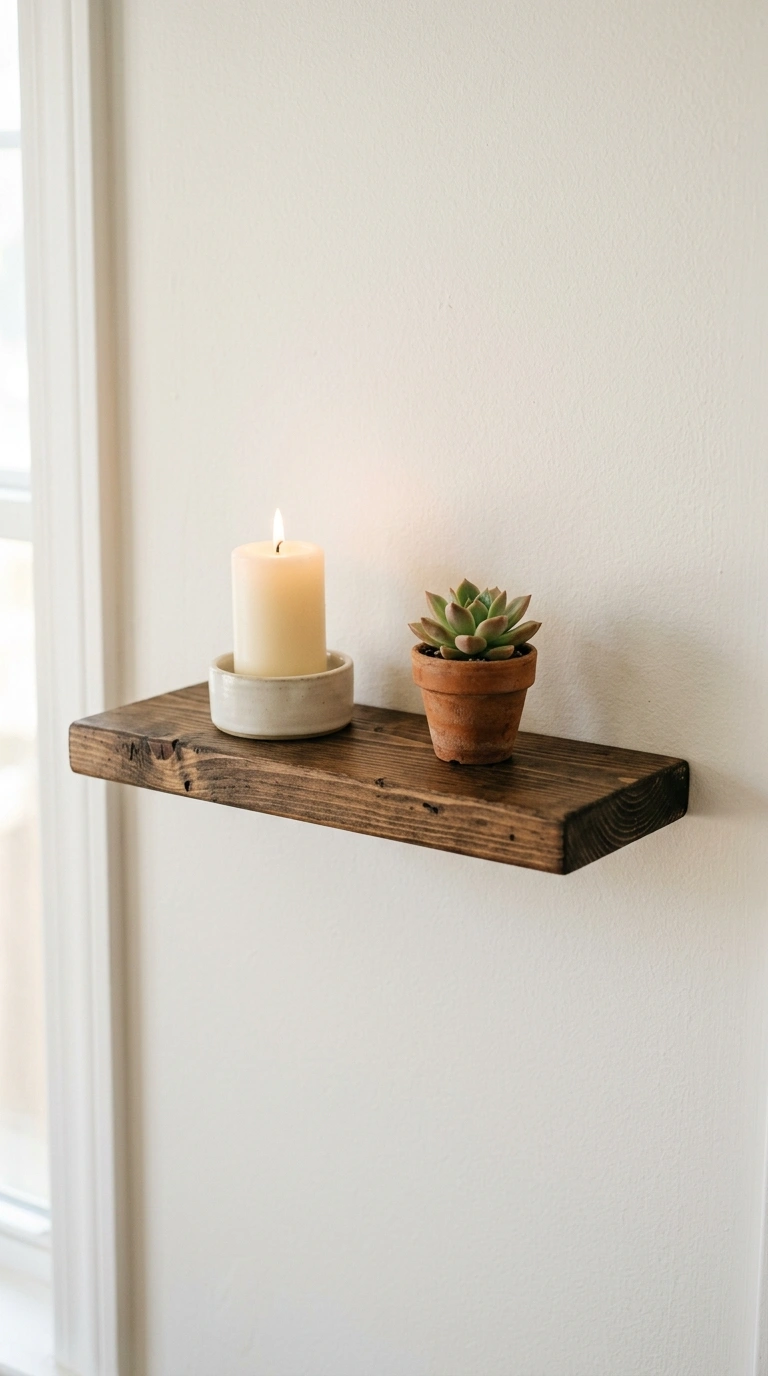
A small floating shelf built from a single scrap piece of wood and two basic brackets is an easy first woodworking project that adds real storage to a bare wall. Sand the edges of the wood piece smooth, then apply a simple stain or a coat of paint depending on your room’s finish, and let it dry fully before mounting. Attach the brackets to the underside of the wood, then mount the whole piece to the wall using a level to keep it straight. Style the finished shelf with two or three small items, like a candle and a tiny plant, rather than crowding it with too much. This project is a nice entry point into small furniture building, since the scale keeps mistakes easy to fix and materials cheap to replace if needed.
7. Clay Trinket Dish
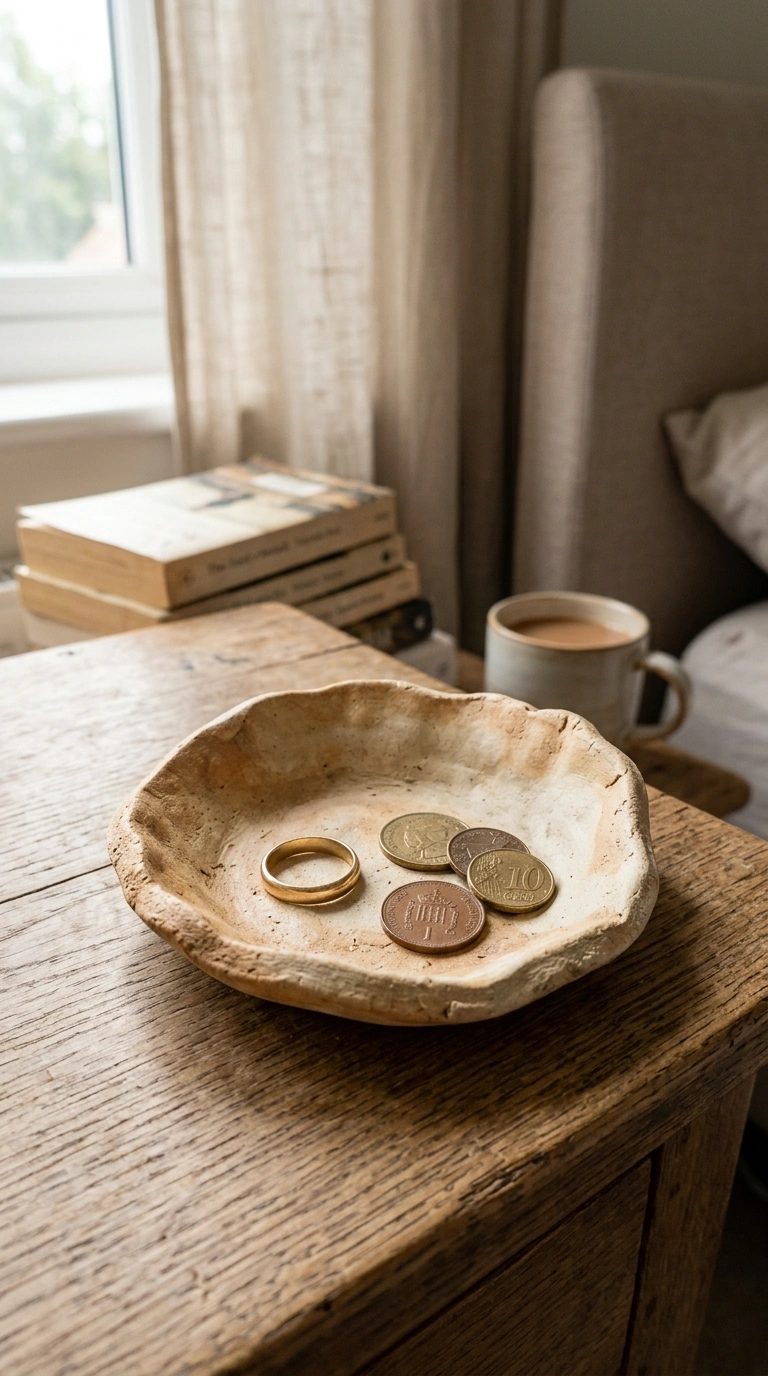
Air dry clay, rolled flat and shaped into a small dish, makes a handy little catchall for rings, keys, or loose change sitting on a dresser or entry table. Roll the clay to an even thickness, then drape it gently over a small bowl to create a natural curved shape as it dries, rather than trying to shape it flat by hand. Once fully dry, which usually takes a day or two, you can leave the clay in its natural tone or paint the inside a soft color for contrast. Smooth any rough edges with a bit of fine sandpaper before displaying it. This little dish looks right at home on a bedside table or bathroom counter, and the slightly imperfect, handmade shape is part of its charm rather than something to fix.
8. Woven Wall Hanging
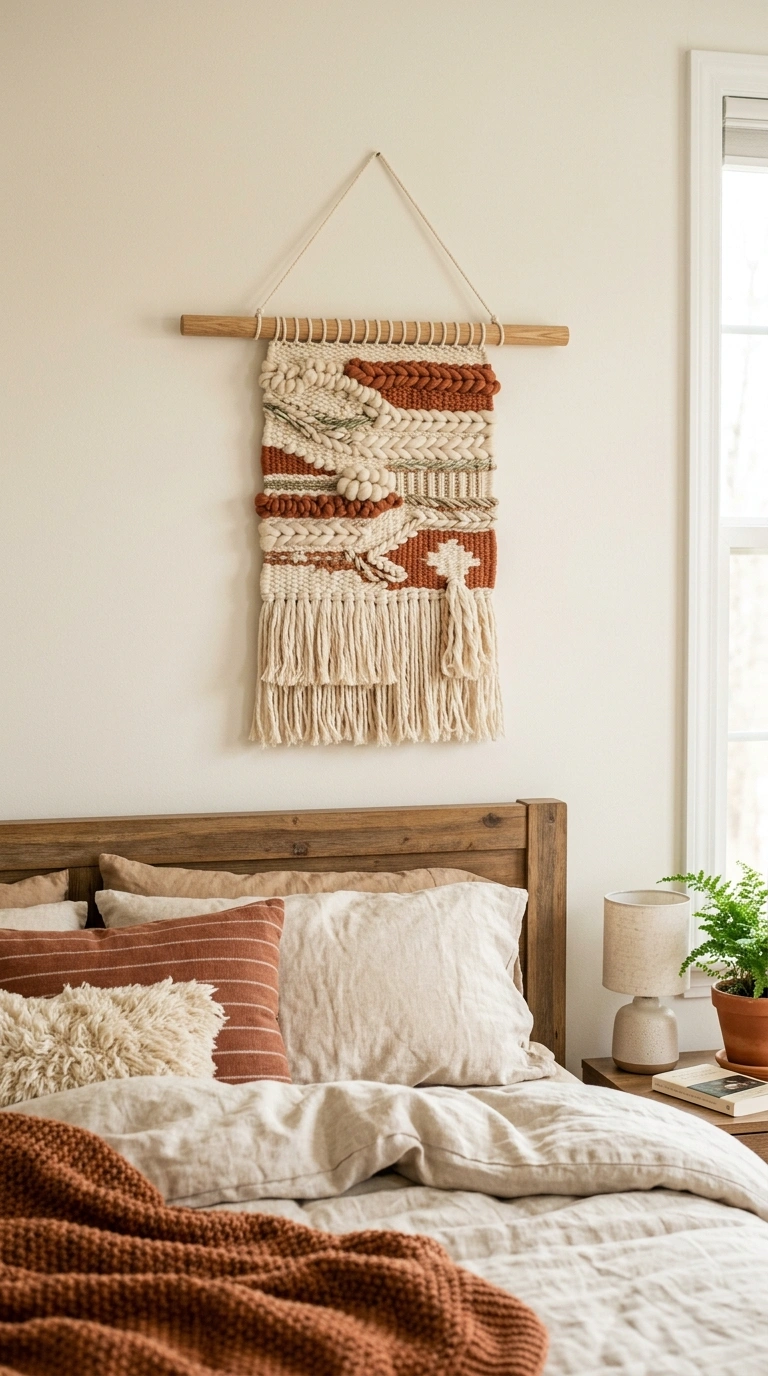
A small woven wall hanging made on a simple cardboard loom is a beginner-friendly way to try weaving without investing in a full loom setup. Cut notches along the top and bottom of a rectangular piece of cardboard, then wrap yarn vertically between the notches to create your warp threads. Weave a mix of yarn and fabric strips horizontally through the vertical threads, alternating over and under, to build up a small textured piece. Once finished, slide the woven piece off the cardboard and attach it to a small wooden dowel to hang. This project works well as a small accent piece above a bed or on a gallery wall, and the slightly uneven, handmade texture is exactly what gives it charm compared to a machine made piece.
9. Painted Wine Corks
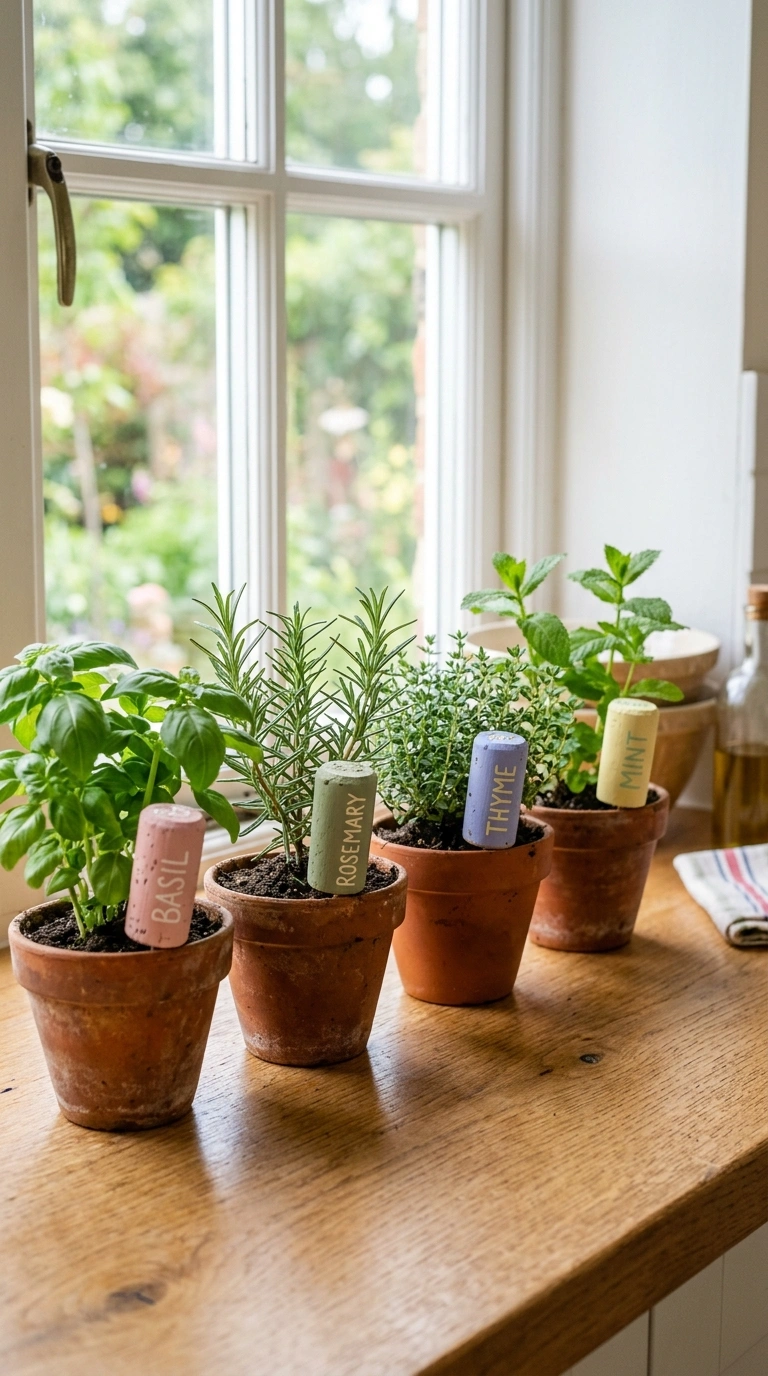
Saved wine corks, painted in small patterns or solid colors, can be turned into plant markers, decorative magnets, or even tiny bud vases with a hollowed center and a single stem tucked inside. Paint each cork with a thin coat of acrylic paint, adding a simple detail like a stripe or dot once the base coat is dry. For plant markers, glue a small wooden skewer into the bottom of the cork before writing the plant name on the side with a fine tip marker. This is one of the most budget friendly projects on the list, since it reuses something that would otherwise be thrown away. A small collection of painted corks lined up on a kitchen windowsill or tucked into potted herbs adds a cheerful, handmade detail to an everyday spot.
10. Dried Flower Wreath
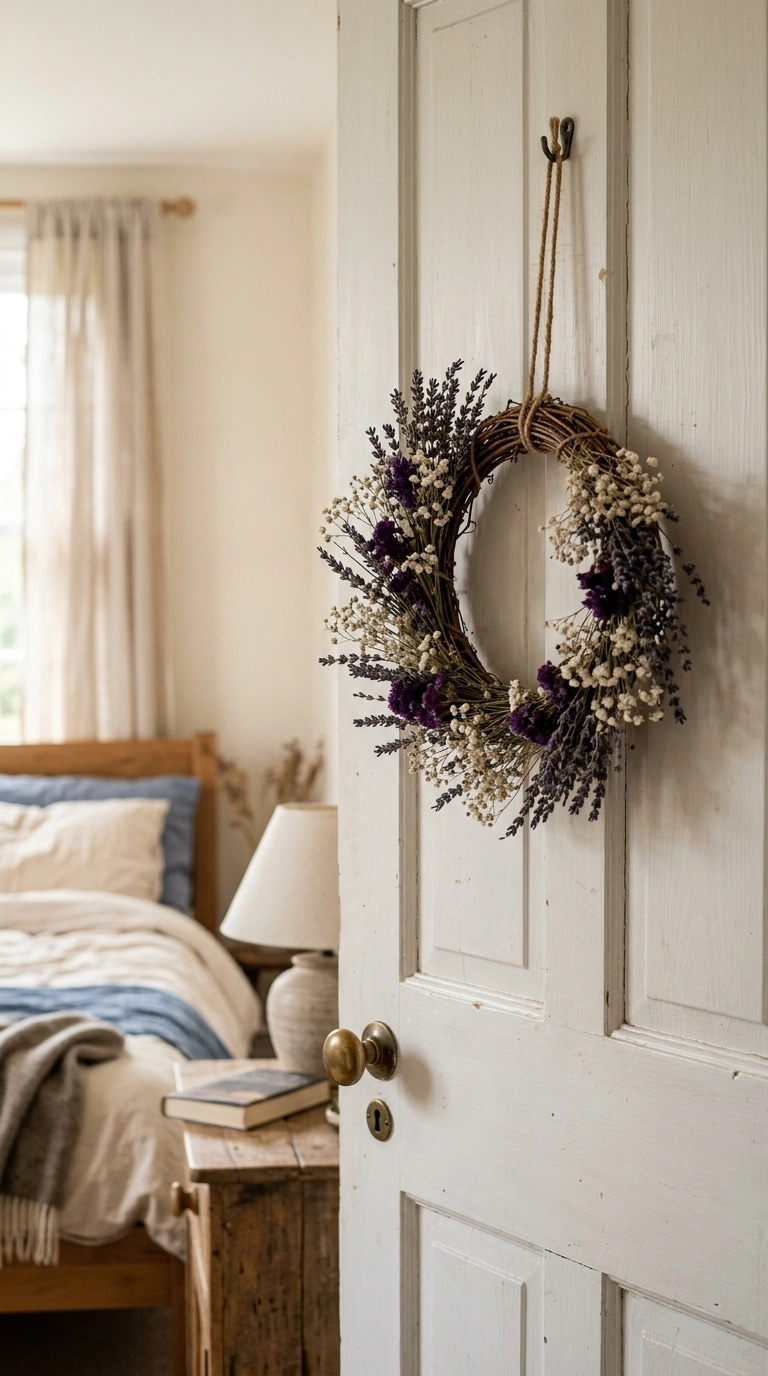
A small wreath made from dried flowers and a simple wire or grapevine base is a lovely way to bring a bit of nature indoors without needing fresh flowers that wilt within days. Attach small bunches of dried flowers, like baby’s breath, lavender, or dried eucalyptus, to the base using floral wire, working in one direction so each bunch overlaps the last and hides the wire beneath. Continue around the entire wreath base until it is fully covered, then add a ribbon loop at the top for hanging. This project works beautifully hung on a bedroom door, above a headboard, or as a small accent piece on a bathroom wall. Dried flower wreaths also last for months without any care, making them a low maintenance way to add texture to a room.
11. Mason Jar Lanterns
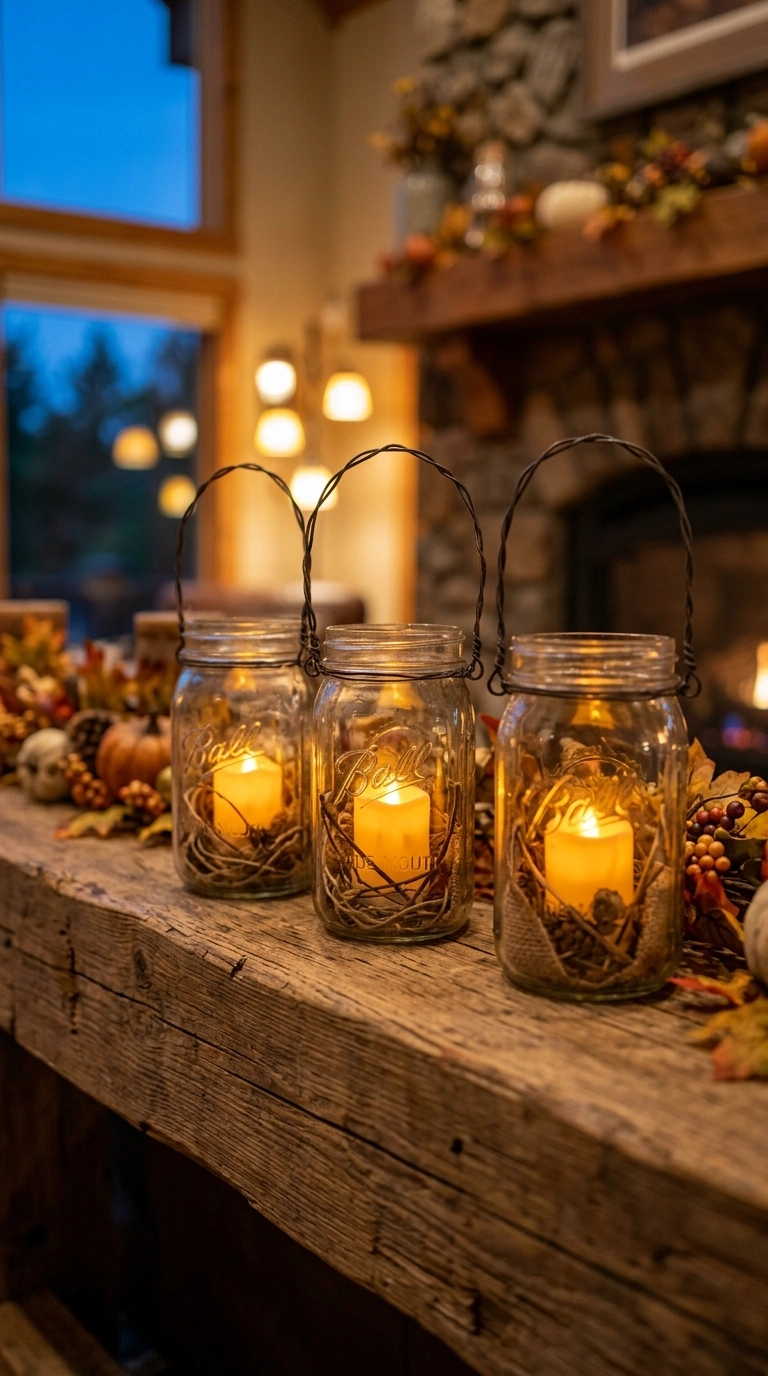
An empty mason jar becomes a soft, glowing lantern with just a bit of wire and a battery operated tea light candle tucked inside. Wrap a length of wire around the neck of the jar a few times to secure it, then twist the ends together and bend them upward into a simple handle shape. Add a battery candle inside, or fill the bottom with a bit of sand and a few small pinecones or shells for extra texture before adding the light. This project works well lined up along a mantel, grouped on an outdoor table, or hung from a hook near an entryway. The soft glow from the candle inside gives a cozy, warm feeling to any space without any risk from an open flame.
12. Embroidery Hoop Art
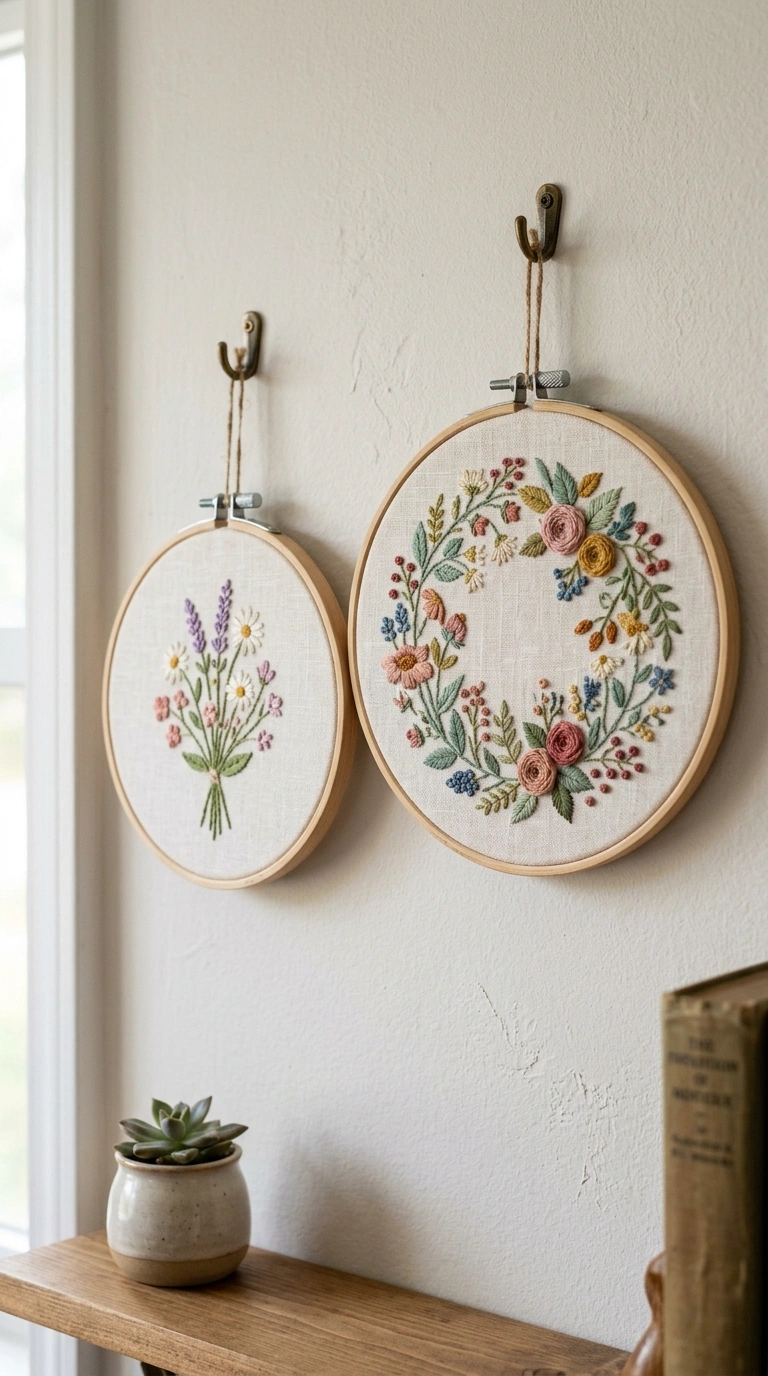
A simple wooden embroidery hoop holding a small stitched design or even just a pretty scrap of fabric stretched taut makes an easy, inexpensive piece of wall art. If you want to try actual stitching, keep the design simple, like a small floral motif or a single word, using basic stitches that are easy to learn from a quick tutorial. If stitching feels like too much, simply stretching a piece of patterned fabric across the hoop and trimming the excess still creates a nice framed effect. Group two or three hoops of different sizes together on a wall for a gallery-style display. This project is especially good for using up small scraps of pretty fabric that are not quite big enough for anything else.
13. Washi Tape Notebook
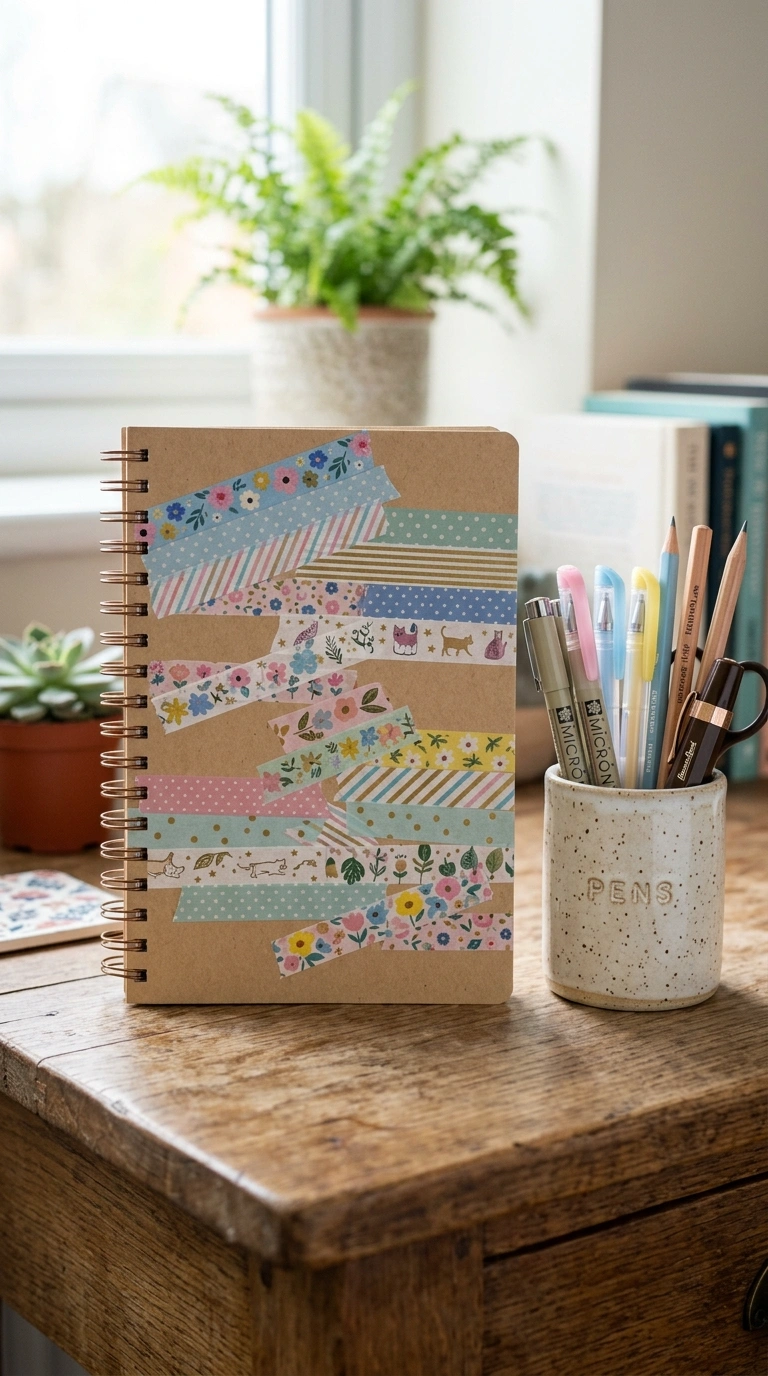
A plain notebook or journal gets an instant style upgrade with a bit of washi tape applied in stripes, patterns, or a simple border around the cover. Choose two or three coordinating washi tape patterns rather than just one, layering them in strips across the cover for a bit of visual interest. This project takes only a few minutes but makes a noticeable difference, especially if the notebook sits out on a desk or coffee table where it is seen often. Washi tape is also easy to remove and replace, so you can update the design whenever you feel like a change without damaging the notebook cover underneath. This is a nice small project to do alongside kids, since the tape is simple to work with and mistakes are easy to fix.
14. Sea Shell Candle
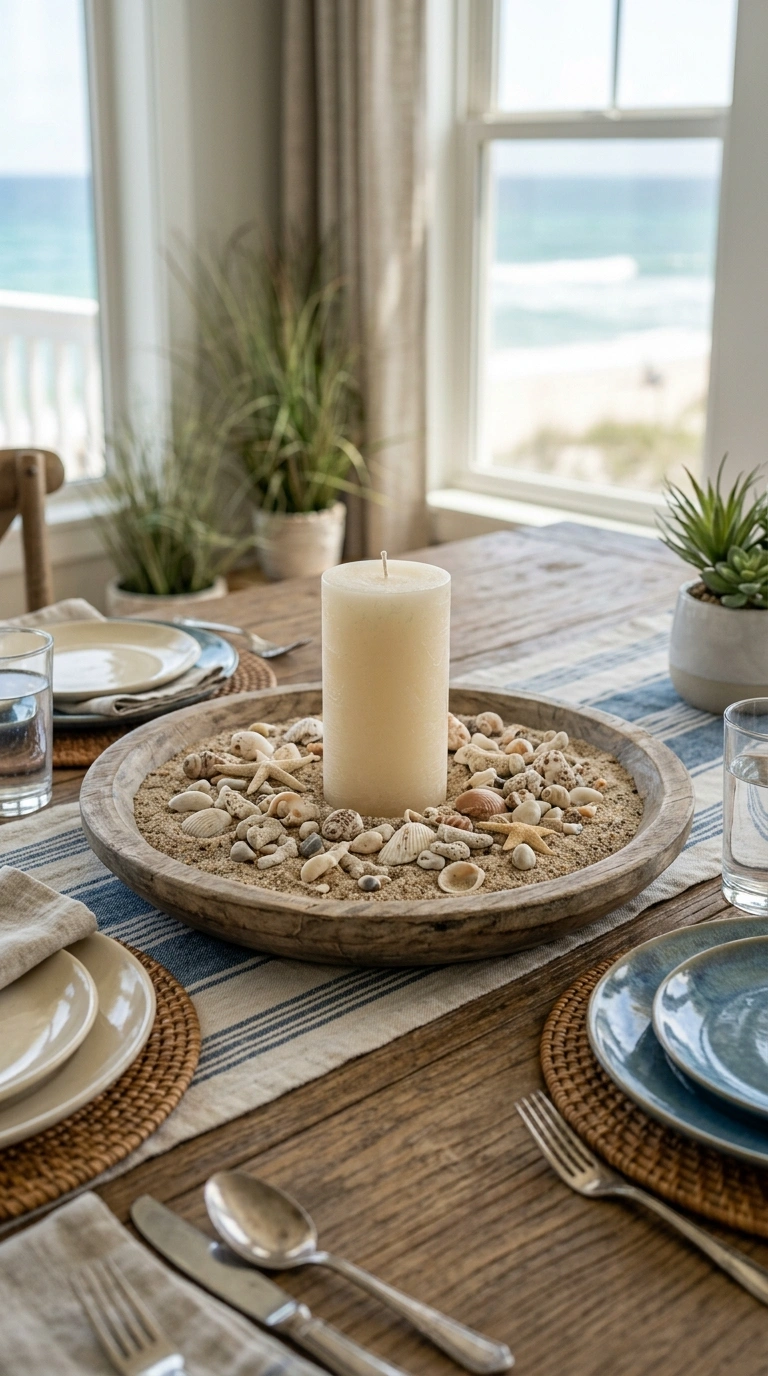
Small shells collected from a beach trip, or a bag of decorative shells from a craft store, can be arranged around the base of a simple pillar candle to create a coastal-inspired centerpiece. Place the candle in the center of a shallow tray or plate, then arrange the shells around the base, filling in gaps with a bit of sand for a natural, beachy look. Choose shells of varying sizes and shapes rather than all matching ones, which gives the arrangement a more natural, collected feeling. This project works well as a centerpiece for a coastal-themed dining table or as a small accent on a bathroom counter. It comes together in under fifteen minutes but adds a noticeable seasonal touch to a room.
15. Button Photo Frame
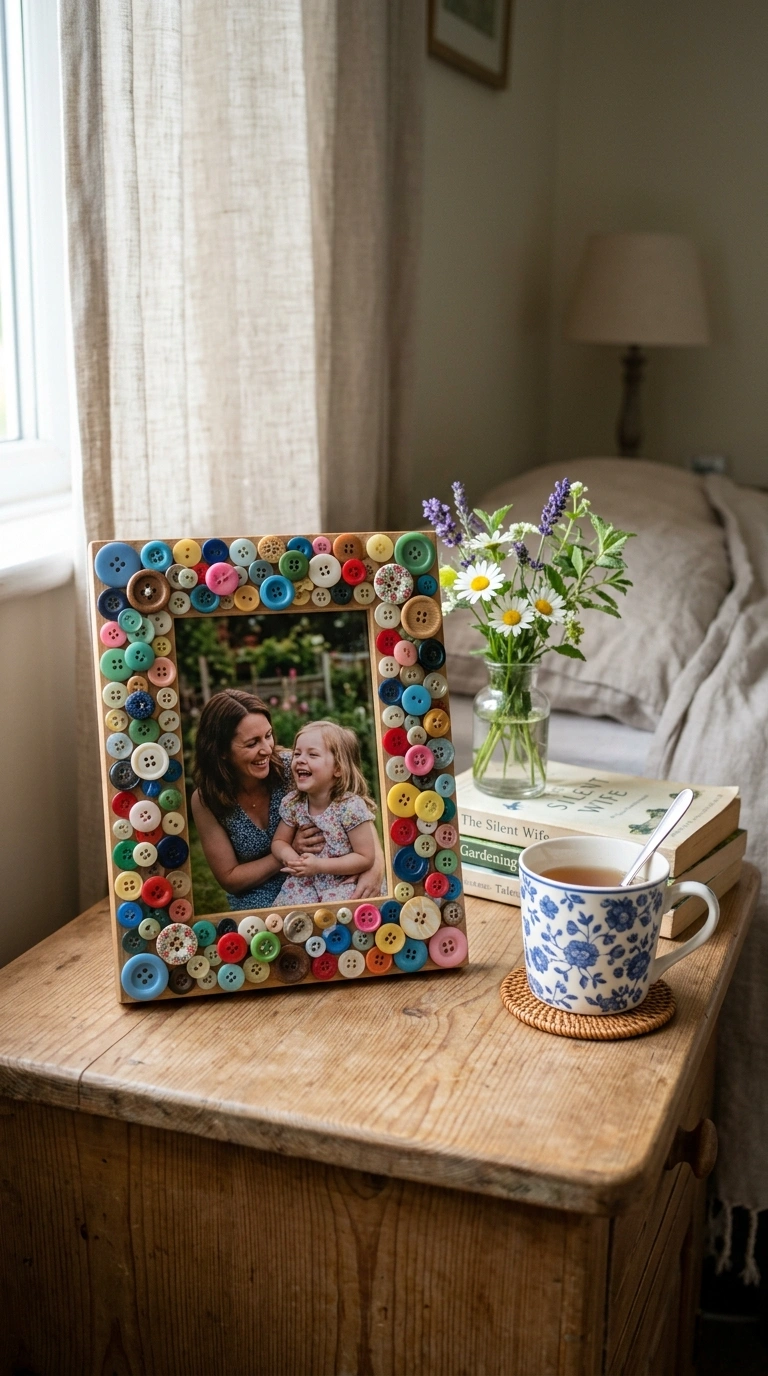
A plain wooden or cardboard photo frame becomes a colorful, textured piece once its border is covered in a mix of buttons glued closely together. Choose buttons in a range of sizes and colors that complement the room where the frame will sit, or stick to a single color family for a more cohesive look. Apply a small dot of craft glue to the back of each button and press it firmly onto the frame border, working in sections so the glue does not dry before you are ready to place each piece. Leave enough space in the center for the photo itself, and let the frame dry fully before displaying it. This project is especially fun to make with kids, and the finished frame makes a sweet, handmade addition to a shelf or bedside table.
None of these projects need a big budget or a special trip to a craft store most of the time. A little paint, some leftover fabric, or a handful of shells from your last walk on the beach can turn into something that makes your home feel a little more like you. Pick whichever one matches what you already have lying around and give it a try this weekend.