17 Affordable Backyard Deck Ideas That Look Beautiful and Last for Years
A deck should feel like an extension of your home, not a project you keep putting off. The problem is that most deck makeovers look like they need a contractor, a permit, and a five-figure budget. They don’t. Some of the biggest transformations come from small, thoughtful changes you can knock out over a weekend.
These 17 affordable backyard deck ideas focus on what actually makes a deck look beautiful and hold up over time: a solid clean surface, smart layout, cozy lighting, shade, storage that hides clutter, and planting that softens the hard lines. Everything here is realistic for ground-level and raised decks alike, and you don’t need to be a contractor to pull any of it off.
Work through the list at your own pace. Even three or four of these ideas can take a tired deck from “we should really do something about that” to your favorite room of the house.
1. Cover Worn Boards With Peel-and-Stick Deck Tiles
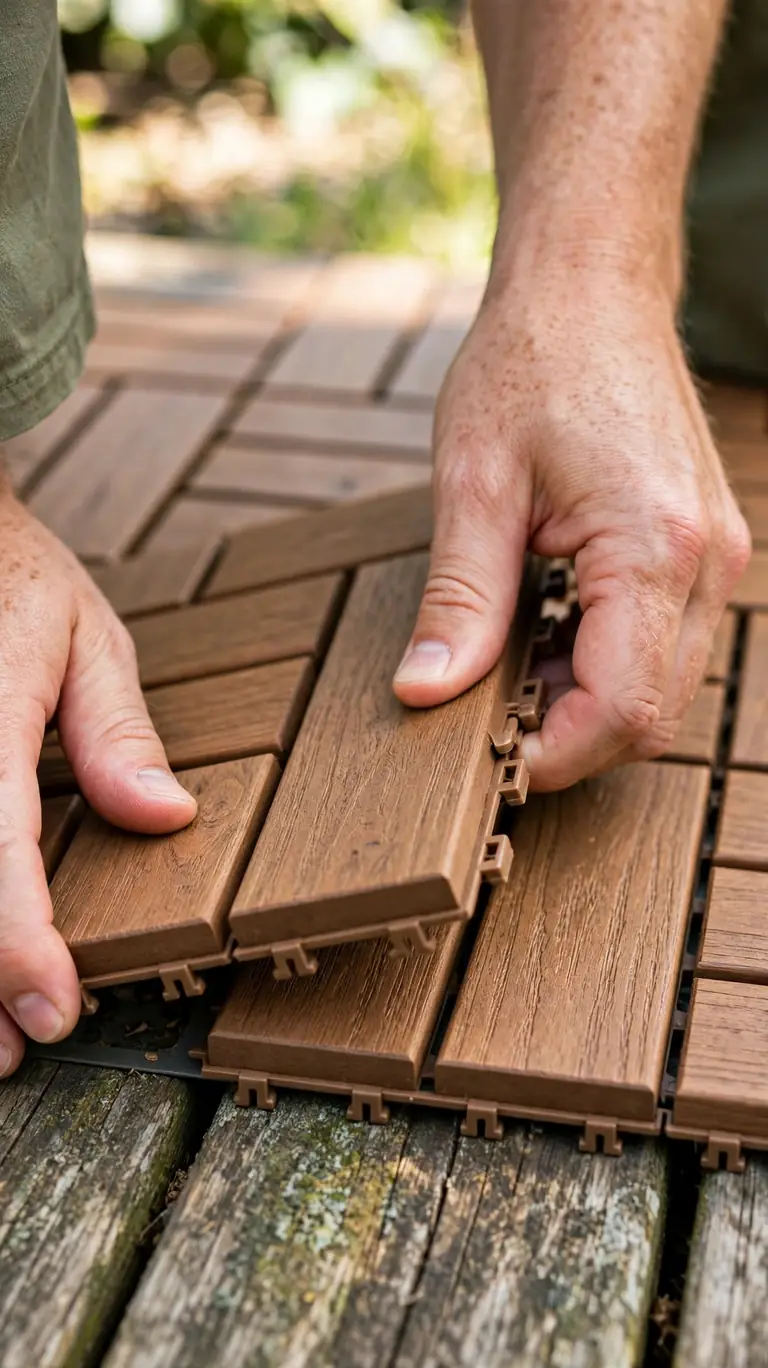
When the boards are sound but ugly, peel-and-stick deck tiles are one of the fastest resets you can do. The interlocking plastic or wood-look tiles snap together right over your existing decking, hiding discoloration, uneven fading, and rough patches without a single board replacement.
They’re not a forever fix, but they buy you years. Sweep the deck clean first, start in one corner, and trim the edge tiles with a utility knife so they sit flush against the railing. For a small ground-level deck this is genuinely a Saturday-morning job, and the result looks like a brand-new surface.
2. Give the Whole Deck a Fresh Stain Refresh
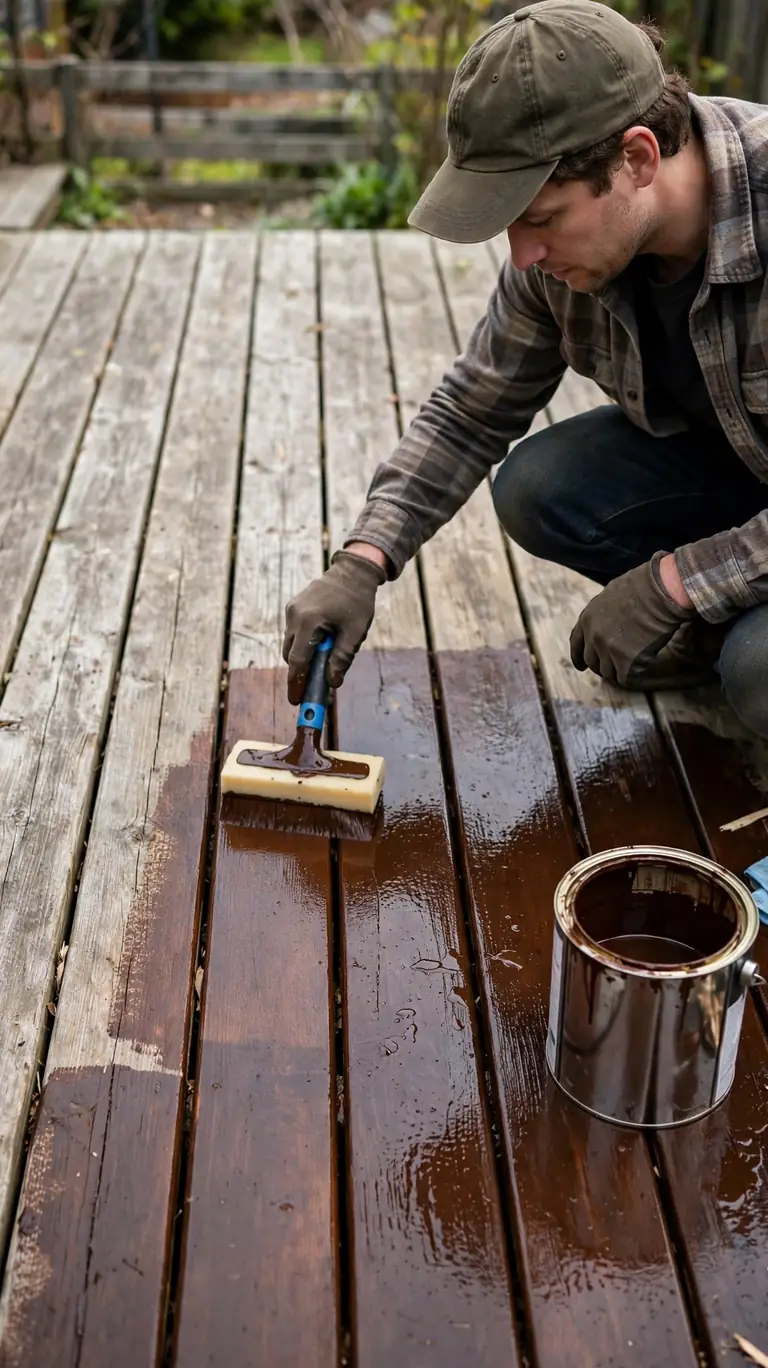
Nothing ages a deck faster than faded, peeling stain, and nothing rejuvenates one faster than a fresh coat. A semi-transparent deck stain adds color back, protects the wood from sun and rain, and hides the patchy look that comes from years of weather.
Do the prep properly and the finish will last much longer: sweep, scrub with a deck cleaner, let it dry fully, then apply stain with a brush or pad applicator in thin, even coats. Two light coats beat one heavy one every time. Work on a cloudy day so the stain doesn’t dry too fast and lap-mark.
3. Add Solar Cap Lights to the Railing Posts
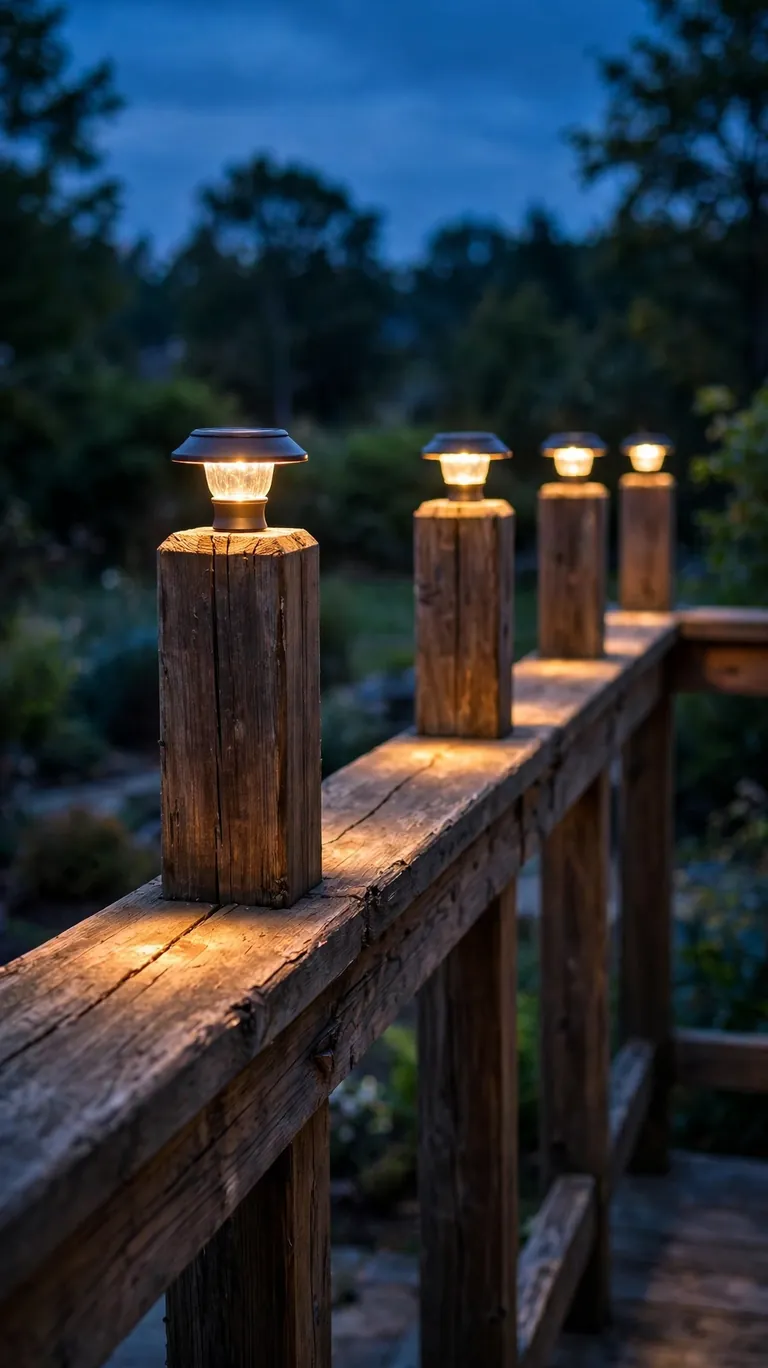
Railing posts are the easiest place to add evening light with zero wiring. Solar cap lights sit right on top of each post, charge during the day, and click on automatically at dusk, outlining your deck in a soft, welcoming glow.
They take minutes to install since most just friction-fit over standard posts. Measure your post tops before buying so the caps sit snug. Spread them evenly and the deck reads as finished and intentional the moment the sun goes down.
4. String Overhead Cafe Lights Across the Deck
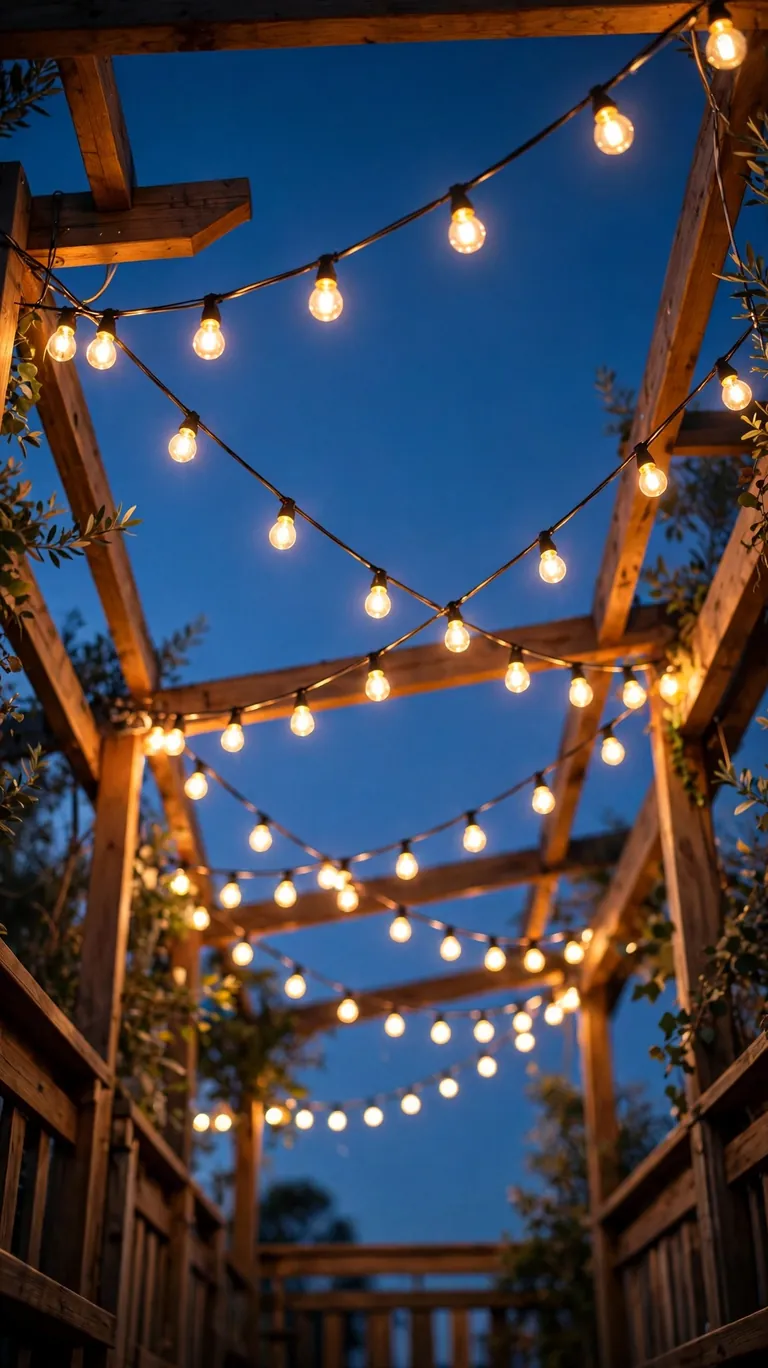
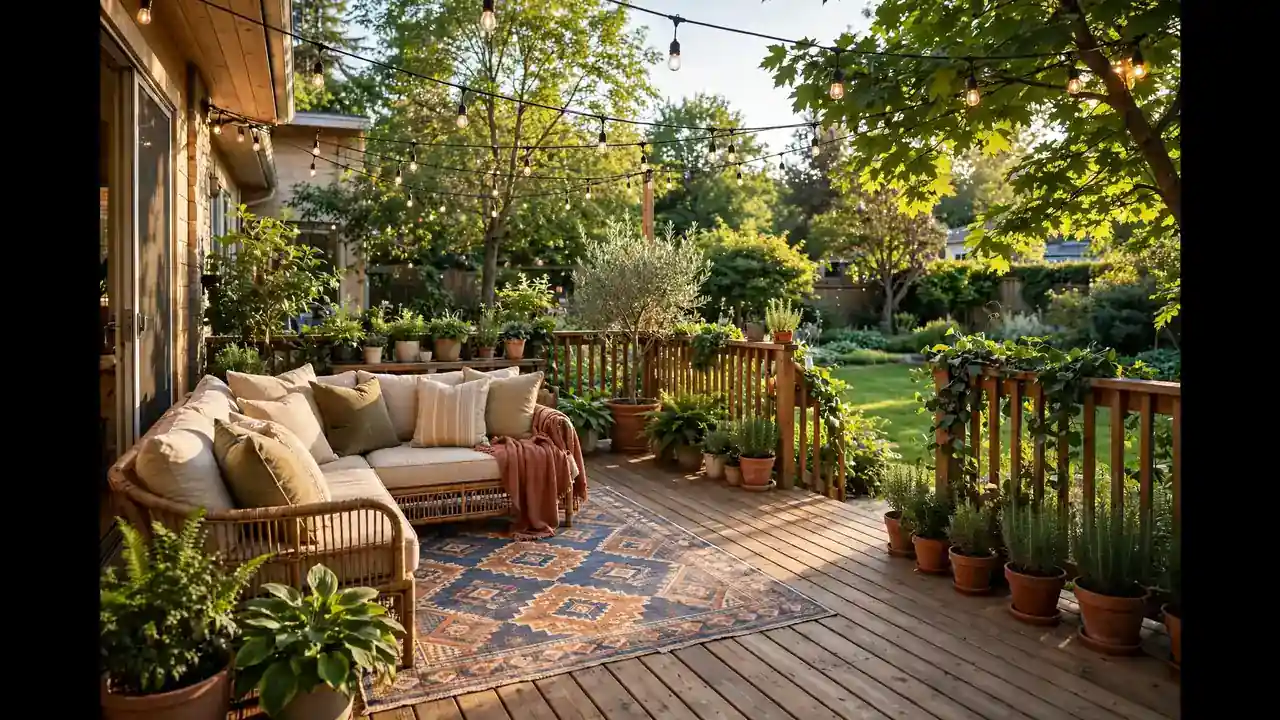
A few strands of outdoor string lights turn a plain deck into an evening destination. Hang them in gentle swags between the house wall and the railing posts, or drape them across a pergola or tall plant hooks if the layout allows.
Use outdoor-rated lights with shatterproof bulbs so weather doesn’t shorten their life. Plug them into a weatherproof outdoor outlet on a timer so they switch themselves on at dusk. It’s one of the highest-impact, lowest-cost upgrades on this whole list.
5. Layer an Outdoor Rug to Define the Space
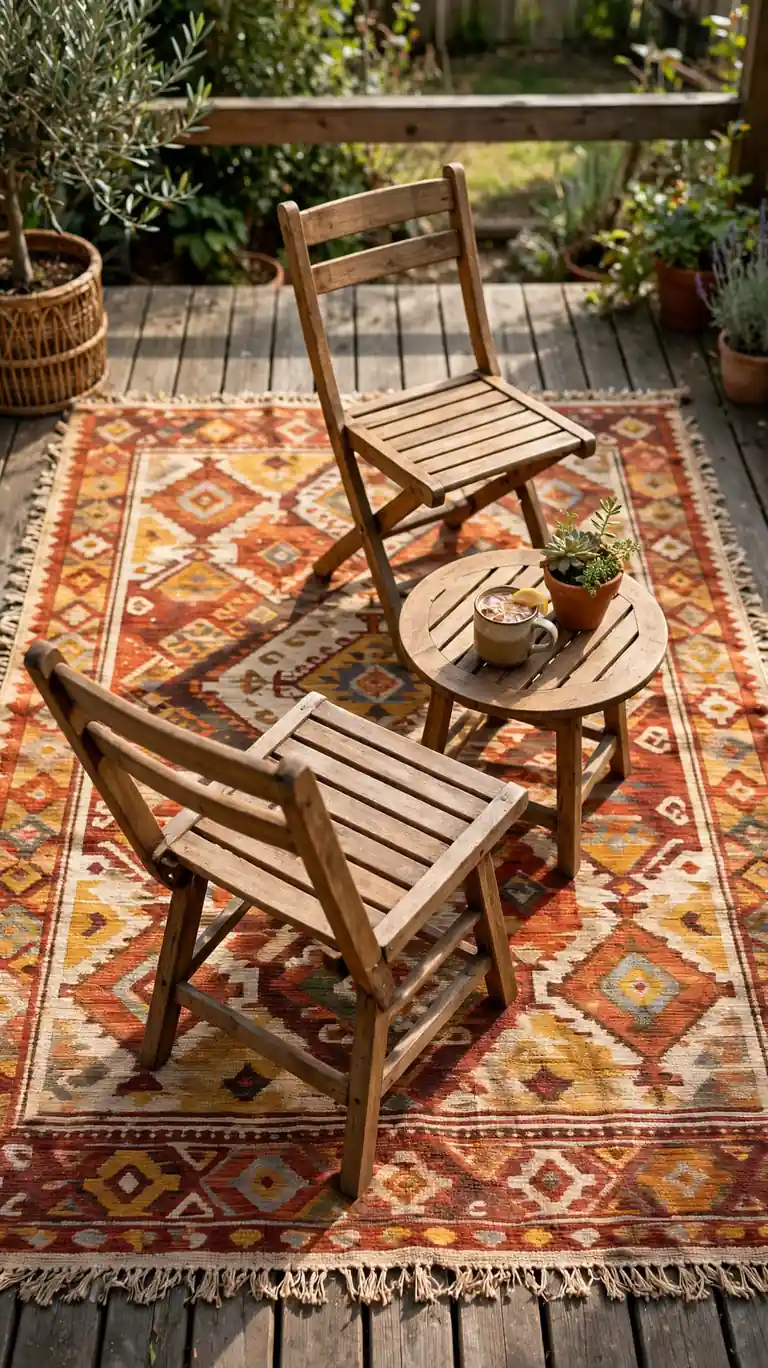
A deck without a defined seating zone can feel like an empty platform. An outdoor rug anchors the furniture, adds pattern and warmth, and makes bare feet much happier on hot boards.
Choose a rug made for outdoor use so it dries fast after rain, and size it generously enough that the front legs of your chairs sit on it. Shake it out weekly and hose it down a few times a season, and it will look fresh for years. This single layer can make the whole deck feel styled.
6. Build Simple Bench Planters for the Edges
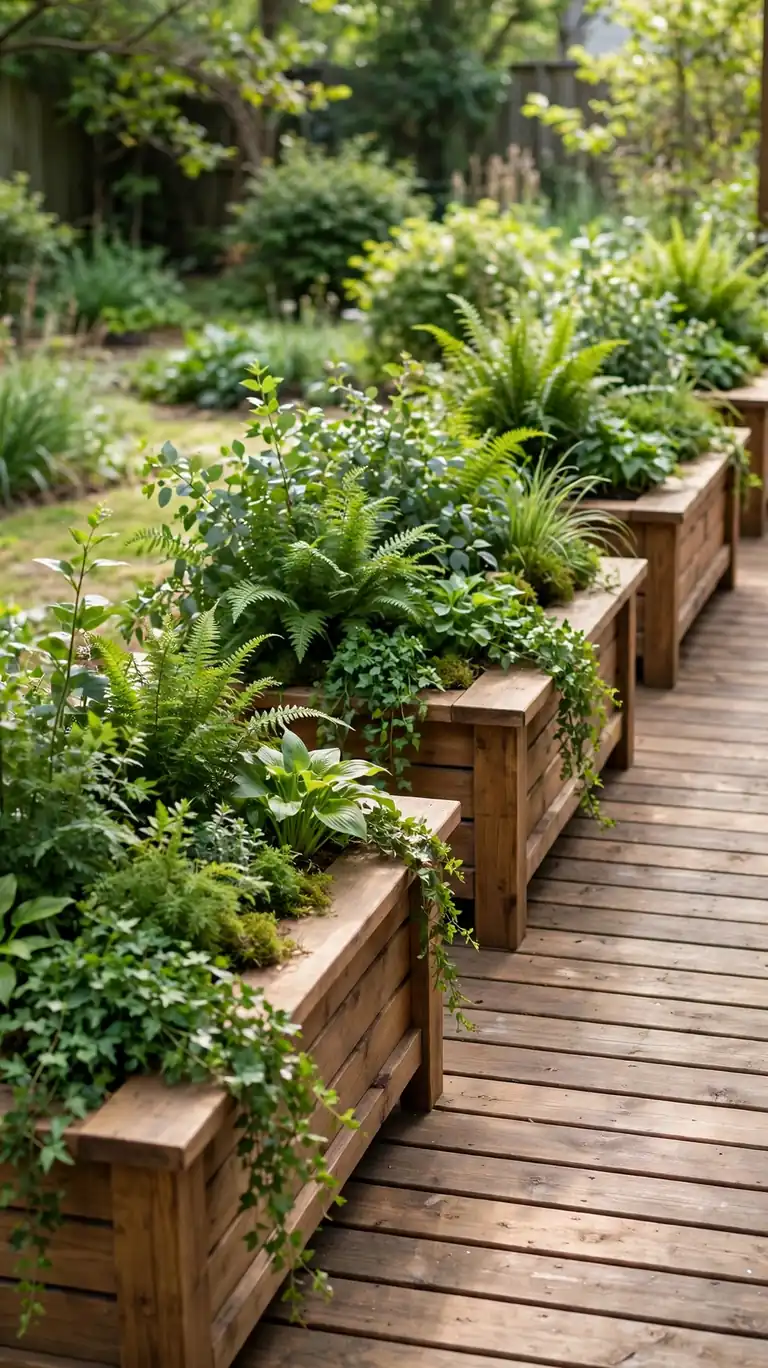
The edges of a deck are dead space until you give them a job. Simple DIY bench planters, basically a rectangular box with a flat top you can sit on, pull double duty as seating and greenery along the railing line.
Build them from weather-treated lumber with basic butt joints, leave drainage holes in the bottom, and fill with potting soil and low-maintenance plants. The flat top gives you overflow seating for guests, and the plants soften the deck’s hard perimeter beautifully.
7. Line the Railing With Container Gardens
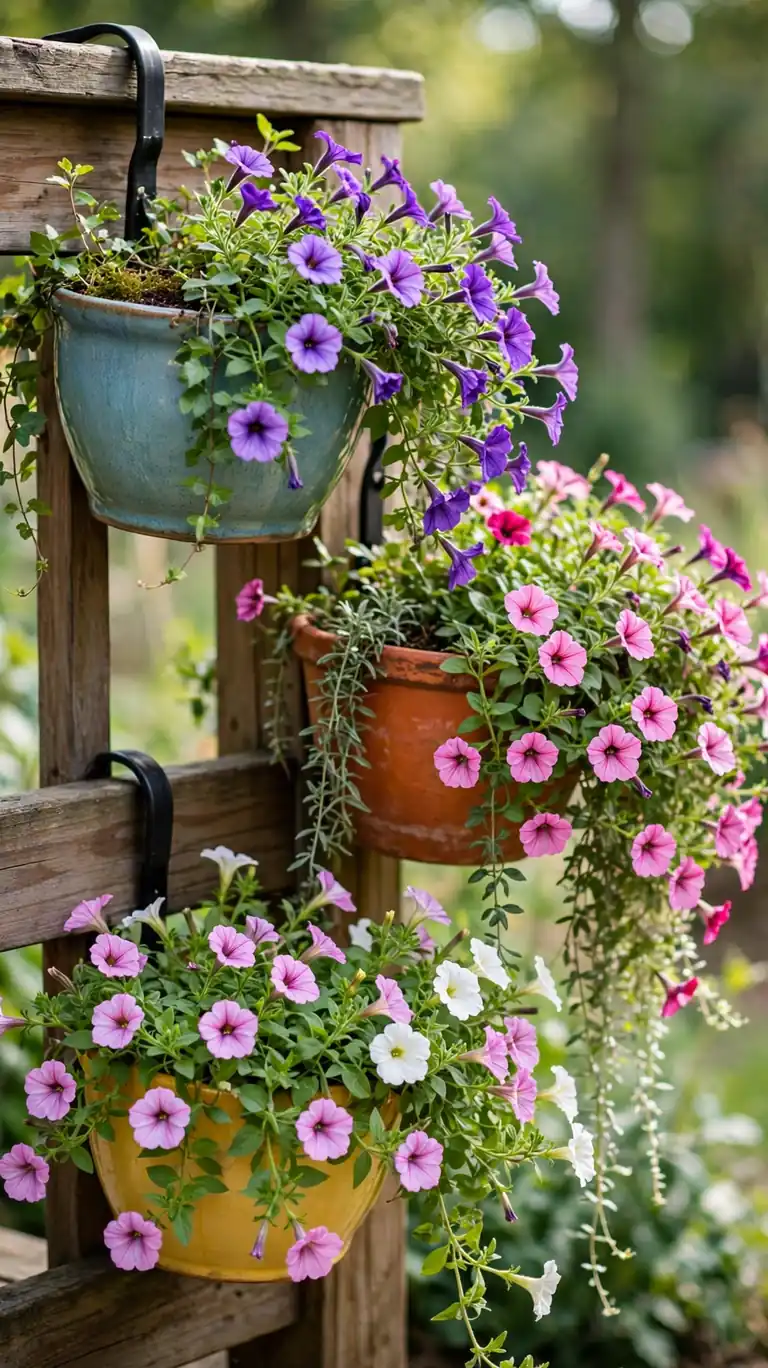
Railing-mounted planters turn a plain railing into a living green wall. They hook or strap onto the top rail, so they cost you zero floor space, which matters on smaller decks.
Pick containers with drainage holes and use a lightweight potting mix so the rail isn’t overloaded. Mix trailing plants like ivy or petunias with something upright for height. Water regularly since containers dry out faster than garden beds, and deadhead spent blooms to keep everything looking full.
8. Add a Shade Sail Instead of a Pergola
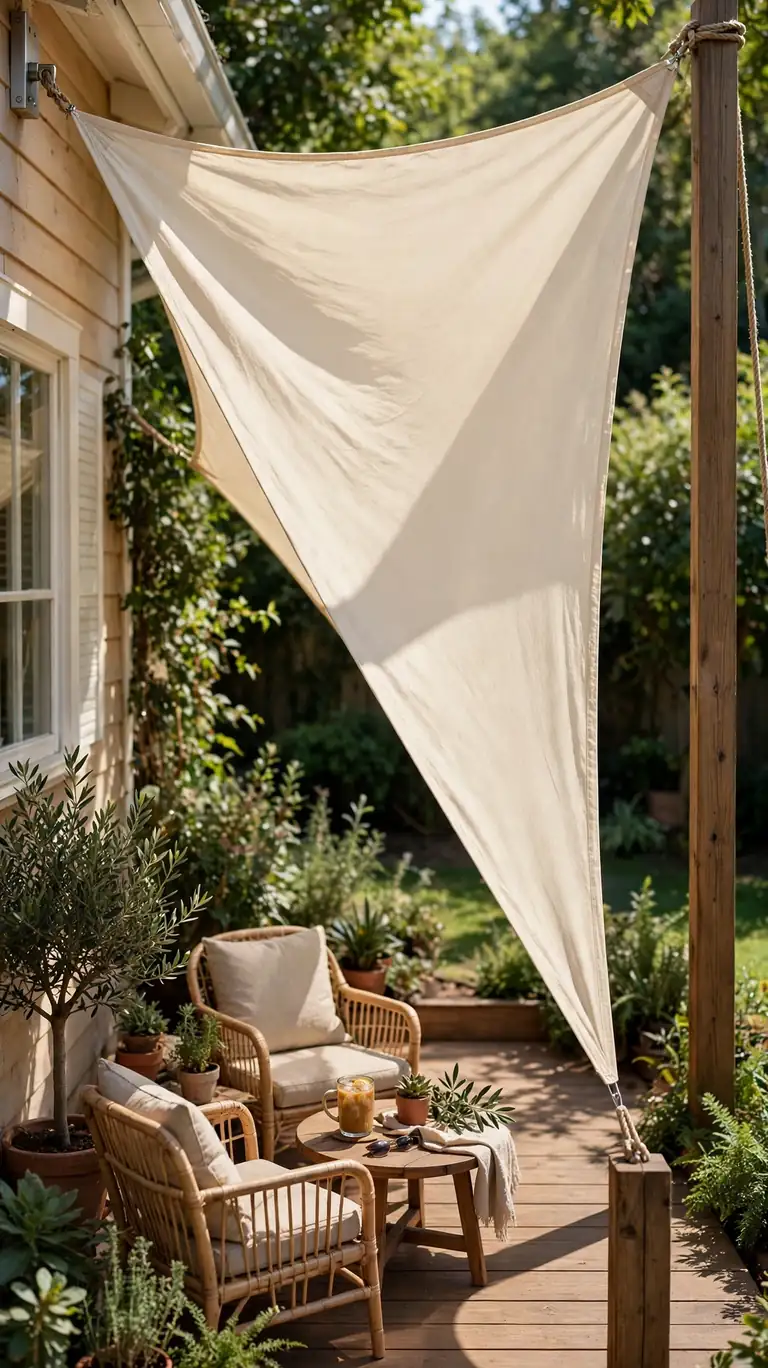
A pergola is a lovely structure and a serious build. A shade sail gives you most of the same cooling shade for a fraction of the cost and effort. It’s a tensioned triangle or rectangle of UV-blocking fabric anchored to the house, posts, or trees.
Install sturdy anchor points, keep the sail taut so rain runs off, and angle it slightly so water doesn’t pool. You can take it down in storm season and put it back up in minutes. The sculptural look is a bonus: sails read modern and intentional.
9. Tuck Clutter Into a Weatherproof Deck Box
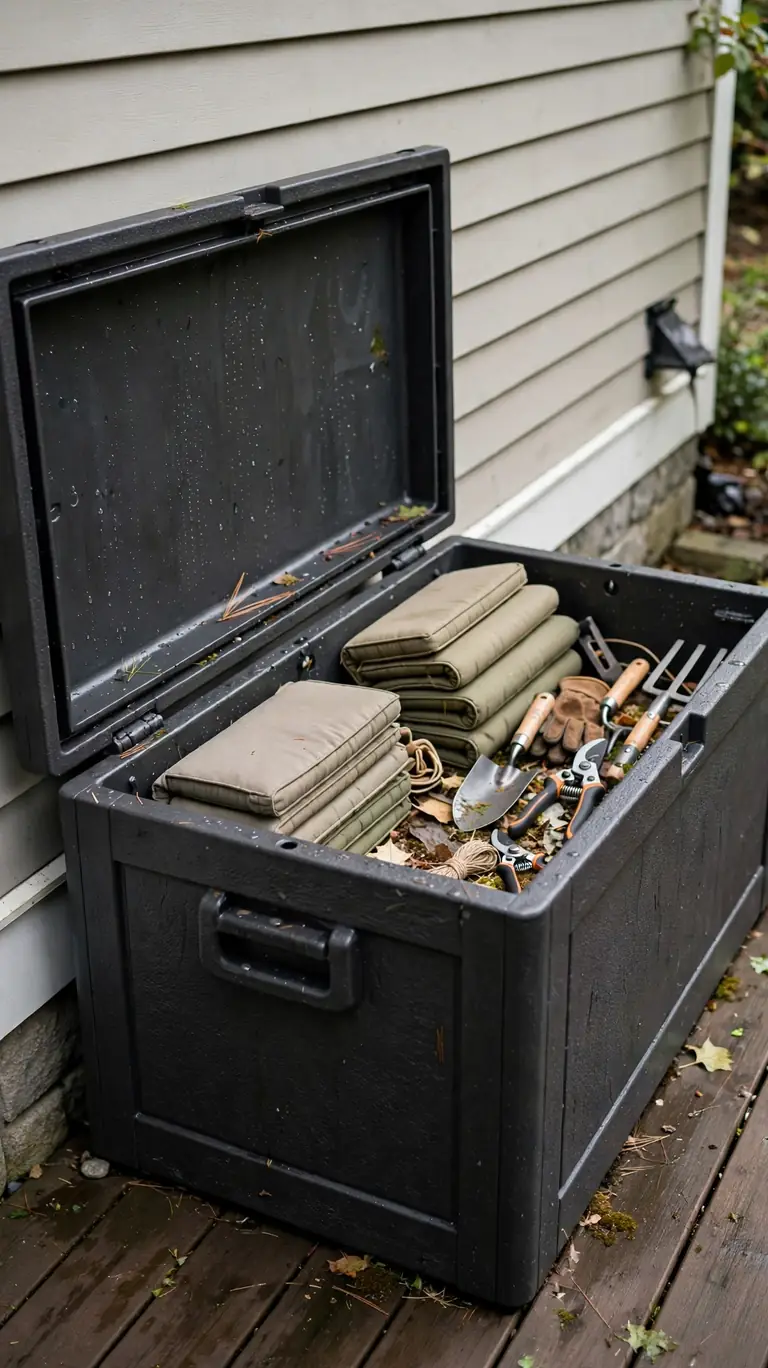
Decks collect clutter: cushions, toys, garden tools, grill covers. A weatherproof deck box swallows all of it and doubles as a bench or side table. It’s the fastest way to make a deck look tidy every single day.
Set the box on a level spot, ideally against the house wall or railing where it doesn’t block the walking path. Keep a couple of small bins inside so cushions, tools, and kid stuff each have their own zone. A quick five-minute tidy becomes all it takes to reset the space.
10. Create Privacy With a Lattice Screen
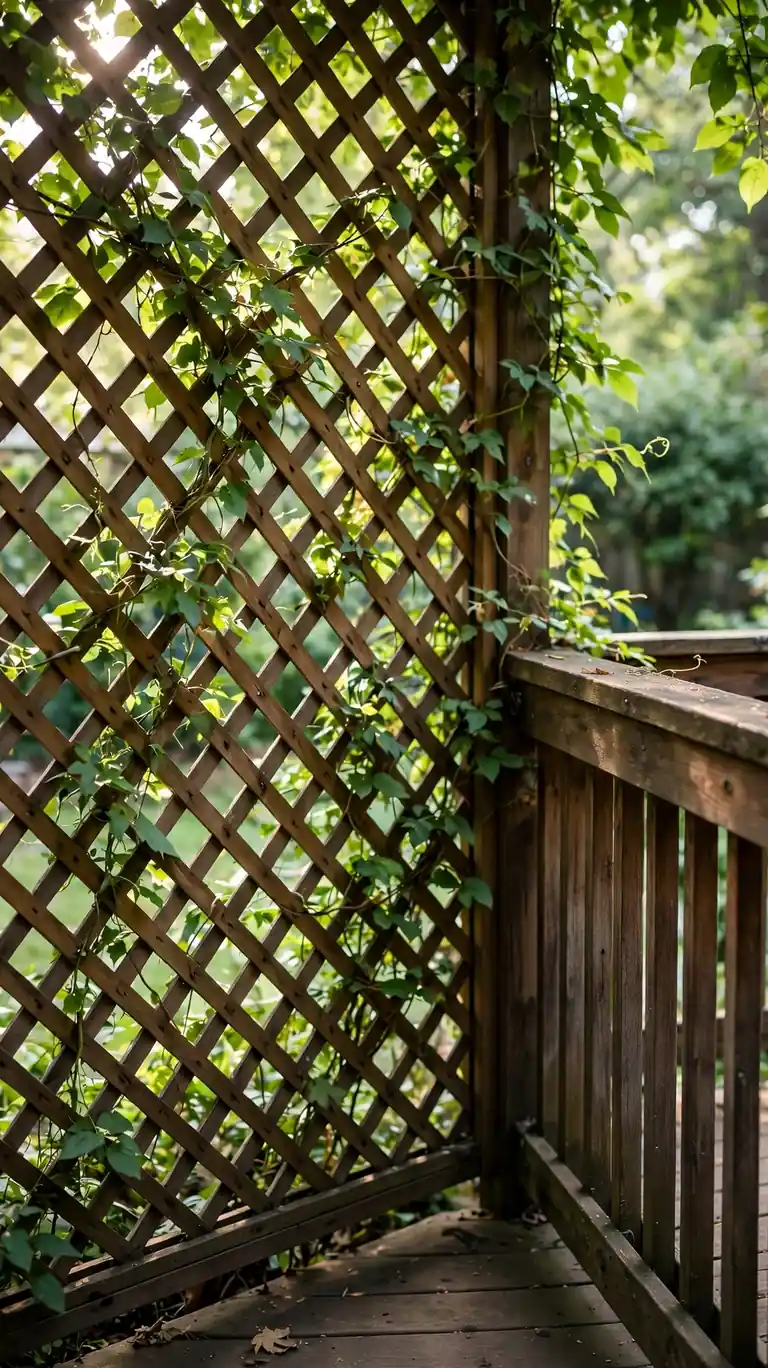
If the neighbors have a clear view of your deck, a freestanding lattice screen gives you privacy without the cost or commitment of a fence. Lean a lattice panel against the railing or mount it on planter boxes so it stays movable.
Train a climbing plant like clematis or jasmine up it and it becomes a living wall within a season or two. Stain or paint the lattice to match your deck so it looks built-in rather than bolted-on. Position it to block the sightline you care about most, not necessarily the whole side.
11. Replace Damaged Boards Instead of the Whole Deck
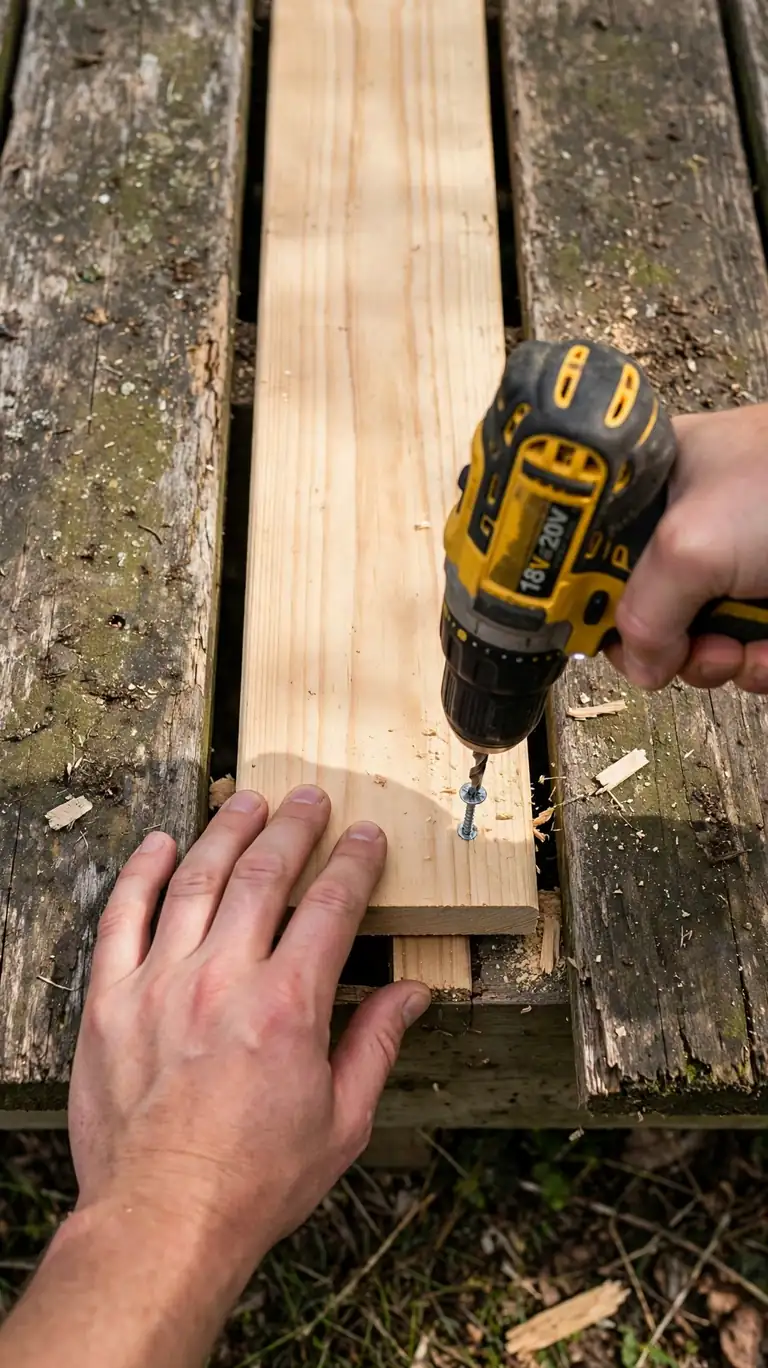
A few rotten or cracked boards don’t mean the whole deck needs replacing. Swapping individual boards is one of the most cost-effective repairs a homeowner can make, and it extends the life of the entire structure.
Pry up the damaged board with a pry bar, cut the replacement to the same length, and fasten it with deck screws, leaving the same small gap between boards for drainage. Stain the new boards to match, or plan a full stain refresh afterward so the repair blends in completely.
12. Sand and Seal Rough, Splintery Spots

Splinters and rough patches make a deck unpleasant and wear it down faster. A light sanding followed by a coat of sealer fixes both problems at once and is much cheaper than resurfacing.
Hit rough areas with medium-grit sandpaper or a palm sander, working with the grain. Wipe away the dust, then brush on a clear or tinted deck sealer to lock in the smooth finish and add weather protection. Focus on the high-traffic zones, steps, and anywhere bare feet land.
13. Set Up a Fire Pit Corner on a Heat-Safe Pad
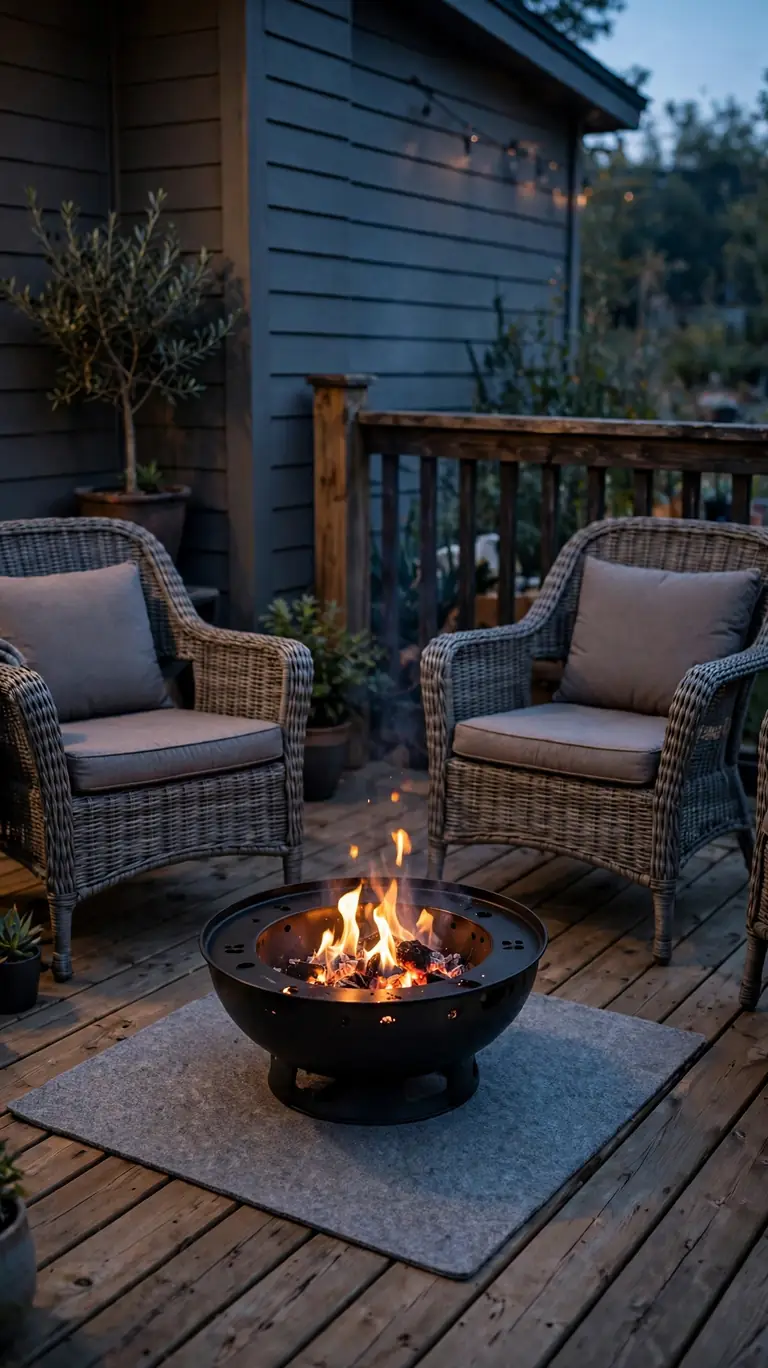
A portable fire pit creates a natural gathering spot and extends deck season deep into autumn. The key word is portable: a standalone bowl or table-style fire pit sits on a heat-safe pad or fire-resistant mat, no construction needed.
Keep it well away from the house wall, railing, and any overhanging shade sail, and never leave it burning unattended. A few weather-resistant chairs arranged around it turn an unused corner into the place everyone migrates to after dinner.
14. Grow a Vertical Herb Garden on the House Wall
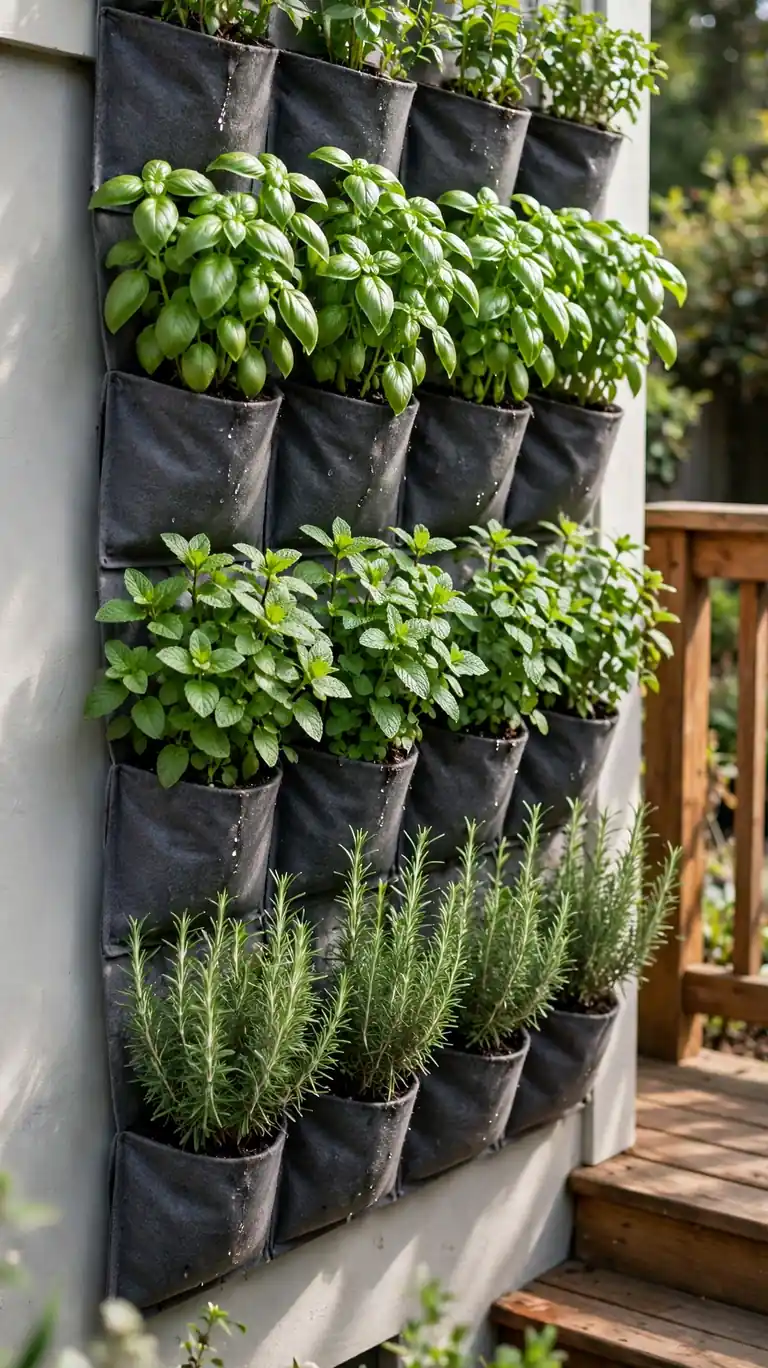
The wall where the deck meets the house is prime real estate. A vertical planter, a series of wall-mounted pockets, a hanging rail with pots, or a simple ladder shelf, turns it into a productive herb garden.
Basil, mint, rosemary, and chives all thrive in containers and handle the heat that reflects off deck boards. Wall-mounted planting keeps the floor clear and puts fresh herbs at arm’s reach while you grill. Water more often than ground plants, since wall planters dry out quickly.
15. Build a Gravel-and-Paver Transition at the Steps
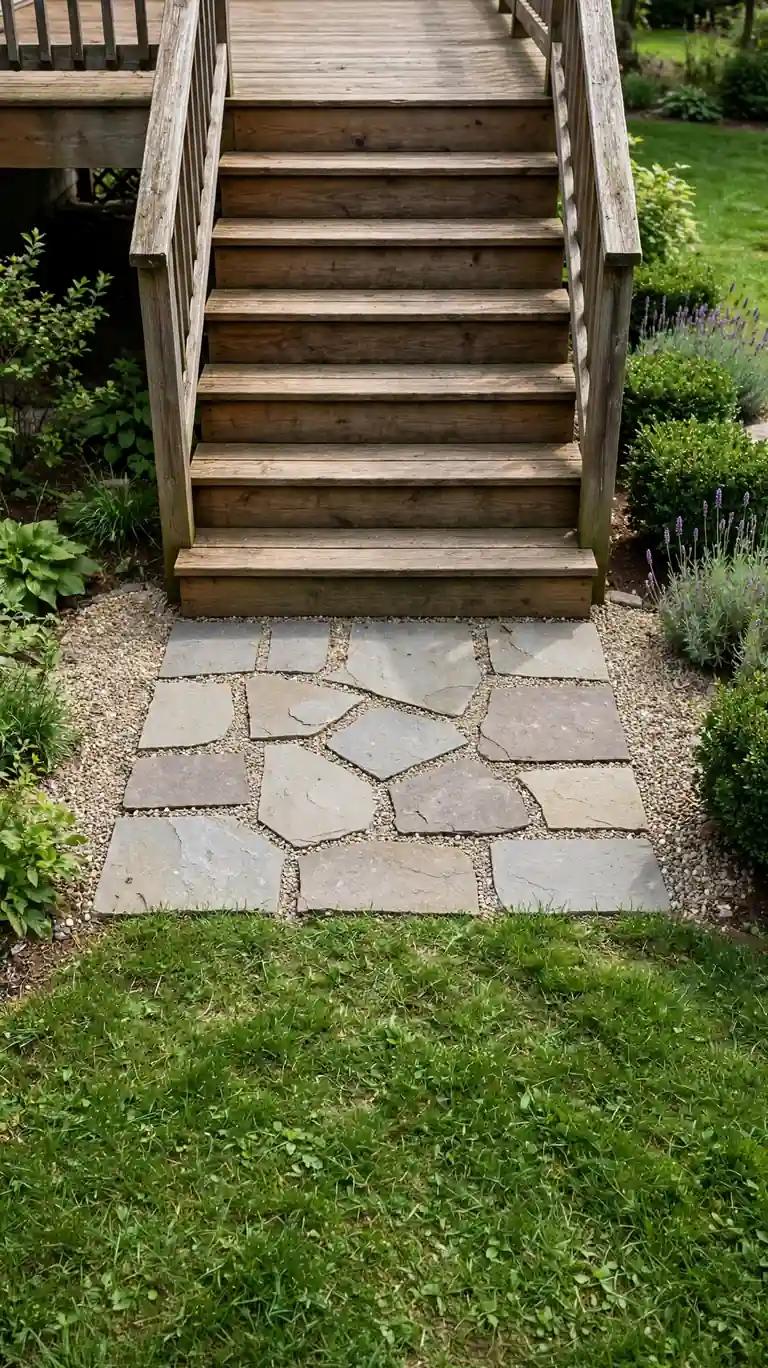
The ground where deck steps meet the lawn turns muddy and worn fast. A small landing of gravel and pavers solves the mess and makes the deck feel connected to the rest of the yard.
Dig out a shallow rectangle, lay landscape fabric, spread compacted gravel, and set pavers on top with small gaps. The landing gives muddy shoes a place to stop, protects the base of the steps from moisture, and creates a tidy visual threshold between deck and garden.
16. Add a Storage Bench That Doubles as Seating
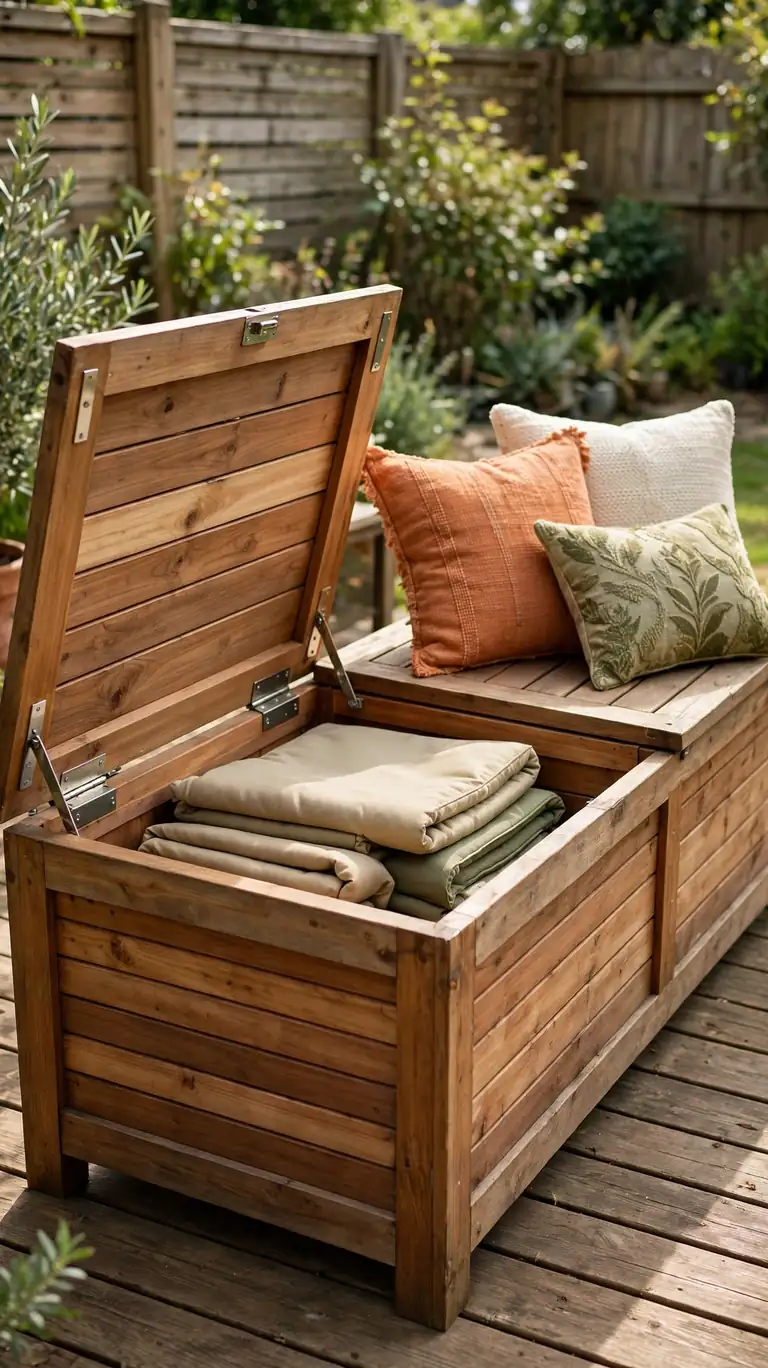
Every deck needs more seating and more storage, and a storage bench delivers both in one footprint. The hinged top opens to swallow cushions, outdoor games, or gardening supplies.
Place it along the railing or beside the door where it’s easy to reach but out of the main walking lane. A couple of throw pillows on top make it read as intentional furniture, not a box. It’s the same decluttering magic as a deck box, but it looks better and seats two.
17. Power Wash Once a Year to Reset Everything
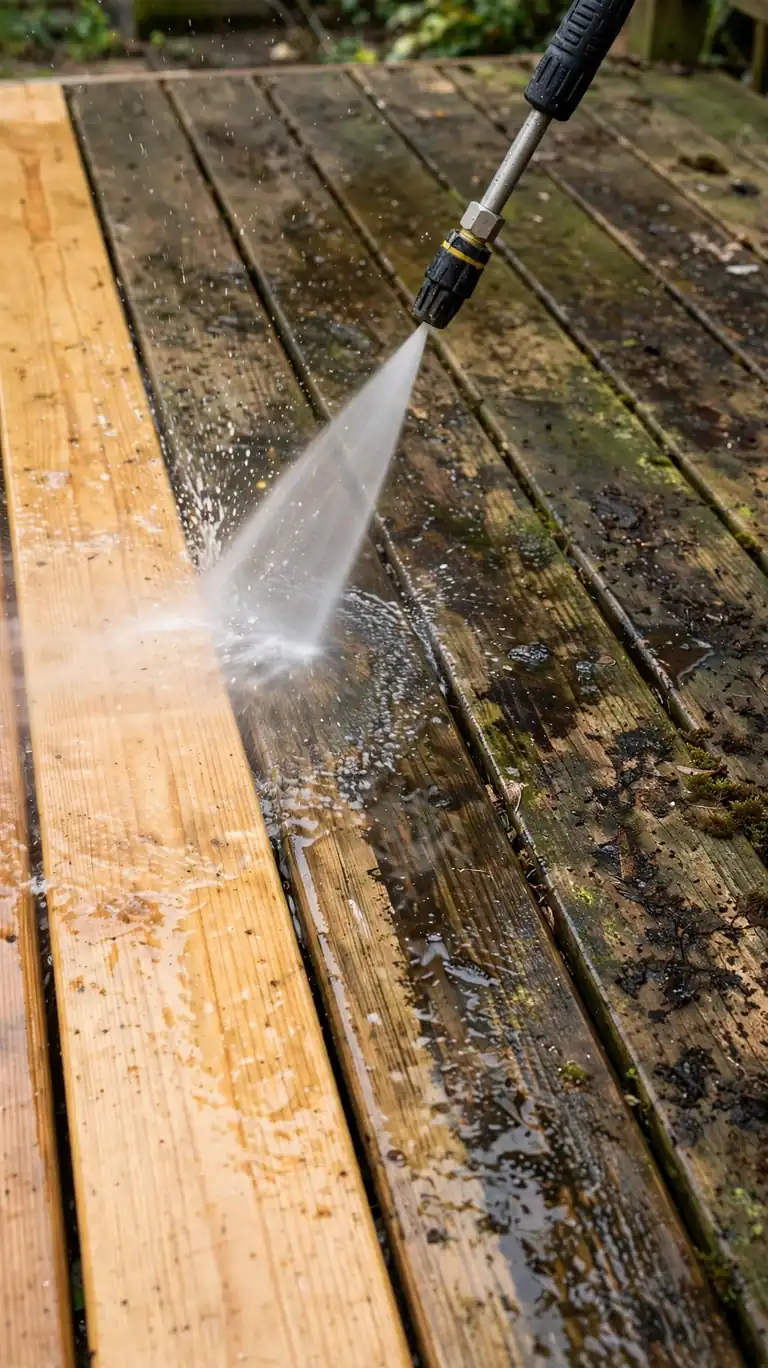
A pressure washer is the closest thing to a time machine for decks. A yearly wash strips away grime, algae, pollen, and mildew that dull the surface and make wood deteriorate faster.
Use a wide fan nozzle and keep the wand moving at a consistent distance so you don’t gouge the wood. Work from the house outward, then let the deck dry for a full day or two before staining or sealing. Make this an annual ritual and every other idea on this list will last longer and look better.
Frequently Asked Questions
What is the cheapest way to make an old deck look better?
A thorough power wash followed by a fresh coat of deck stain is usually the cheapest transformation. The wash costs almost nothing if you borrow or rent the washer, and stain refreshes the color, hides fading, and adds weather protection in one step. Pair it with an outdoor rug and string lights and the deck will look completely different for very little money.
How often should I reseal or restain my deck?
Most decks need a fresh coat every two to three years, depending on sun exposure, weather, and the product you used. You’ll know it’s time when water stops beading on the surface and soaks in instead. Doing it on schedule is far cheaper than letting the finish fail and dealing with gray, splintering wood.
Can I improve my deck without building anything?
Absolutely. Cleaning, staining, an outdoor rug, string lights, solar cap lights, a deck box for clutter, railing planters, and a shade sail all transform a deck with zero construction. Layout and lighting do most of the visual heavy lifting, and they’re all reversible if you rent or change your mind later.
How do I keep a deck looking good with minimal maintenance?
Sweep it weekly, wash it once a year, and keep the finish up to date so water beads instead of soaking in. Use outdoor-rated furniture and rugs that dry quickly, and store cushions in a deck box when you’re not using them. Small habits like these prevent most of the grime, fading, and mildew that age a deck prematurely.
Are peel-and-stick deck tiles a good long-term option?
They’re a great medium-term refresh rather than a permanent solution. The tiles hide ugly boards, add comfort underfoot, and can last several seasons if the deck underneath is structurally sound and drains well. Just remember they sit on top of the existing surface, so any rotten boards underneath should be replaced first.
Conclusion
A beautiful deck that lasts for years isn’t about spending the most money. It’s about choosing the right small upgrades and keeping up with the simple maintenance that protects them. A clean, sealed surface, thoughtful lighting, and a layout that invites people to sit down will beat an expensive but neglected deck every single time.
Start with the fundamentals: clean it, repair what’s broken, and seal it against the weather. Then layer in the comfort and personality, lighting for evenings, shade for afternoons, planting to soften the edges, and storage to keep the clutter out of sight. Each idea here works on its own, and they stack beautifully together.
Your deck has years of good gatherings in it. Pick the ideas that fit your space and your weekend, and enjoy watching the most underused room of your house become the one everyone fights over.