20 Kitchen Ideas With Smart Layouts and Beautiful Finishes
A kitchen that photographs well and a kitchen that actually works to cook in aren’t automatically the same thing. The best kitchen layouts solve real workflow problems first, cooking, prepping, cleanup, storage, and let beautiful finishes build on top of a floor plan that already functions.
This guide covers 20 real kitchen ideas, split between layout decisions and finish choices, and each one includes something practical: a measurement, a cost range, a material comparison, or an honest pros-and-cons breakdown, so you’re planning with real numbers instead of just a mood board.
Get the layout right first. Finishes are easier to change later than a floor plan is.
1. The Kitchen Work Triangle
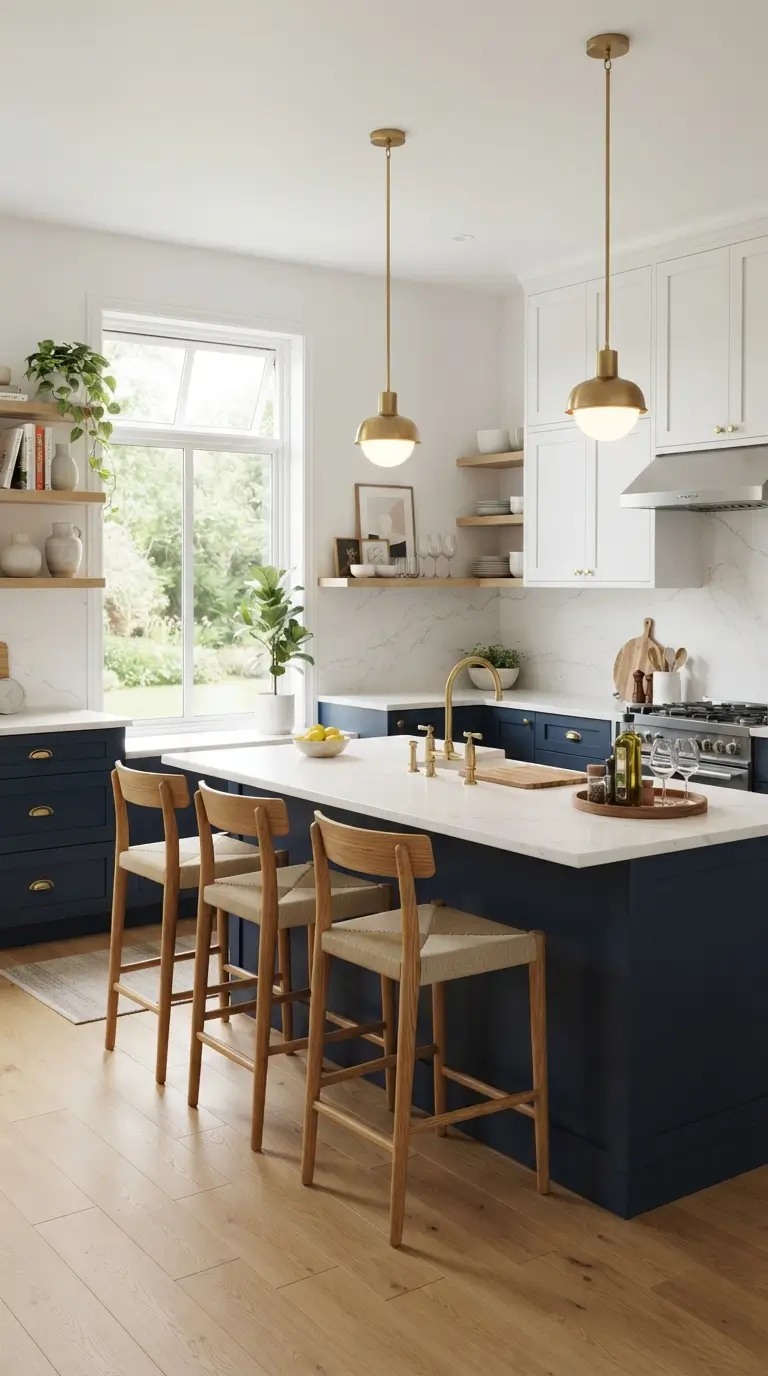
The classic work triangle connects the sink, stove, and refrigerator in a layout that minimizes unnecessary steps between the three tasks you repeat most while cooking.
The distance guidelines:
| Leg of the Triangle | Recommended Distance |
|---|---|
| Sink to stove | 4-6 feet |
| Stove to refrigerator | 4-9 feet |
| Refrigerator to sink | 4-7 feet |
| Total triangle perimeter | 13-26 feet |
A triangle that’s too small feels cramped for two people cooking together; one that’s too large means unnecessary walking on every single task. Modern open kitchens often use a modified “work zone” concept instead of a strict triangle, but the underlying distance logic still applies.
2. Galley Layout for Narrow Spaces
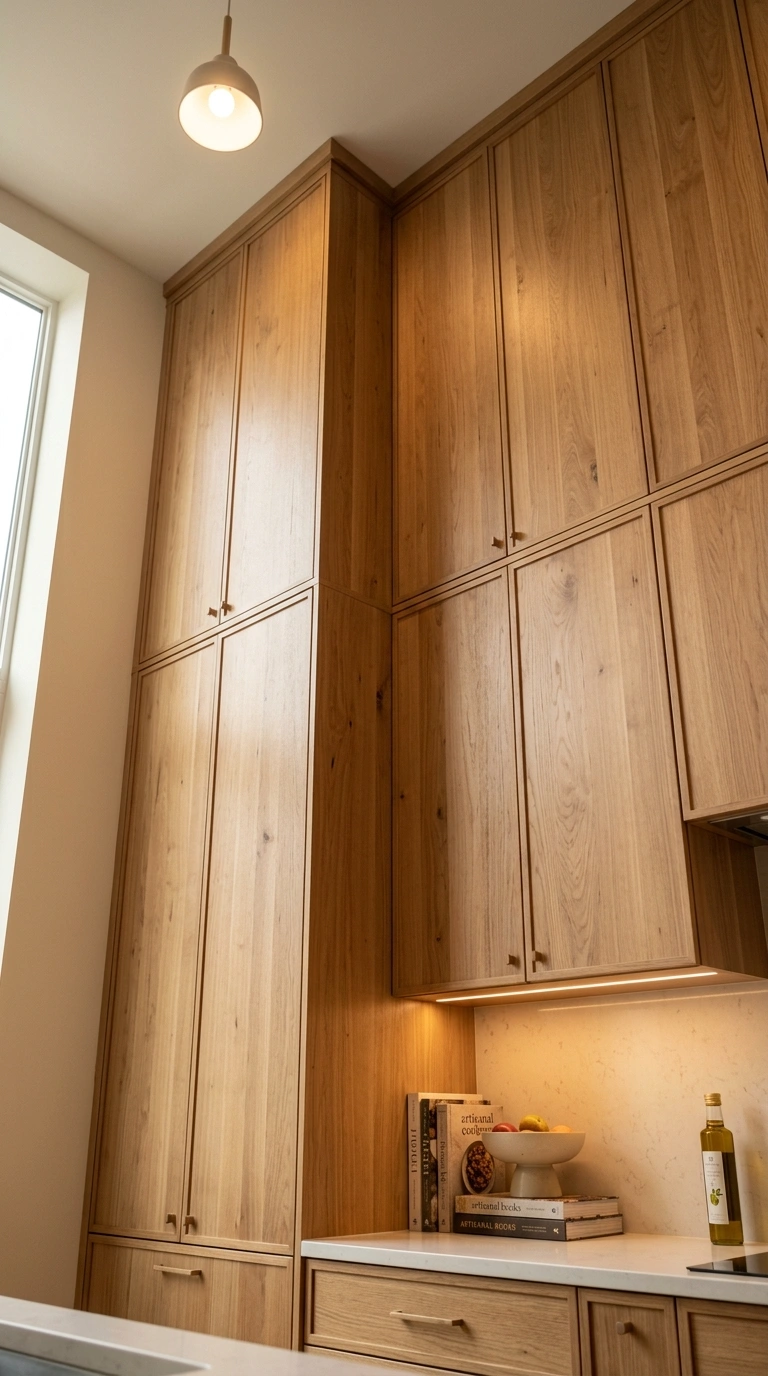
A galley layout, with two parallel counters facing each other, makes efficient use of narrow kitchen spaces and creates a highly functional workflow, since everything sits within a step or two in either direction.
Minimum aisle width: at least 42 inches between the two counters for one cook, or 48-54 inches if you regularly have two people working in the kitchen at once.
Cost range: $8,000-$25,000 for a full galley kitchen renovation, depending on cabinet and countertop material, generally more budget-efficient than an island layout since it uses less overall square footage.
3. L-Shaped Layout With an Island
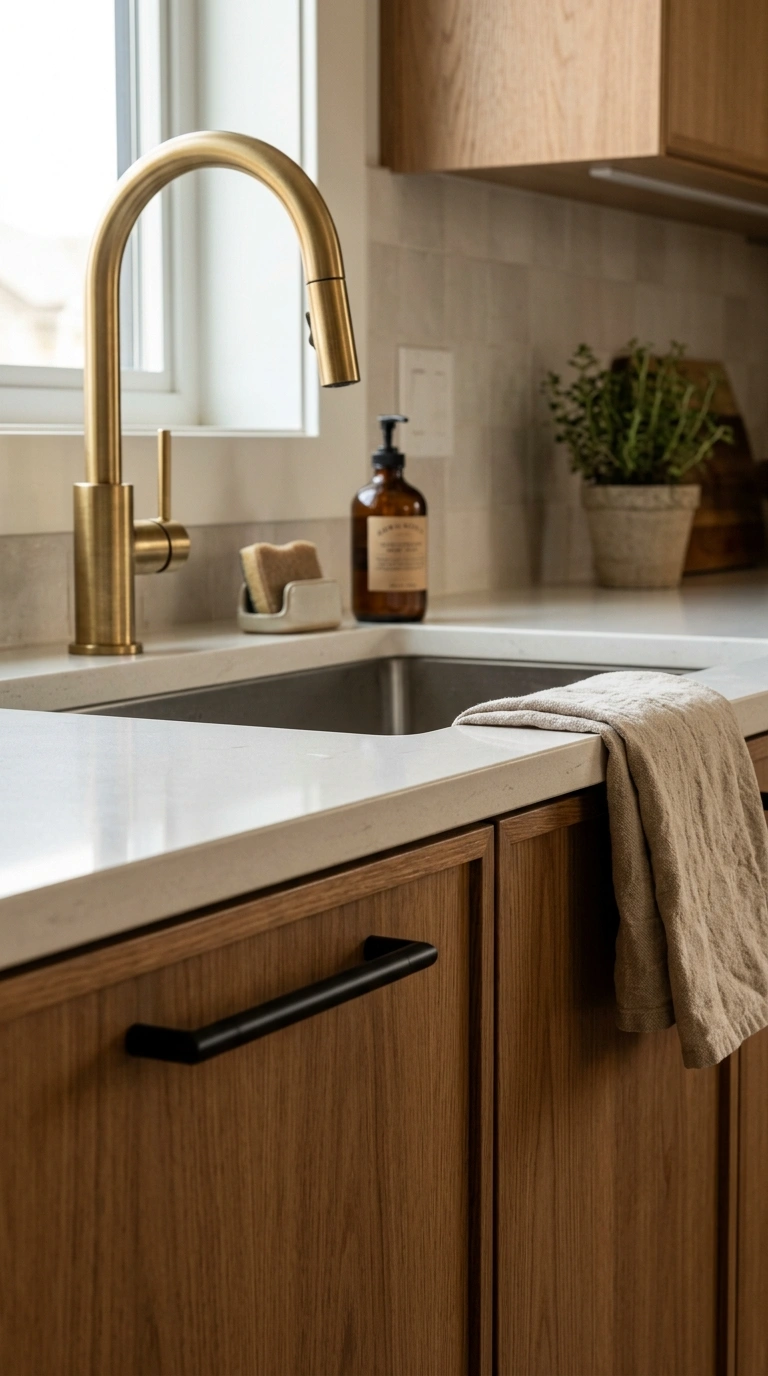
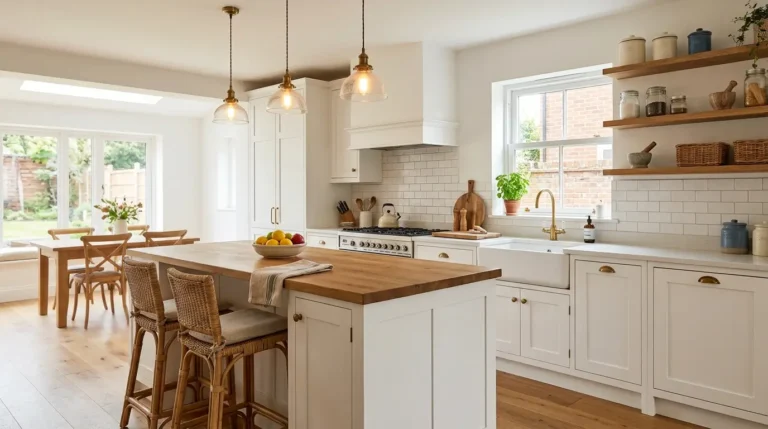
An L-shaped layout, with cabinetry along two adjoining walls plus a central island, is one of the most popular modern kitchen configurations, balancing open flow with efficient storage and workspace.
Space requirements:
| Element | Minimum Clearance |
|---|---|
| Walkway around the island | 42-48 inches on all sides |
| Island width (for seating) | At least 24 inches deep for seating overhang |
| Total room size needed | Roughly 200+ square feet for comfortable flow |
Cost range: $15,000-$40,000+ depending on island size, cabinetry, and countertop material.
4. U-Shaped Layout for Maximum Storage
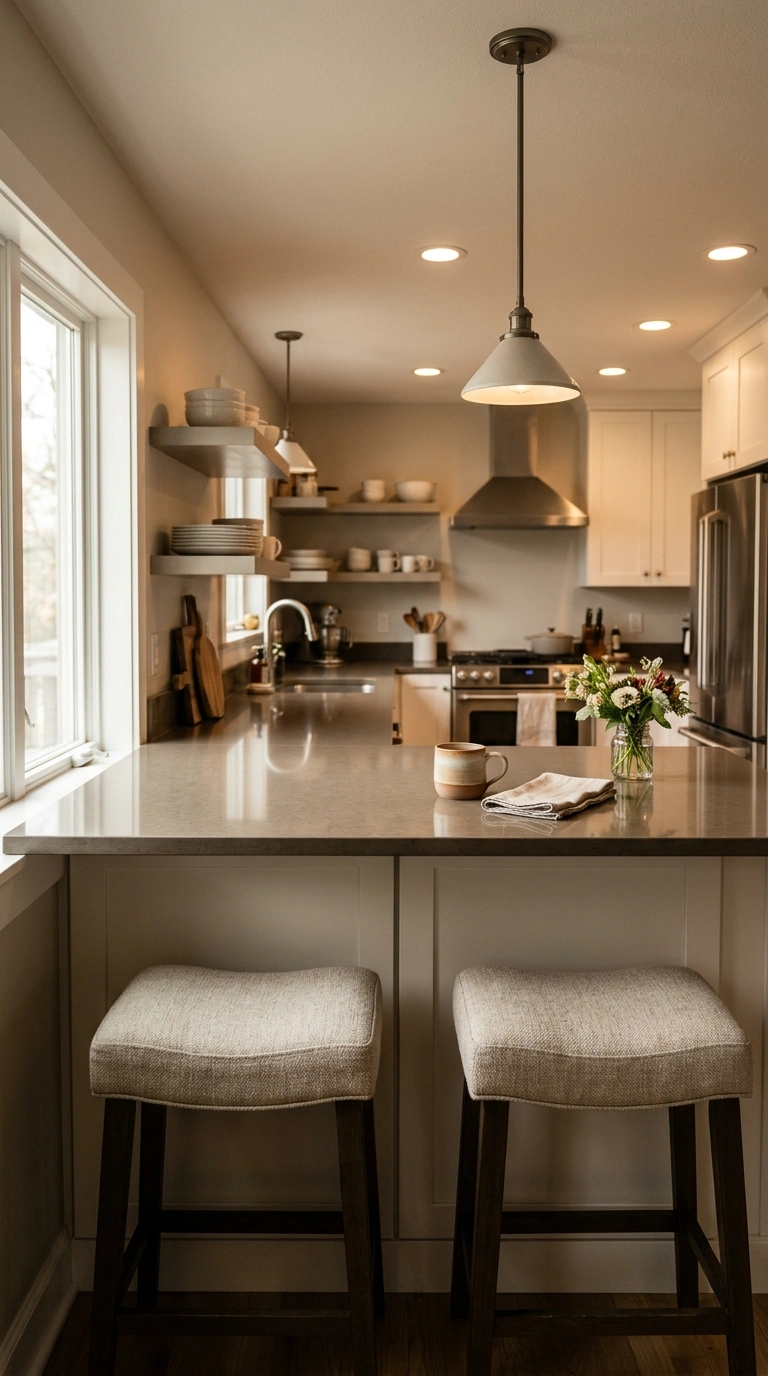
A U-shaped layout, with cabinetry wrapping three walls, maximizes counter and storage space more than any other common configuration, at the cost of requiring more floor space to avoid feeling cramped.
Works well if: you have a room at least 10×10 feet, giving enough clearance in the center for comfortable movement between all three walls.
Skip it if: your kitchen is on the smaller side, since a U-shape in a tight room can create a closed-in, tunnel-like feeling rather than an efficient one.
Cost range: $18,000-$45,000+ depending on the extent of cabinetry across all three walls.
5. Two-Tone Cabinetry for Visual Zoning
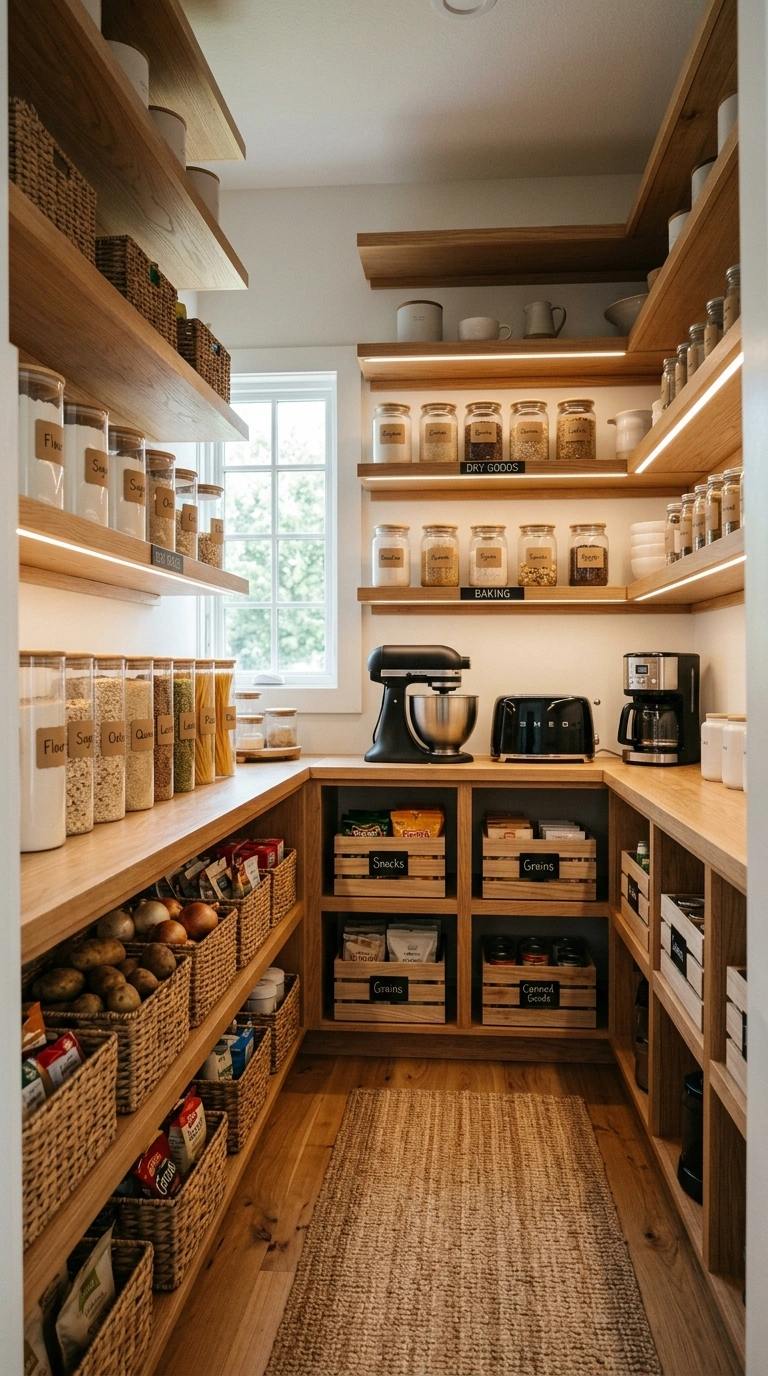
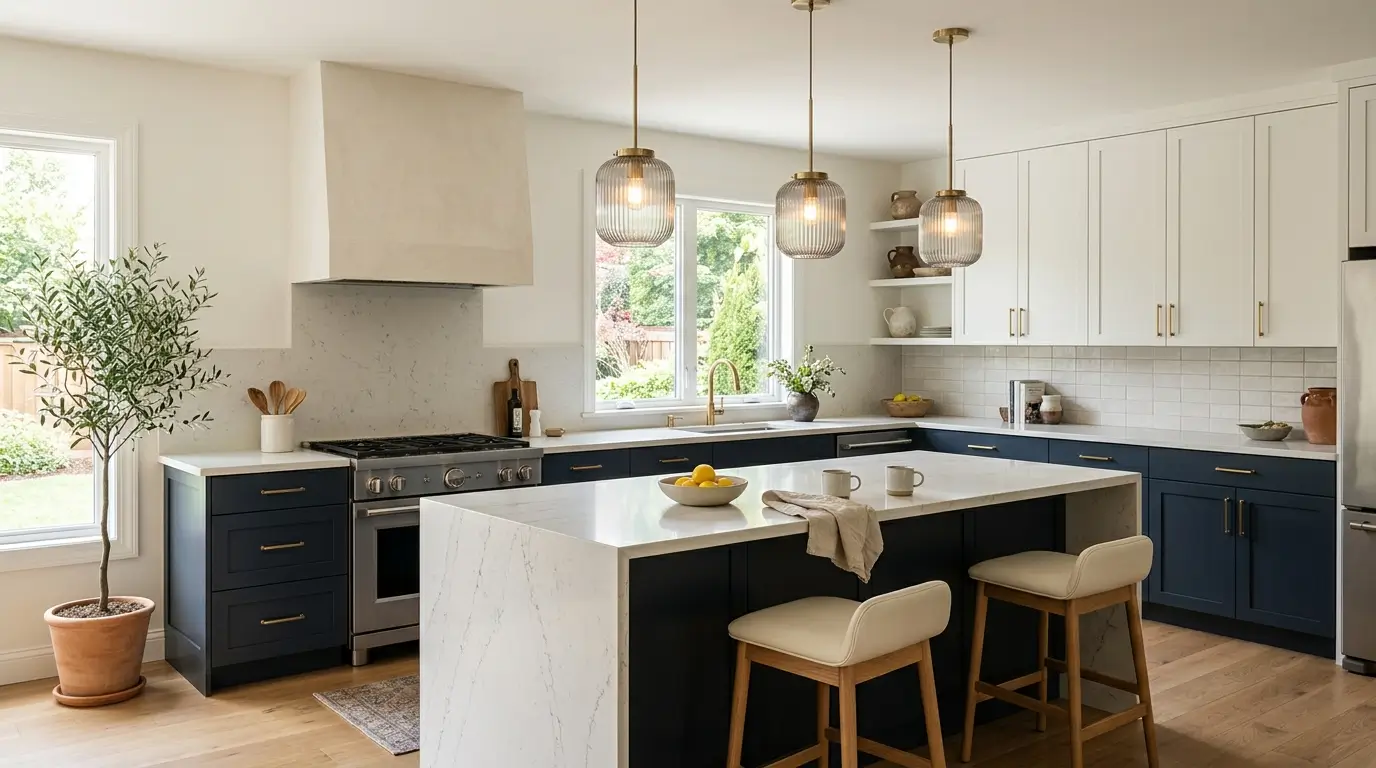
Using two different cabinet colors, commonly a darker tone on the lower cabinets and island with a lighter tone on the uppers, visually zones the kitchen while adding depth that single-color cabinetry can’t achieve.
Placement guide:
| Approach | Visual Effect |
|---|---|
| Dark lowers, light uppers | Classic, grounds the room, most popular |
| Dark island only, rest light | Highlights the island as a focal point |
| Light lowers, dark uppers | Less common, can feel top-heavy in smaller kitchens |
Cost range: $8,000-$20,000+ for new two-tone cabinetry, or $300-$800 in paint for a DIY repaint of existing cabinets in a second tone.
6. Waterfall Island Countertop
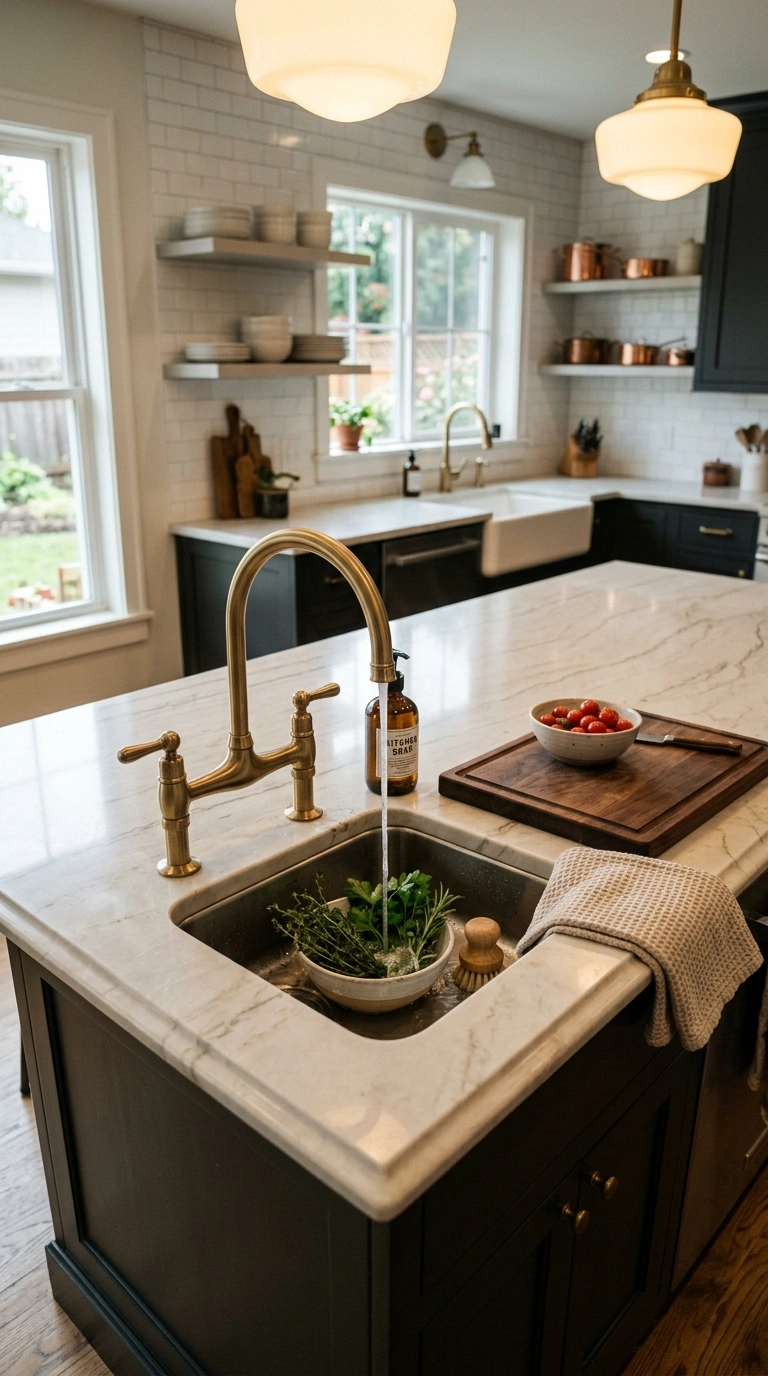
A waterfall countertop, where the stone material wraps continuously down the sides of the island rather than stopping at the counter edge, creates a seamless, high-end look that reads as a deliberate design choice rather than just a work surface.
Cost range: $3,500-$9,000+ depending on island size and stone material, since this technique requires more slab material and precise fabrication than a standard countertop edge.
This is one of the more expensive finish choices on this list, but it’s also one of the most visually impactful, especially on an island that serves as the room’s natural focal point.
7. Mixed Countertop Materials by Zone
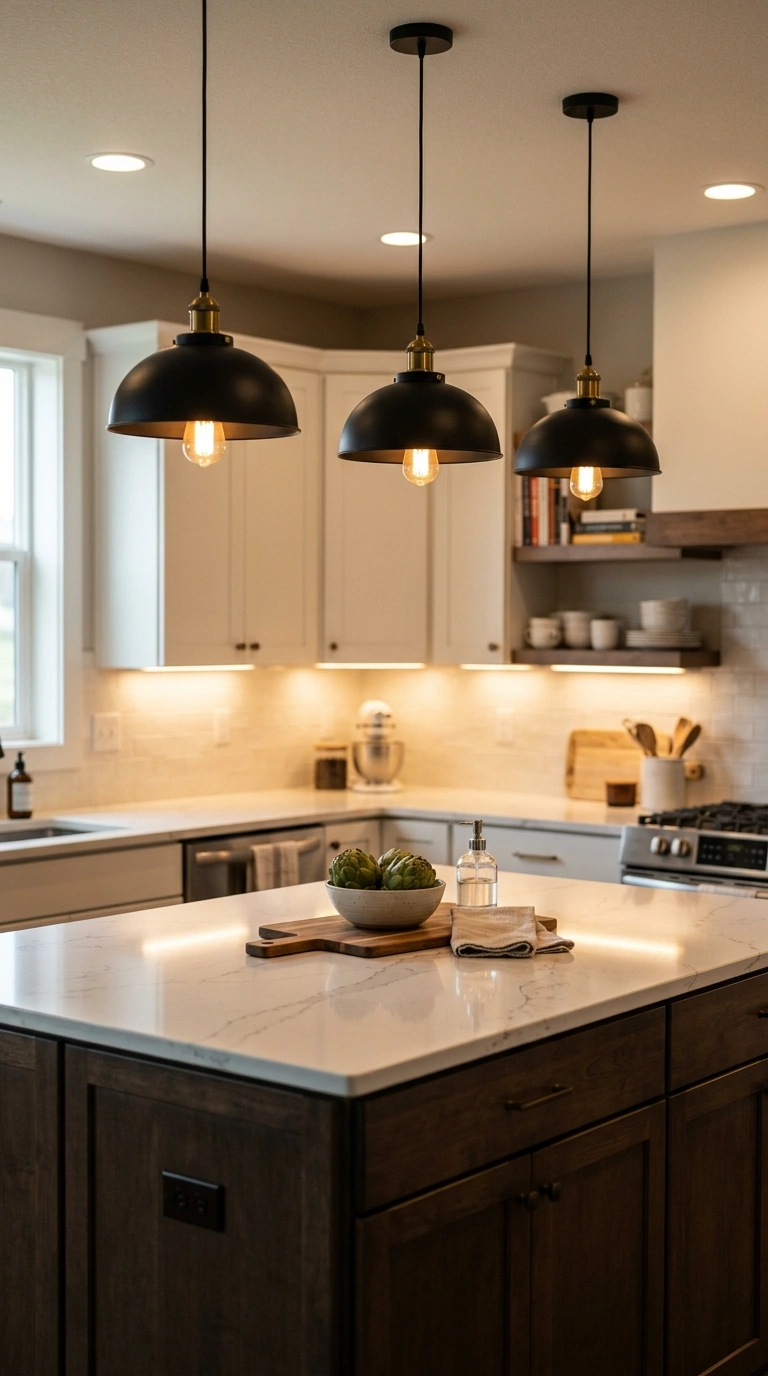
Rather than one material across the entire kitchen, using different countertops suited to each zone’s specific function, like a heat-resistant material near the range and a cooler stone surface for pastry work, combines practicality with visual interest.
| Zone | Recommended Material | Why |
|---|---|---|
| Island / main prep | Quartz or granite | Durable, low maintenance |
| Baking zone | Marble | Naturally cool surface, ideal for pastry |
| Near the range | Quartzite or granite | More heat-resistant than quartz |
Cost range: varies by material mix, but budgeting $50-$120 per square foot across different zones is a reasonable planning range.
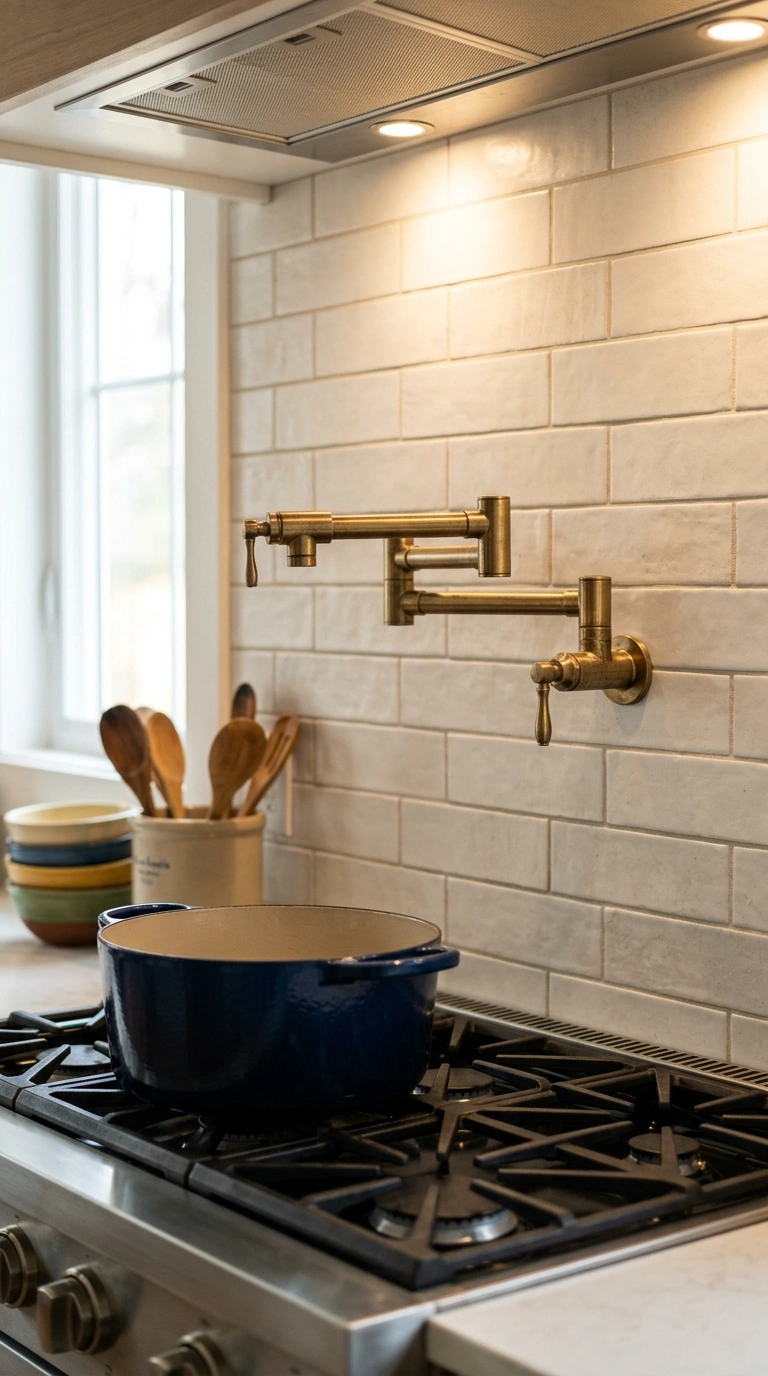
8. Pot Filler Above the Range
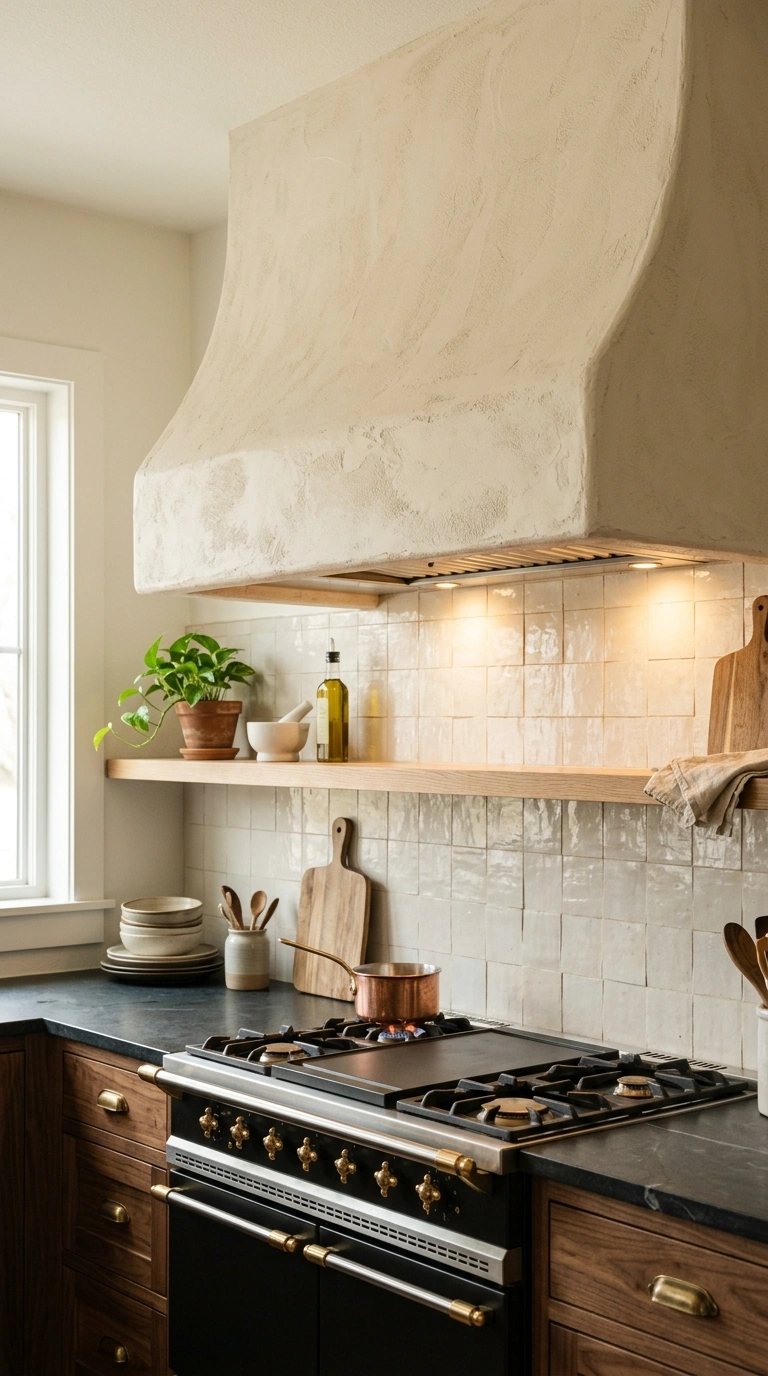
A pot filler, a dedicated faucet mounted above the stove, eliminates the need to carry a heavy, full pot of water from the sink to the range, a small but genuinely useful function upgrade for anyone who cooks pasta or stock regularly.
Cost range: $200-$600 for the fixture, plus $300-$800 in plumbing labor to run a water line to that specific wall location, which is more involved than most other range-area upgrades.
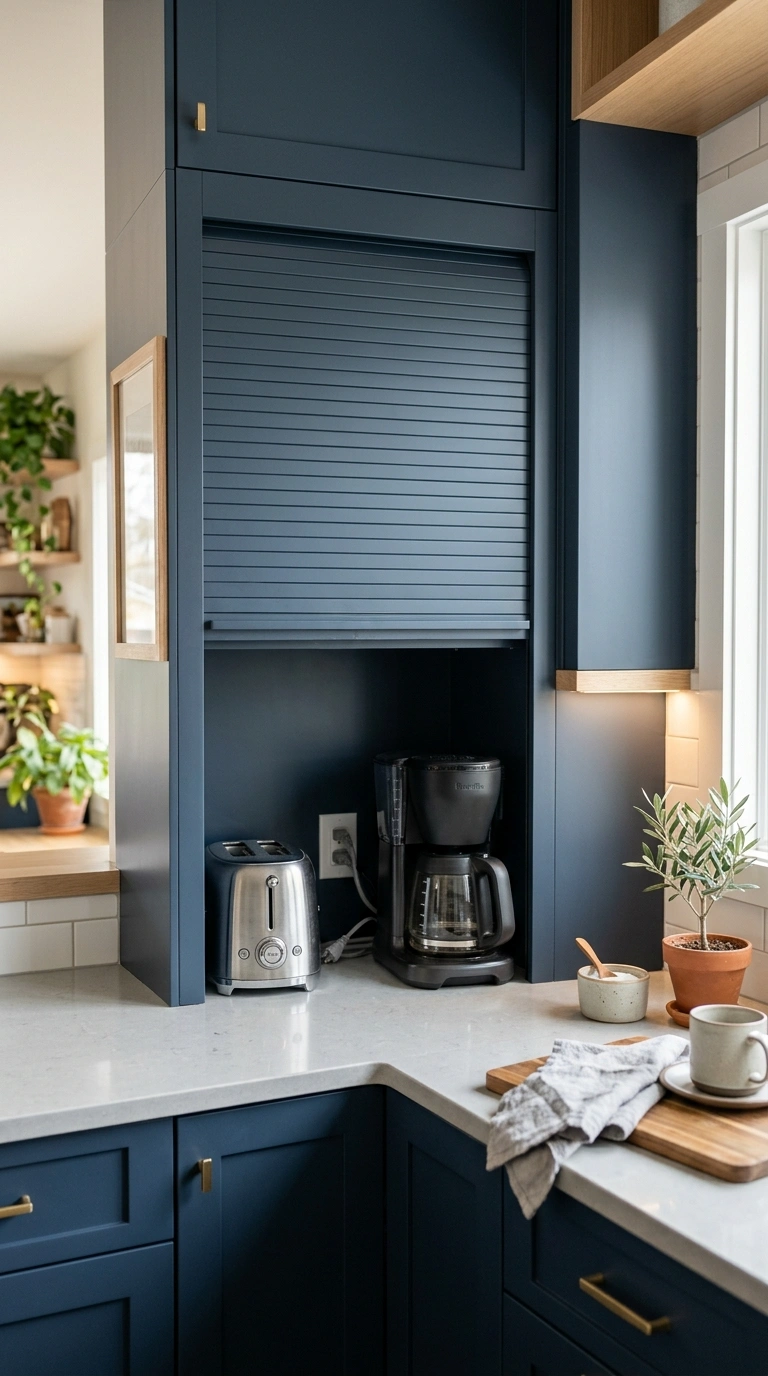
9. Appliance Garage for Small Appliances
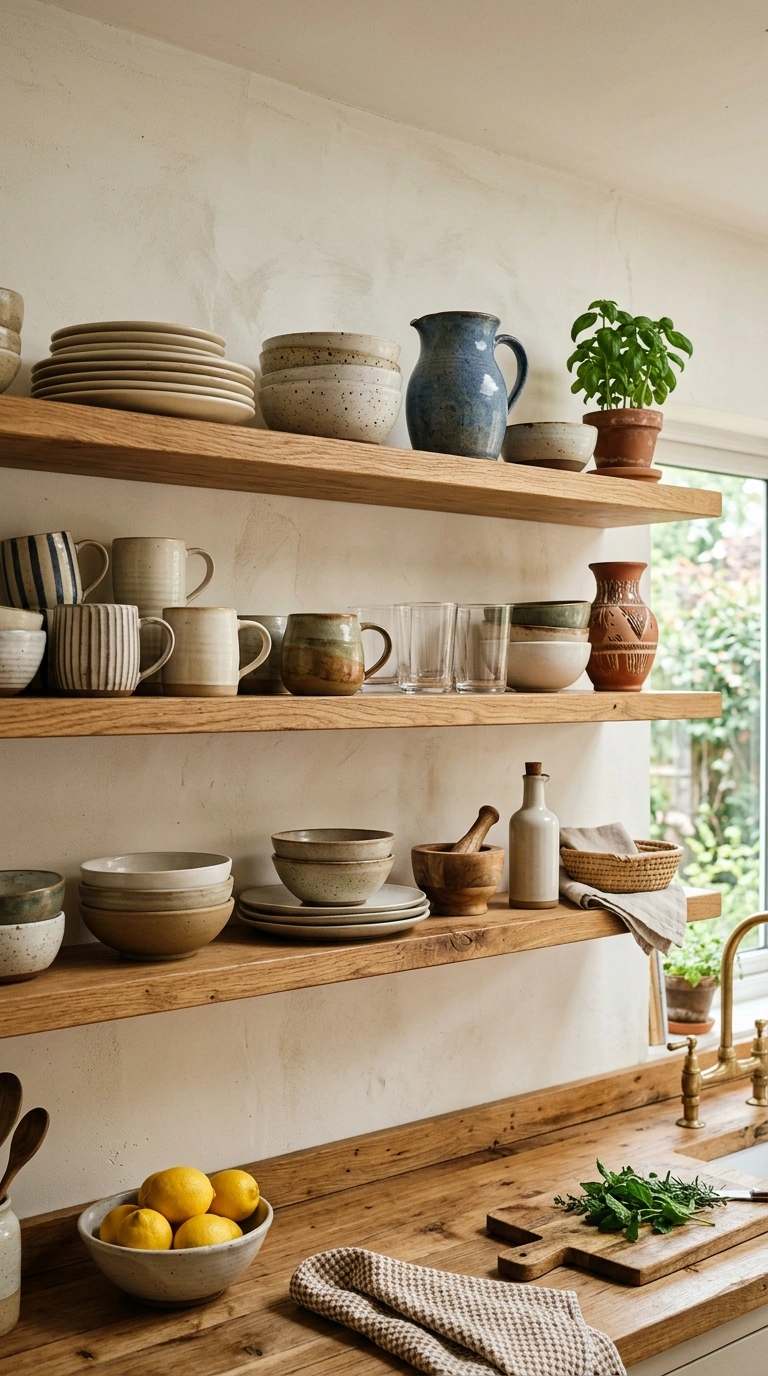
An appliance garage, a cabinet section with a roll-up or lift-up door built into the counter’s back edge, hides small appliances like a toaster or coffee maker while keeping them plugged in and ready to use.
Measurement guide: most appliance garages need at least 15-18 inches of height and 24 inches of width to comfortably house a couple of standard countertop appliances.
Cost range: $400-$1,200 depending on size and door mechanism, typically added during a full cabinetry installation rather than as a standalone retrofit.
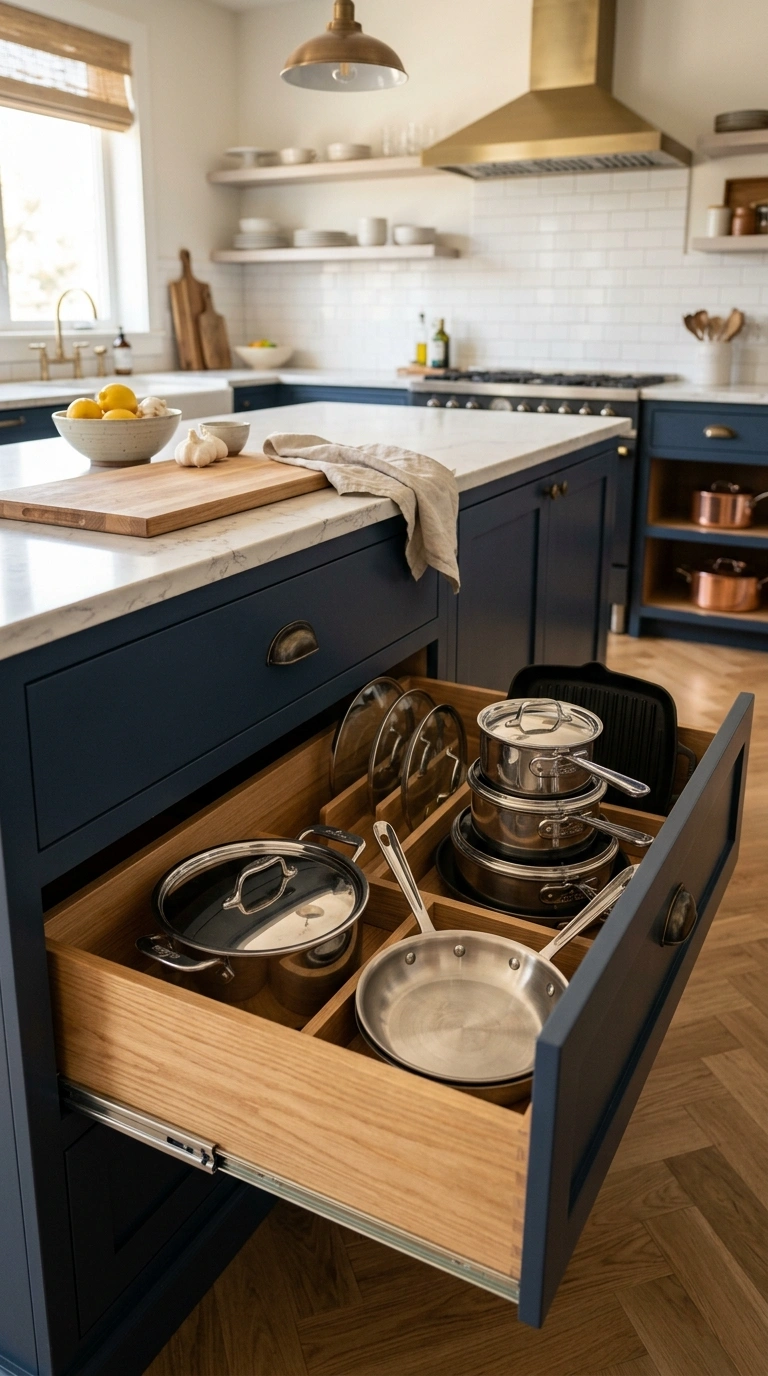
10. Drawer Base Cabinets Instead of Doors
Deep drawers, rather than cabinets with a door and internal shelves, make lower cabinet storage far more accessible, since you can see and reach everything in a drawer without kneeling or reaching into a dark cabinet interior.
Pros and cons versus standard cabinet doors:
| Option | Pros | Cons |
|---|---|---|
| Drawer base cabinets | Full visibility, easy access, no reaching | Higher cost, slightly less usable width per cabinet |
| Standard cabinet doors with shelves | Lower cost, more common | Items get lost in the back, requires kneeling to access |
Cost range: drawer bases typically add 15-25% to the cost of standard cabinetry with the same footprint.
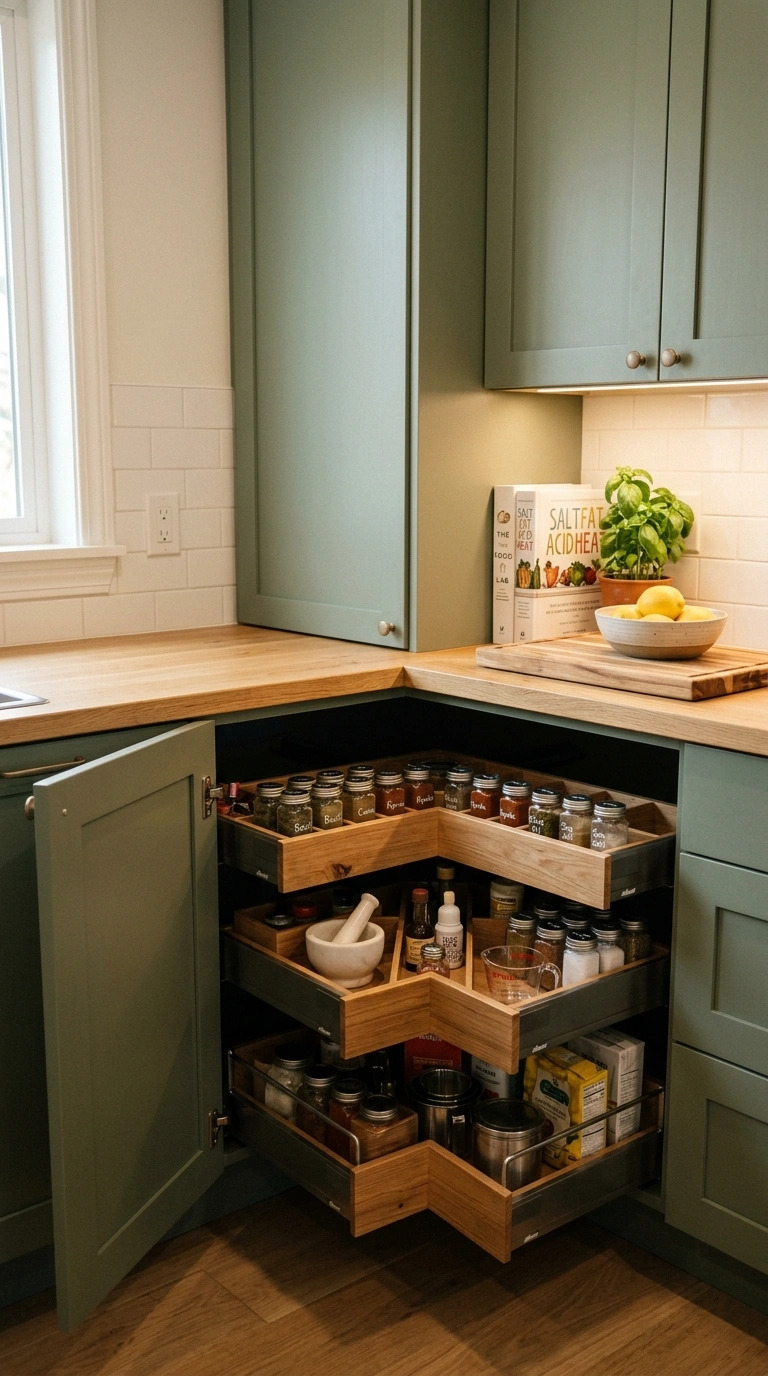
11. Corner Cabinet Storage Solutions
Corner cabinets are notoriously difficult to use efficiently, and the solution you choose significantly affects how much of that corner space actually becomes usable storage.
| Solution | Accessibility | Approx. Cost |
|---|---|---|
| Lazy Susan (rotating shelves) | Good, but items can shift during rotation | $150-$400 |
| Pull-out corner unit (diagonal drawers) | Excellent, full visibility when pulled out | $400-$900 |
| Blind corner with no special hardware | Poor, hardest to reach fully | $0 additional (standard cabinet) |
The pull-out corner unit consistently tests as the most functional option, though it also carries the highest added cost of the three.
12. Open Shelving for Visual Openness
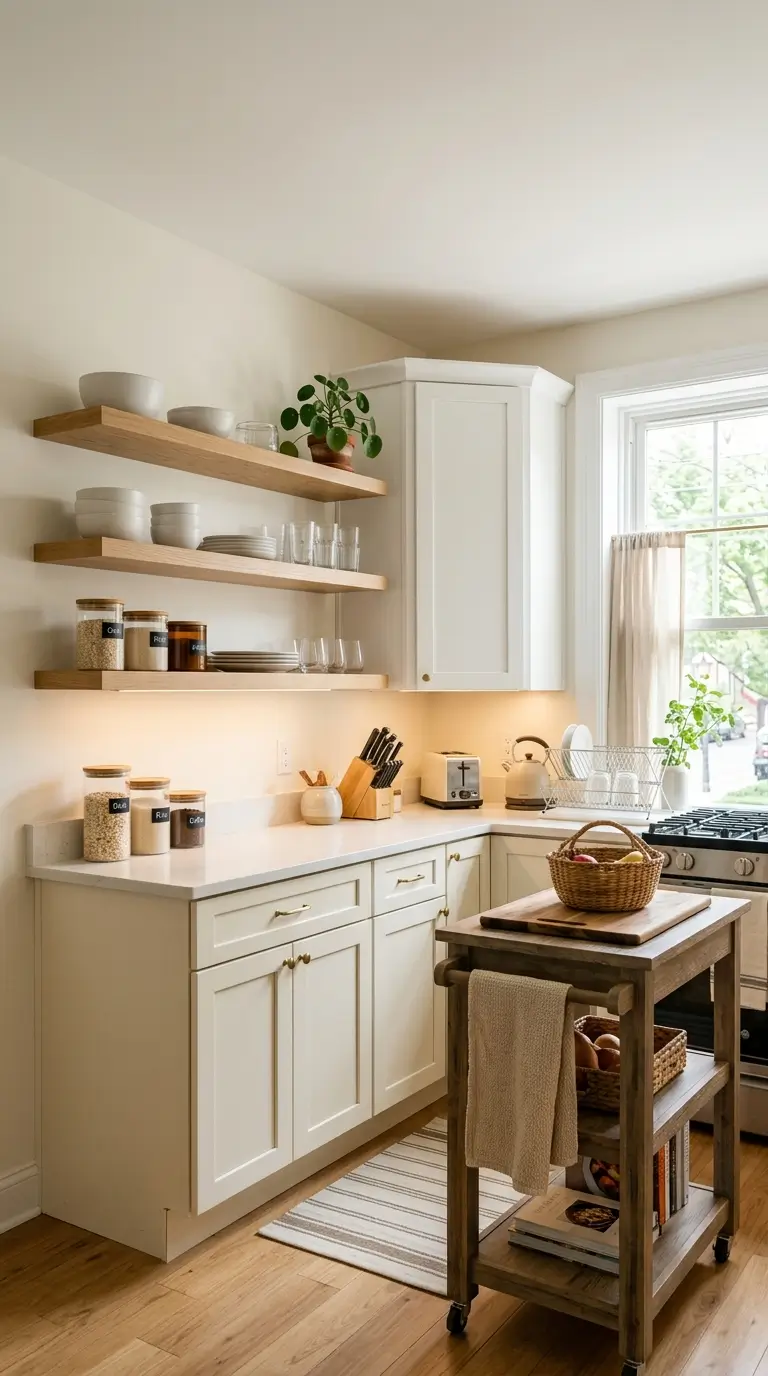
Replacing a section of upper cabinets with open shelving lightens the overall visual weight of the kitchen and creates a natural spot for styled, everyday dishware.
Styling checklist:
- Mix everyday dishes with a few decorative pieces, rather than dishes alone
- Leave roughly 25-30% of shelf space empty so it reads as curated, not cluttered
- Position your most-used items at the most accessible height
Cost range: $60-$250 for a set of shelves and brackets, considerably less than the equivalent run of upper cabinetry.
13. Statement Range Hood
A range hood built as a genuine design feature, whether in plaster, wood, tile, or a bold metal finish, turns a purely functional appliance into the kitchen’s visual anchor.
| Tier | What You Get | Approx. Cost |
|---|---|---|
| Budget | Standard hood with a decorative cover panel | $300-$800 |
| Mid-Range | Custom-shaped hood in wood or plaster | $1,200-$3,000 |
| Investment | Fully custom hood in copper, brass, or hand-finished plaster | $3,500-$8,000+ |
14. Layered Task and Ambient Lighting
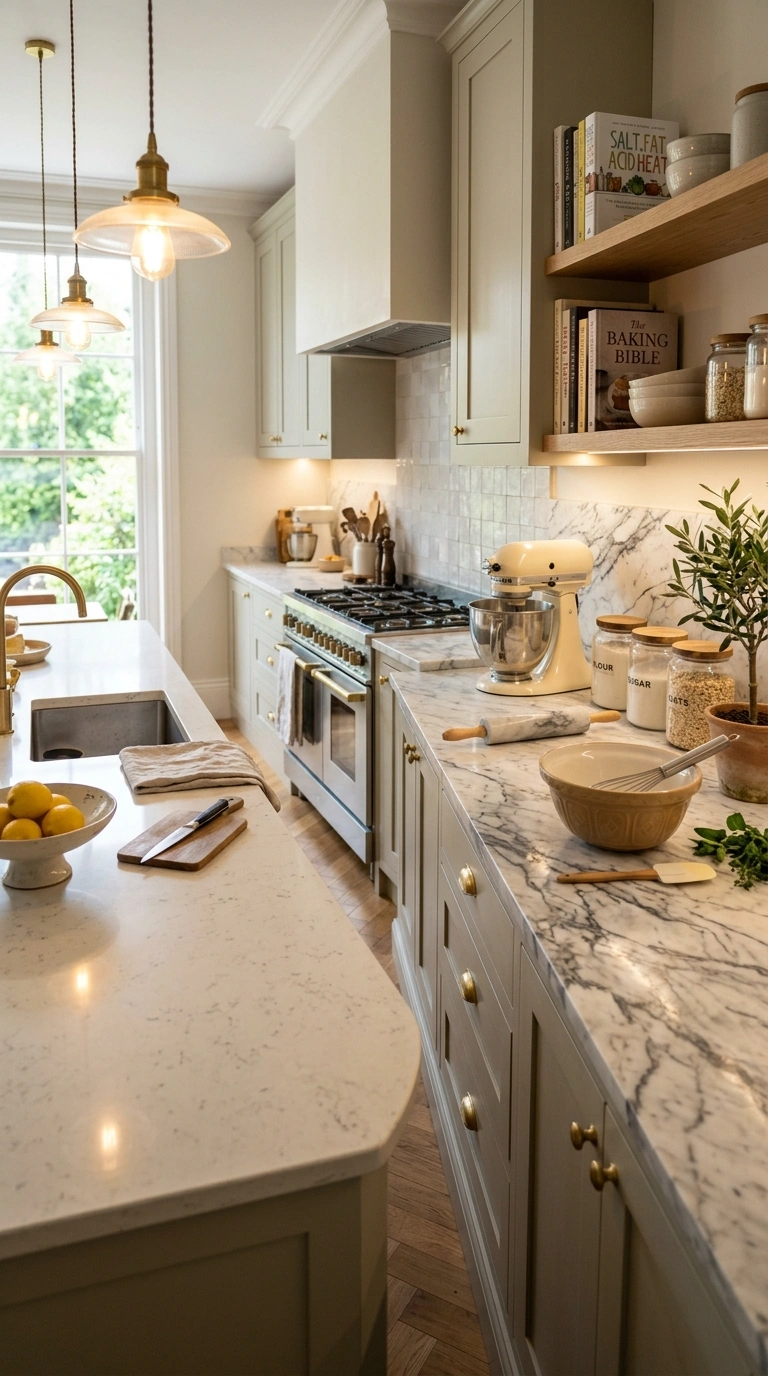
A well-lit kitchen uses at least three layers of lighting, task lighting for specific work zones, ambient lighting for overall room brightness, and accent lighting for visual interest, rather than relying on a single overhead fixture.
A simple layering checklist:
- Under-cabinet task lighting directly over counters and the sink
- Ambient overhead lighting (recessed cans or a flush mount) for general room brightness
- Pendant or accent lighting over the island for both function and visual style
- Dimmers on at least the ambient layer, to shift the mood from bright daytime cooking to a softer evening feel
Cost range: $500-$2,000+ across all three layers, depending on fixture quality and whether new wiring is needed.
15. Prep Sink in the Island
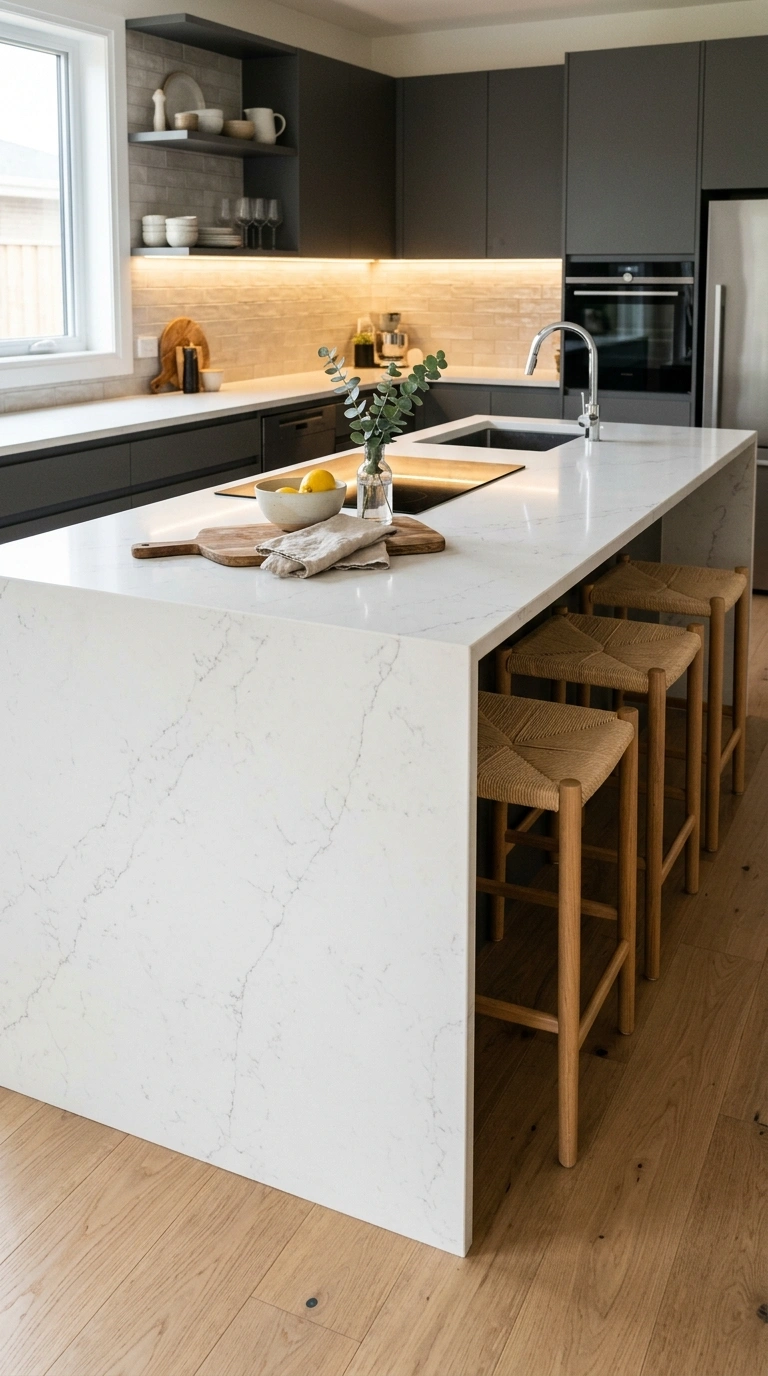
A second, smaller sink installed in the island gives a dedicated prep zone separate from the main cleanup sink, which is especially useful when multiple people are cooking at once.
Works well if: you regularly cook with a second person, or do enough food prep that a dedicated washing station speeds up your workflow meaningfully.
Skip it if: your kitchen island is already tight on usable counter or seating space, since a prep sink takes up real island real estate that could otherwise serve other functions.
Cost range: $1,500-$4,000+ including the sink, faucet, and additional plumbing rough-in required to reach the island.
16. Walk-In Pantry Integration
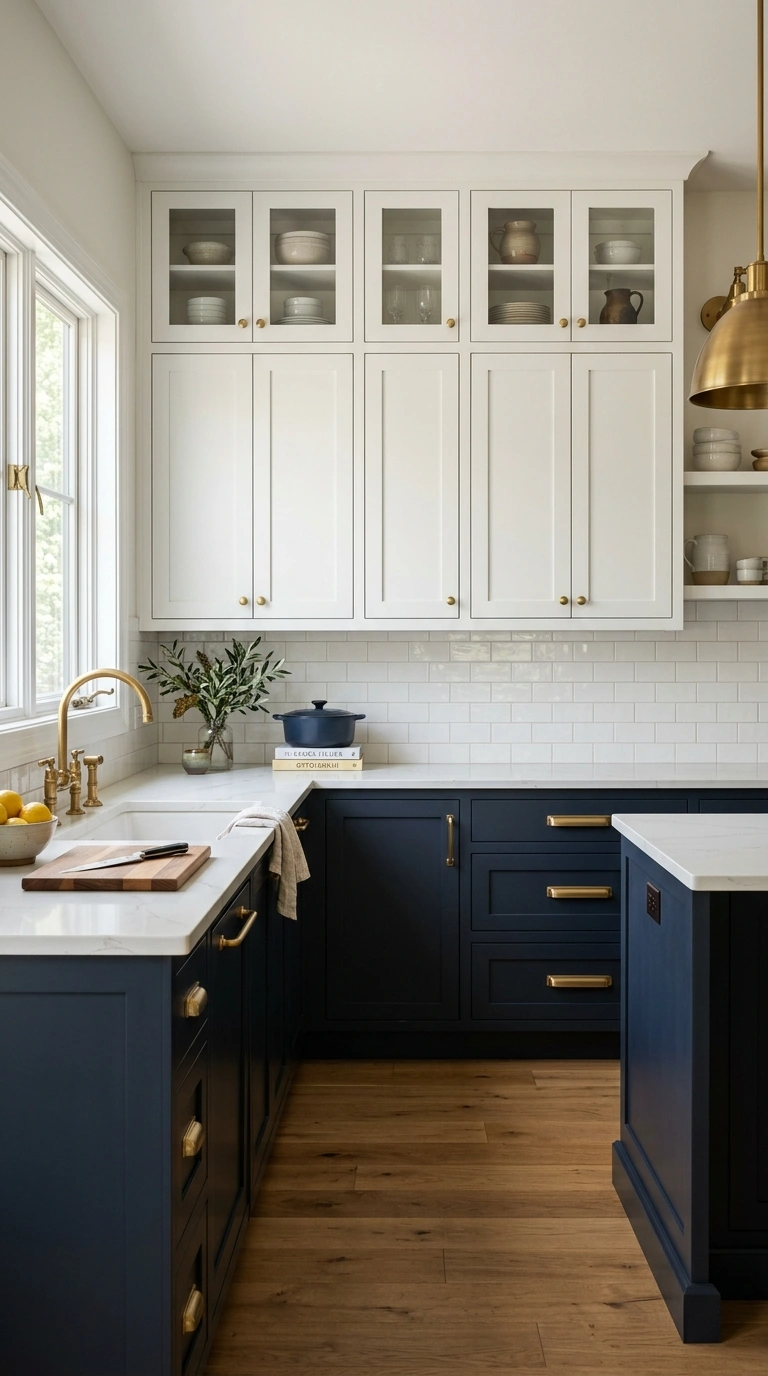
A dedicated walk-in pantry, rather than relying solely on cabinet-based pantry storage, provides significantly more capacity and keeps bulk items and small appliances out of the main kitchen sightline entirely.
Space measurement guide: a functional walk-in pantry needs at least 5×5 feet for basic shelving on two walls with a walkway; larger footprints allow for an island or additional shelving depth.
Cost range: $3,000-$10,000+ depending on size, shelving system, and whether it requires structural changes to carve the space out of an existing floor plan.
17. Extended Breakfast Bar Seating
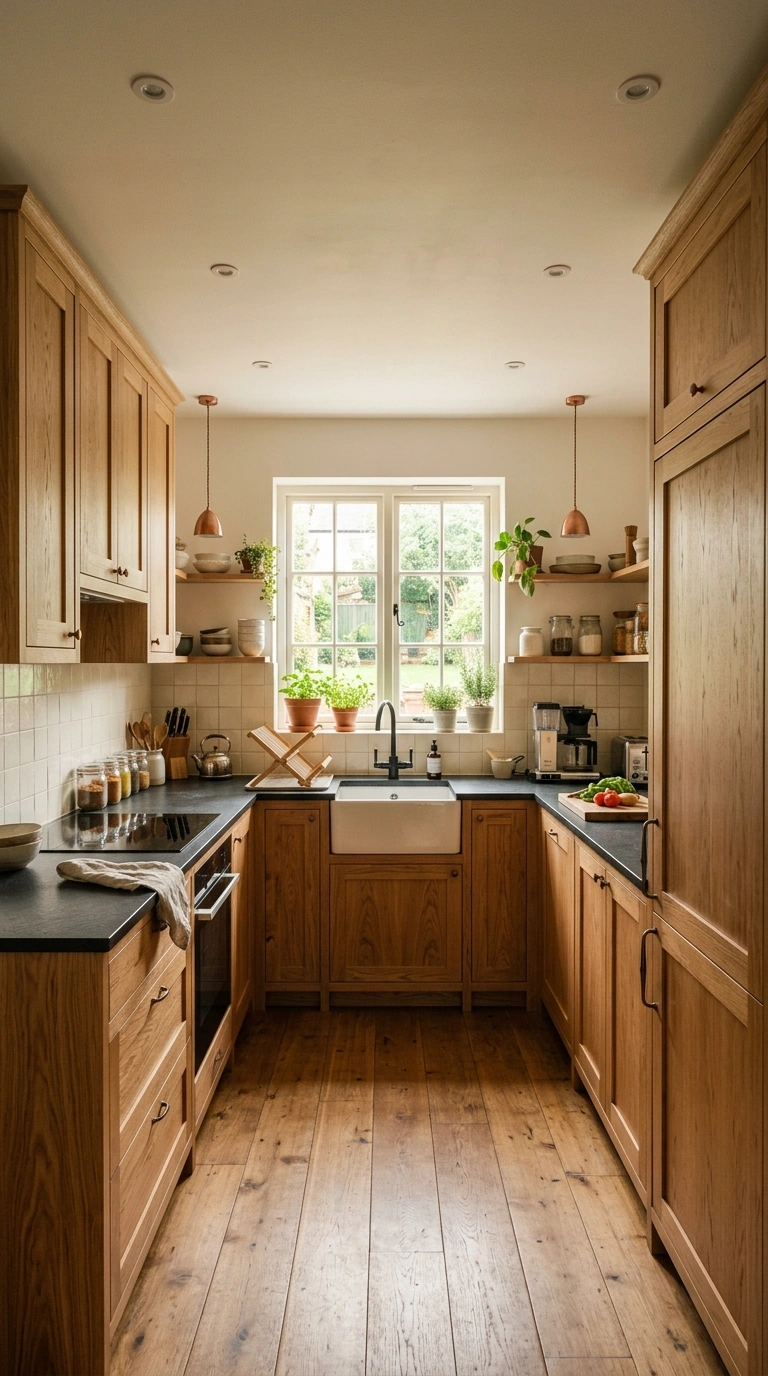
Extending an island or peninsula countertop with additional overhang creates informal seating without needing a separate dedicated dining area, which matters in open-concept homes.
Measurement guide:
| Counter Height | Recommended Overhang for Seating |
|---|---|
| Standard 36-inch counter | 12-15 inches |
| Raised 42-inch bar height | 12 inches minimum |
Overhang depth matters for structural support; anything beyond about 12-15 inches typically needs corbels or additional bracing underneath to prevent flexing under weight.
18. Mixed Metal Hardware Finishes
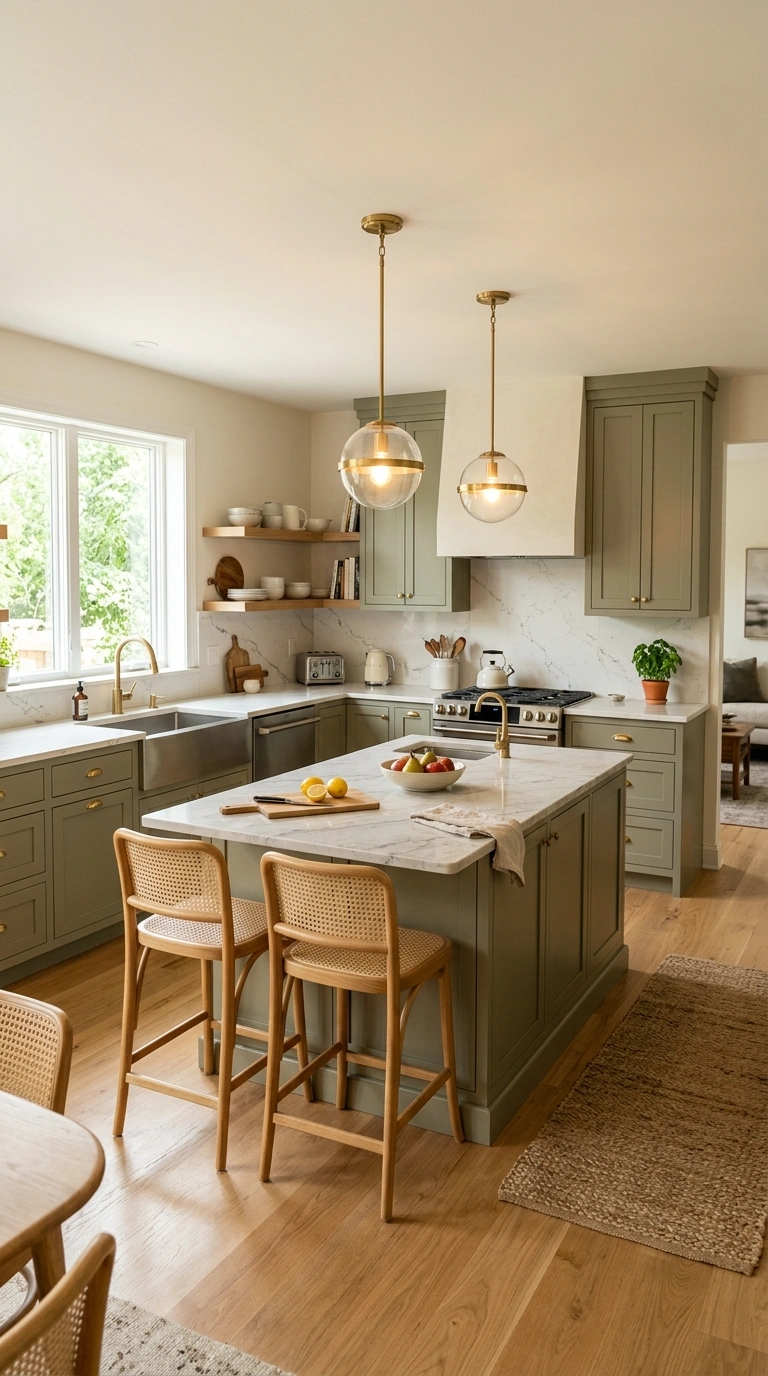
Combining two complementary metal finishes, like brass fixtures with black hardware, adds depth to a kitchen’s overall material story without needing to match every single metal element exactly.
The pairing ratio:
- 60% dominant metal (typically your faucet and largest fixtures)
- 40% secondary metal (cabinet hardware, light fixtures)
Cost range: no significant added cost over choosing a single metal finish, since this is primarily a selection strategy rather than an added expense.
19. Full-Height Cabinetry to the Ceiling
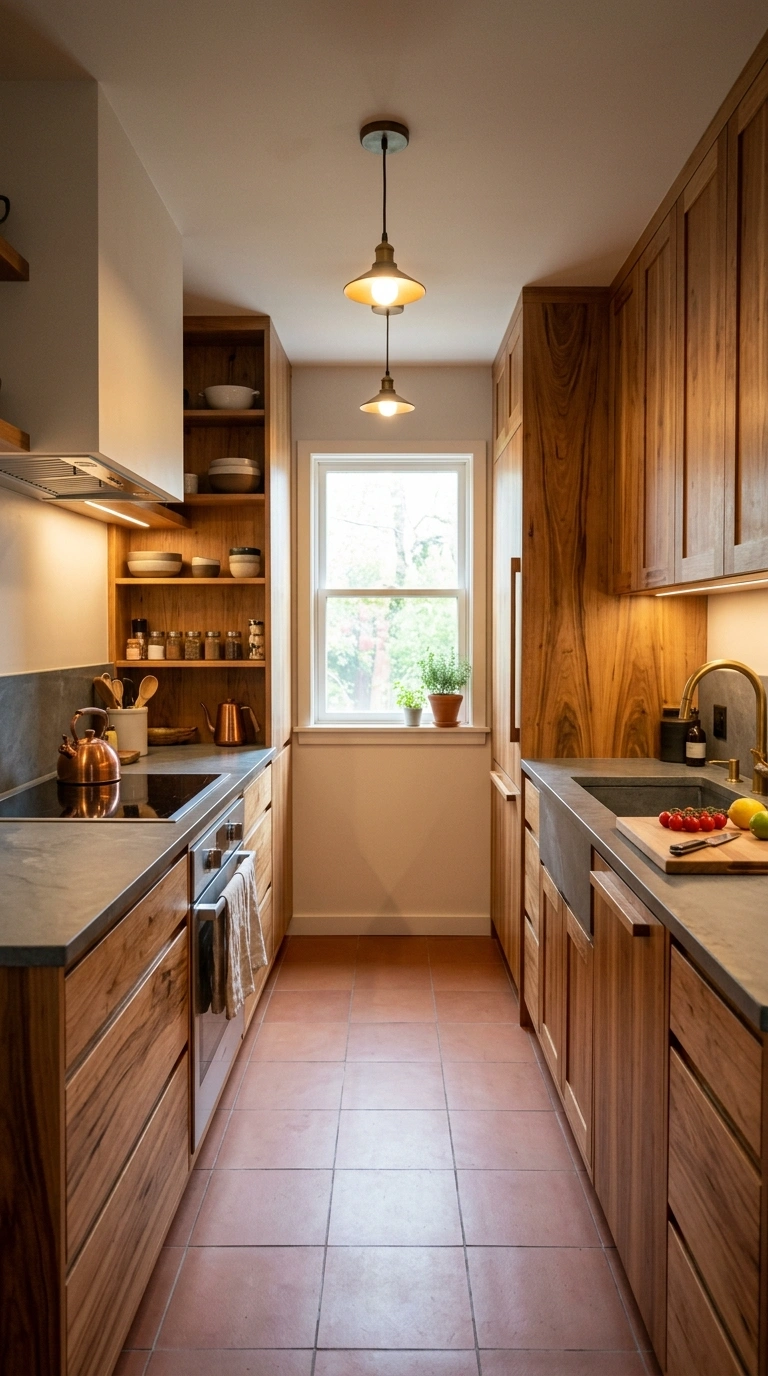
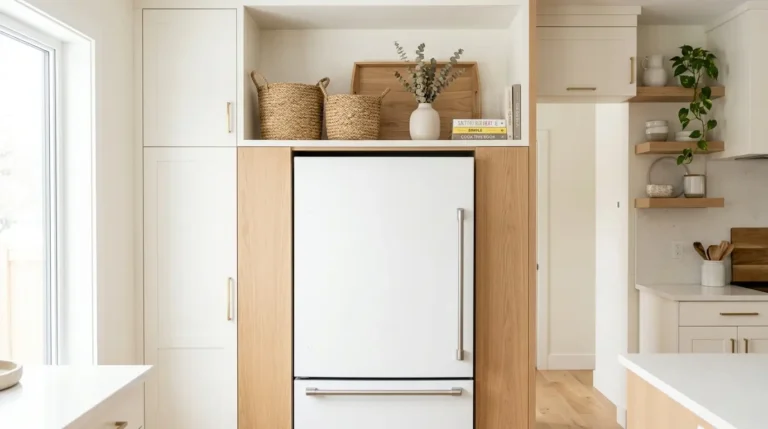
Extending upper cabinetry all the way to the ceiling, rather than stopping short and leaving an empty gap above, adds real storage capacity and eliminates the dust-collecting shelf-top gap that standard-height cabinets leave behind.
Pros and cons:
| Consideration | Detail |
|---|---|
| Storage gained | Significant, especially in kitchens with 9+ foot ceilings |
| Accessibility | Top shelves need a step stool for most people |
| Cost | 15-30% more than standard-height upper cabinetry |
Cost range: varies with total cabinetry cost, but budget for a meaningful premium over standard-height cabinets given the additional material and installation.
20. Integrated Utility or Broom Closet Zone
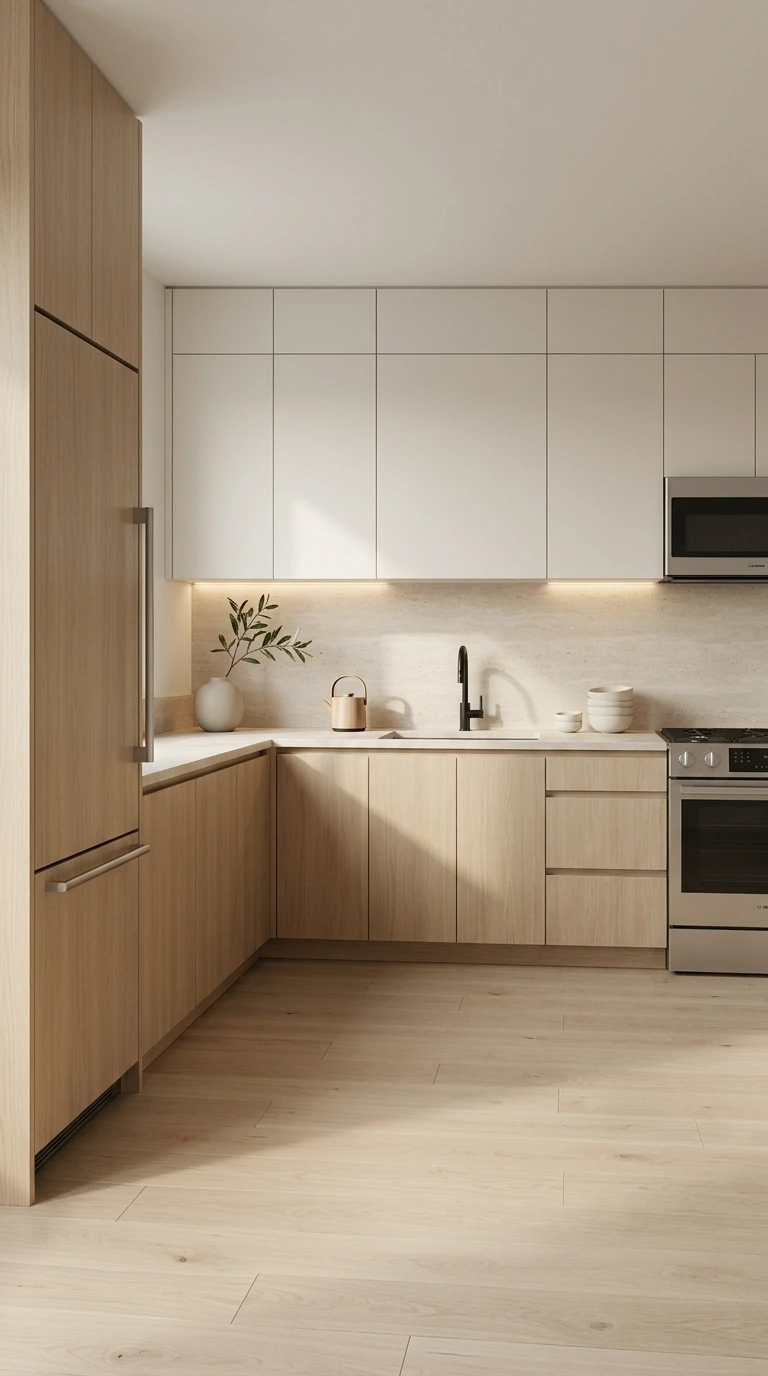
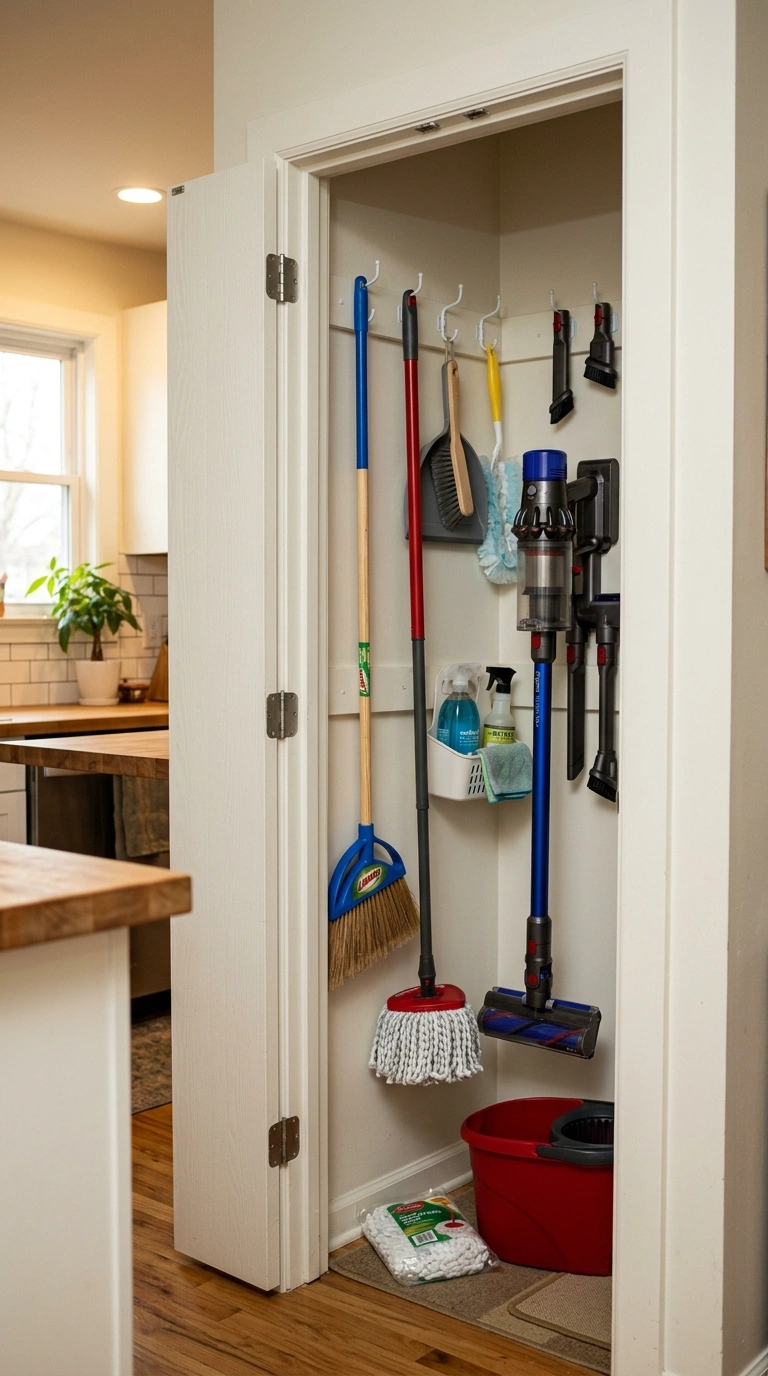
A dedicated, enclosed zone for a vacuum, mop, and cleaning supplies, built into the kitchen’s overall cabinetry plan rather than left to a random hallway closet, keeps genuinely necessary but unattractive items fully out of sight.
Measurement guide: allow at least 16-24 inches of width and full ceiling height for a utility zone that comfortably houses a broom, mop, and vacuum together.
A simple planning checklist:
- Position near the kitchen’s main floor traffic area for practical daily use
- Include at least one interior hook or bracket system to keep tools upright rather than leaning loosely
- Consider a pull-out design if width is limited, similar to a pantry pull-out
Cost range: $500-$1,500 depending on whether it’s a simple cabinet conversion or a fully custom-built zone.
Start with the layout decisions, the work triangle distances, aisle widths, and storage zones, since these are expensive and disruptive to change later. Once the floor plan genuinely works for how you cook, layer in the finishes: a statement range hood, mixed countertop materials, or two-tone cabinetry, all of which are comparatively easier to adjust or upgrade down the line.
Save your favorite kitchen ideas to Pinterest so you have them ready when you’re ready to plan your own space.
FAQs
What is the kitchen work triangle and does it still matter?
The work triangle connects the sink, stove, and refrigerator with a recommended 13-26 foot total perimeter. While modern open kitchens often use a broader “work zone” concept, the underlying logic of minimizing unnecessary steps between these three tasks remains a useful kitchen layout planning tool.
What’s the most storage-efficient kitchen layout?
A U-shaped layout, with cabinetry wrapping three walls, typically maximizes counter and storage space more than any other common configuration, though it needs a room of at least 10×10 feet to avoid feeling cramped.
Is a waterfall countertop worth the extra cost?
For kitchens where the island is a clear focal point, a waterfall edge delivers a noticeably high-end, seamless look, though it typically adds $3,500-$9,000+ over a standard countertop edge depending on material and island size.
Should I choose one countertop material or mix materials by zone?
Mixing materials, like a heat-resistant surface near the range and a naturally cool marble section for baking, combines practicality with visual interest, though it requires more upfront planning than choosing a single material throughout.
What’s the best corner cabinet solution?
A pull-out diagonal drawer system consistently tests as the most accessible corner storage option, offering full visibility when extended, though it costs more than a standard lazy Susan or a blind corner cabinet with no special hardware.