22 Small Kitchen Organization Ideas That Actually Work
A small kitchen does not need to be a frustrating kitchen. I cooked for years in a kitchen the size of a closet, and I learned that the difference between chaos and calm is not square footage, it is organization. When every pot, lid, and spice has a real home, cooking in a tiny space stops feeling like a wrestling match and starts feeling like a craft. These 22 small kitchen organization ideas are all practical, tested, and made for real small kitchens, not showroom ones. No fantasy renovations, no expensive custom cabinetry, no advice that assumes you own a walk-in pantry. Just smart systems that use every inch you have, from the backs of cabinet doors to the top of the fridge to the narrow gaps you never noticed. If your kitchen makes you sigh every time you walk in, or if you keep buying duplicates of things you already own because you cannot find them, this list will change that for good.
1. Organize by Kitchen Zones
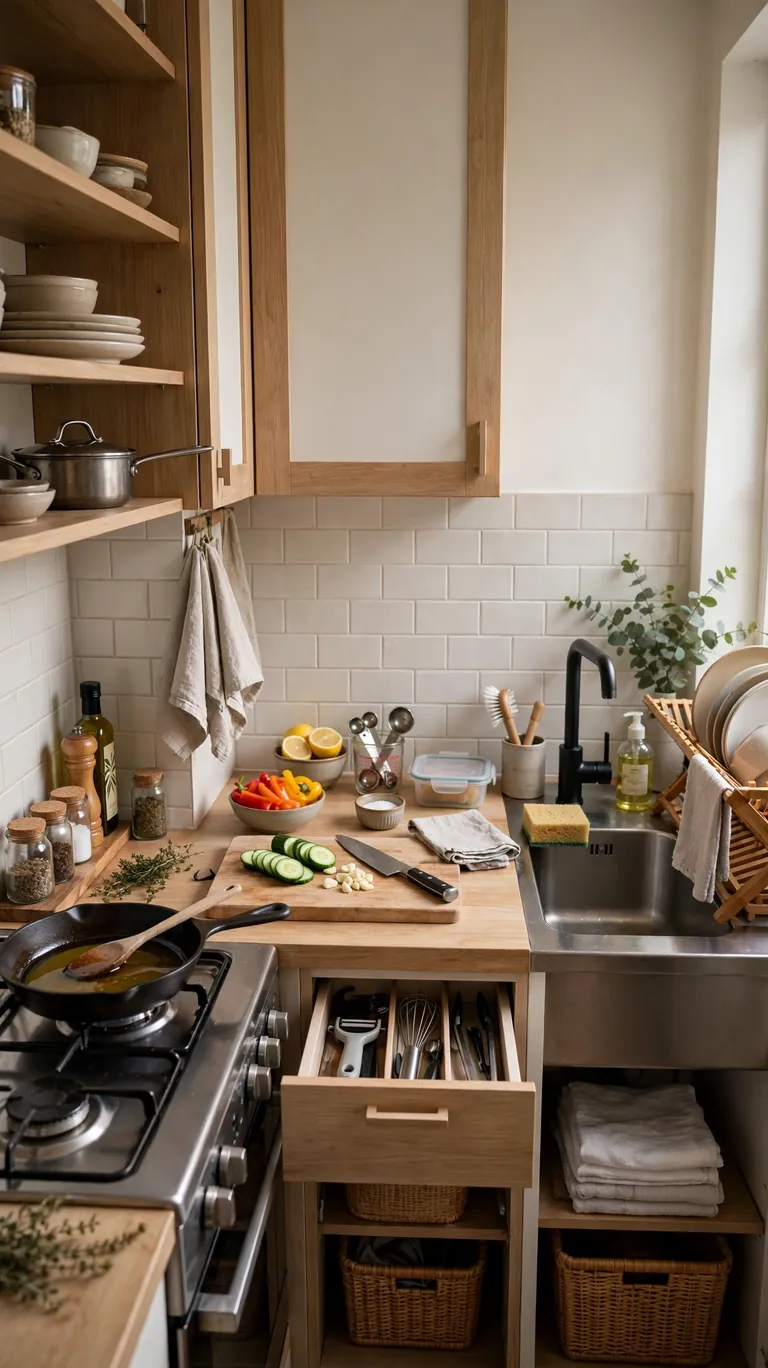
The single most useful thing I ever did in my small kitchen was stop storing things by category and start storing them by zone. Cooking tools live near the stove, prep tools live near the counter, and dishes live near the dishwasher or the drying rack. When everything is stored where it gets used, you stop doing laps around the kitchen. It sounds obvious, but most of us store things wherever there happens to be space.
Start by watching yourself cook one normal meal and noticing where you walk. Then move things so the walking shrinks. The cooking zone holds pots, pans, oils, and spices. The prep zone holds cutting boards, knives, and mixing bowls. The cleaning zone holds the dish soap and towels near the sink. In a small kitchen, zoning matters even more, because every step you eliminate makes the space feel bigger and calmer.
2. Add Racks to Cabinet Doors
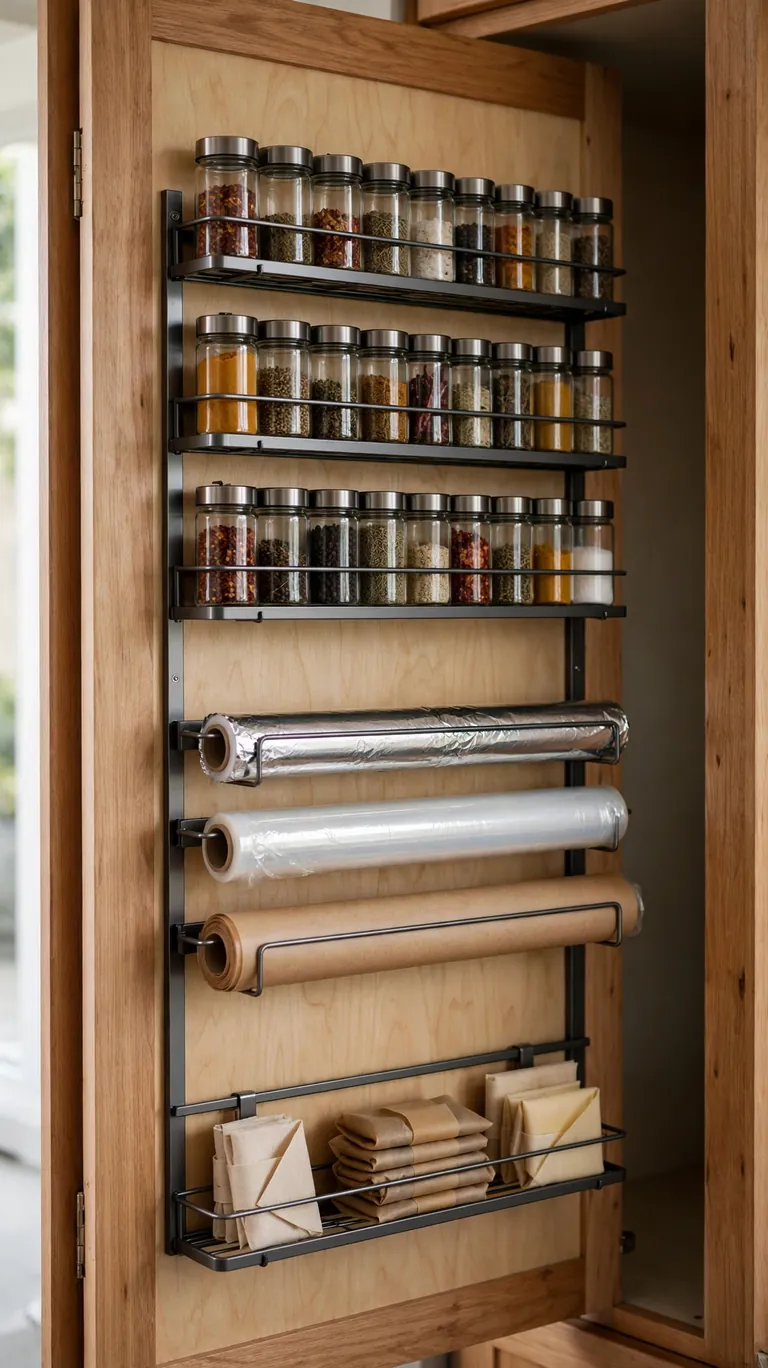
The inside of every cabinet door is free storage that most people ignore. I mounted slim racks on the inside of my cabinet doors, and they hold spices, wraps, lids, and all the small things that used to clutter the shelves. It uses zero shelf space and puts the little things exactly where you grab them. In a small kitchen, the doors are some of the most valuable real estate you own.
Choose racks that are shallow enough that the door still closes fully. Measure the gap between the door and the shelf behind it before you buy. Adhesive or screw-mounted both work, but screws hold better for anything with weight. This is a renter-friendly upgrade if you use the adhesive kind, and it takes about ten minutes per door. Small change, daily payoff.
3. Install Pull-Out Shelf Drawers
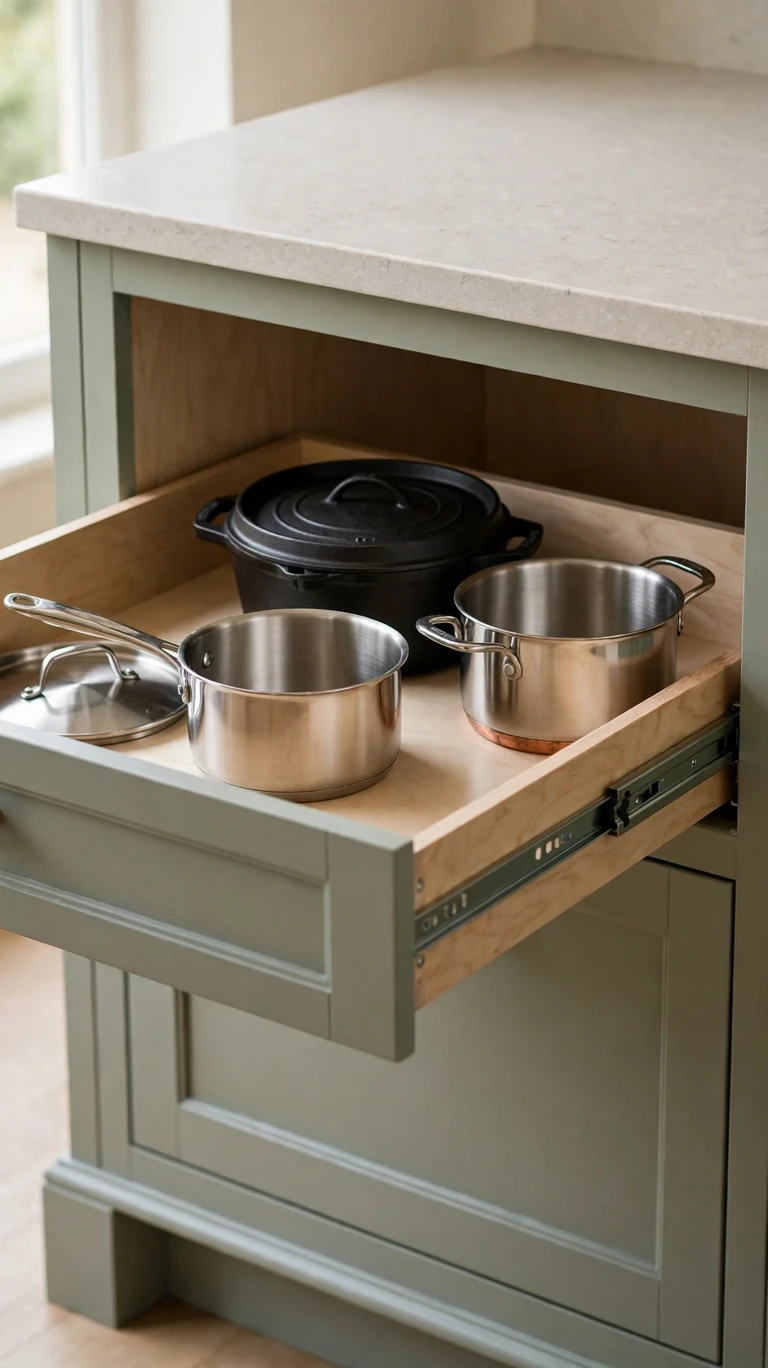
Deep lower cabinets are where things go to disappear. I replaced the fixed shelves in my base cabinets with pull-out drawers, and it changed everything. Now I can see every pot, every pan, every small appliance without kneeling and digging. What used to be a dark cave is now a drawer that brings everything to me. In a small kitchen, losing track of what you own means buying duplicates.
Pull-out shelves come in standard widths and install with a few screws, so this is a genuine weekend project, not a renovation. Measure the inside of your cabinet carefully, because you need clearance on both sides for the slides. Start with the cabinet you use most, usually the one with the pots, and you will want to do the rest within a week. Once you pull instead of dig, there is no going back.
4. Store Pans Vertically with Dividers
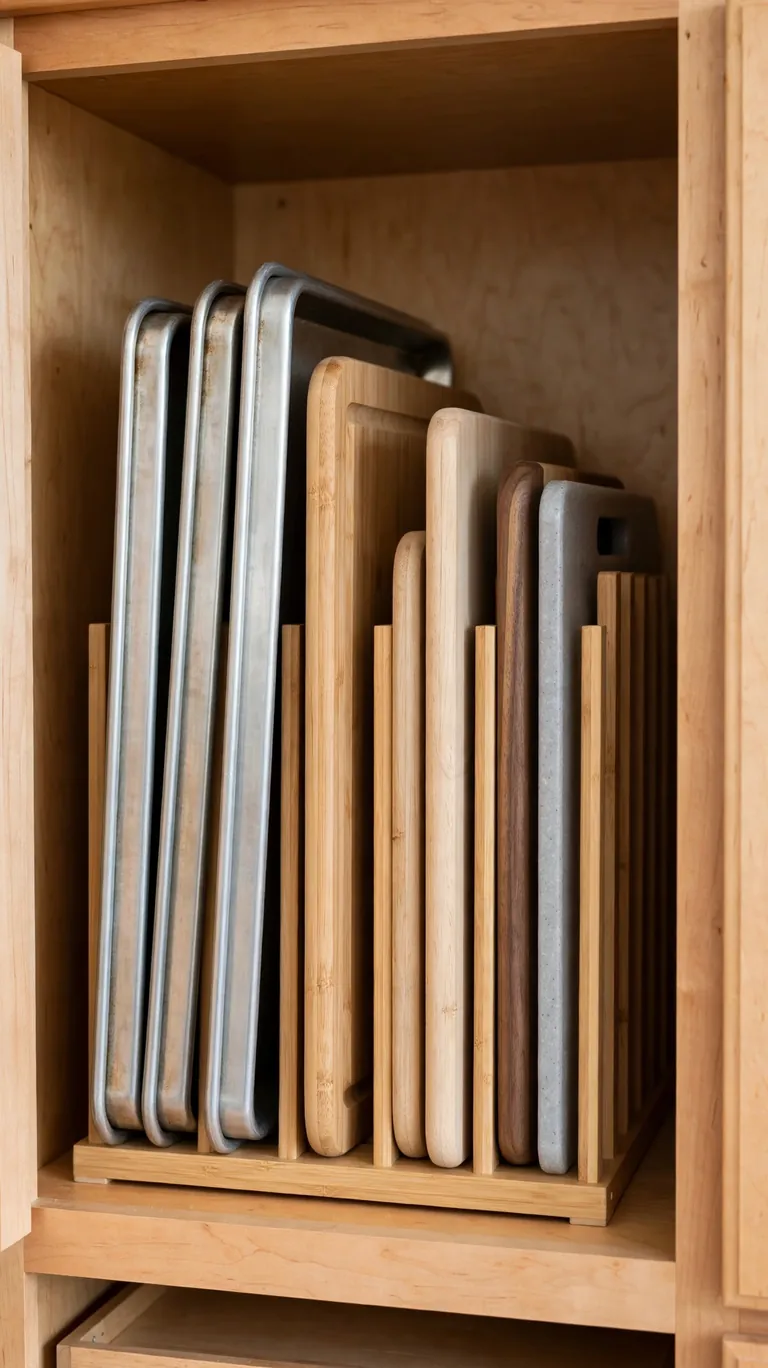
Stacking pans is how lids get scratched and how you end up using only the top pan forever. I put a vertical divider rack in one cabinet, and now my sheet pans, cutting boards, and baking trays stand upright like files. I can see every single one and grab the one I want without unstacking anything. It turns a jumbled pile into a neat row in about five minutes.
Tension-style dividers need no screws and adjust to whatever width you need, which makes them perfect for renters. For heavy cast iron, use a sturdy metal rack anchored properly, because weight matters. Stand lids in the same rack next to their pans so the pair stays together. Vertical storage is the theme of small kitchen success: whenever you can store something upright, do it.
5. Tame the Under-Sink Cabinet
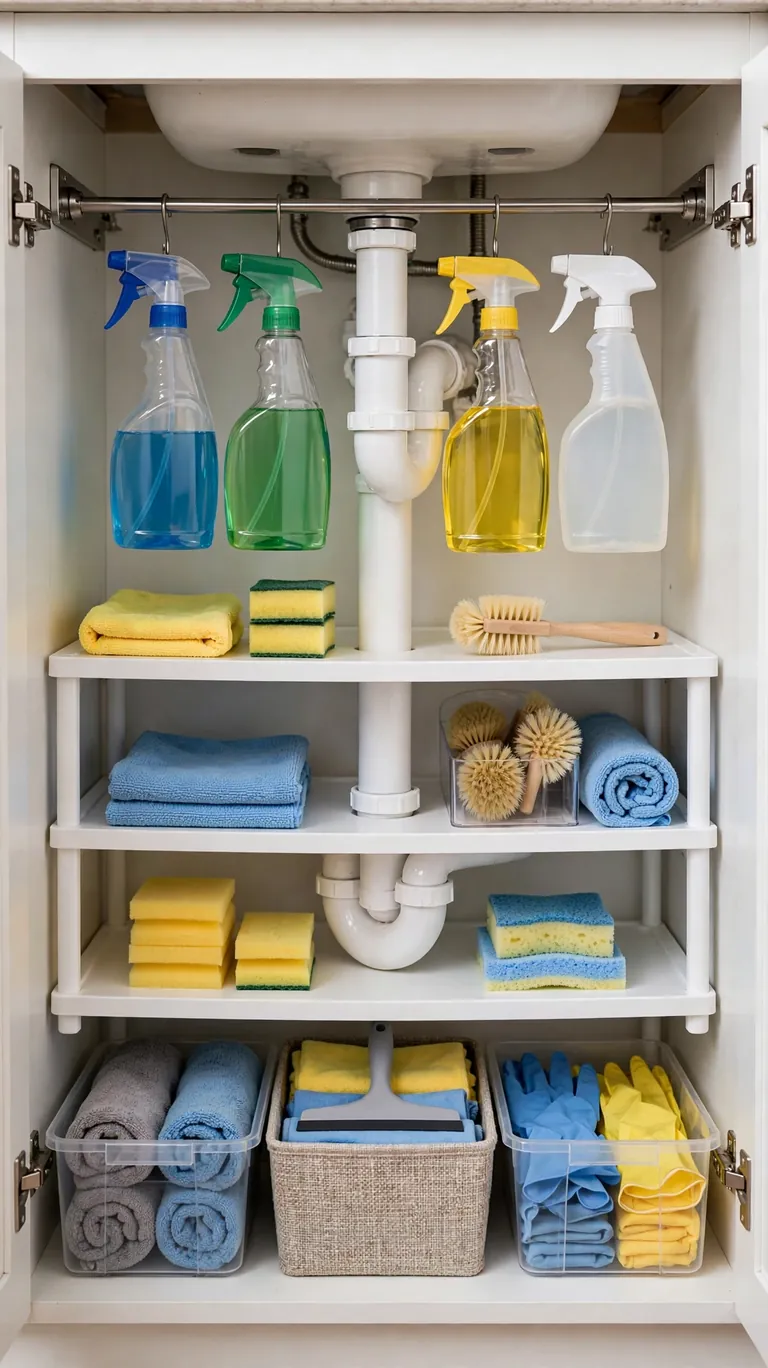
The cabinet under the sink is usually a swamp of cleaning bottles, half-used sponges, and mystery items. I fixed mine with a small tension rod across the front for spray bottles, a two-tier shelf around the pipes, and a bin for the extras. Everything is visible, nothing tips over, and I can actually reach the back. The under-sink cabinet went from dreaded to done.
Work around the plumbing, not against it. Measure the space on each side of the pipes before buying anything. A pull-out caddy on one side holds the daily cleaners, while the back holds the backups. Keep a small trash bag roll and extra sponges in a bin so restocking is easy. And check for leaks while you are in there. An organized under-sink cabinet is also how you catch a drip before it becomes a disaster.
6. Use the Tops of Cabinets
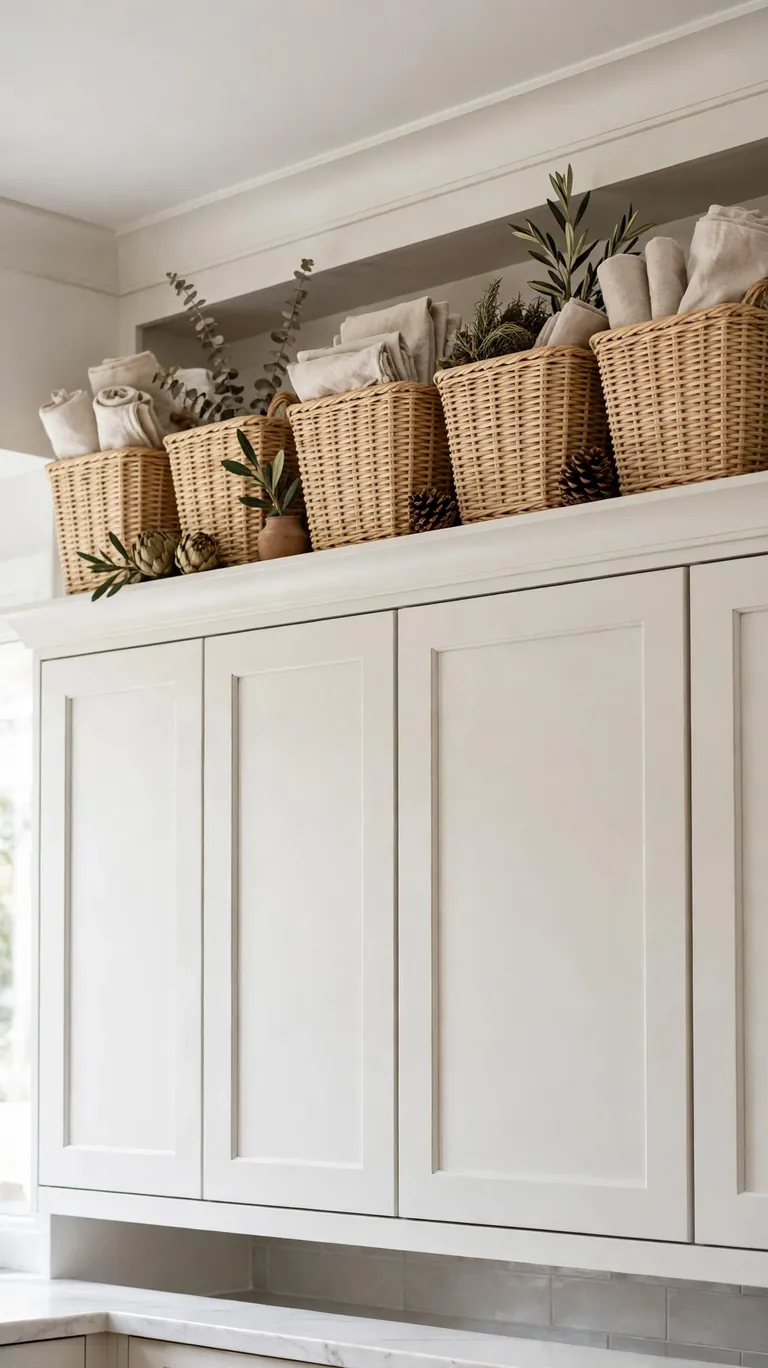
The space above your upper cabinets is not dead space, it is a storage shelf. I keep my rarely used items up there: the big serving platter, the holiday baking pans, the extra paper towels. In a small kitchen, the top of the cabinets is the attic, and every kitchen needs an attic. Things you use a few times a year do not deserve prime shelf space.
Keep it tidy and intentional, not a graveyard of random boxes. Use matching bins or baskets so it looks clean from below. Put a small step stool nearby, because storage you cannot reach safely is storage you will not use. And dust up there twice a year, since kitchen grease drifts upward. High storage for low-frequency items is one of the simplest small kitchen wins.
7. Mount a Magnetic Knife Strip
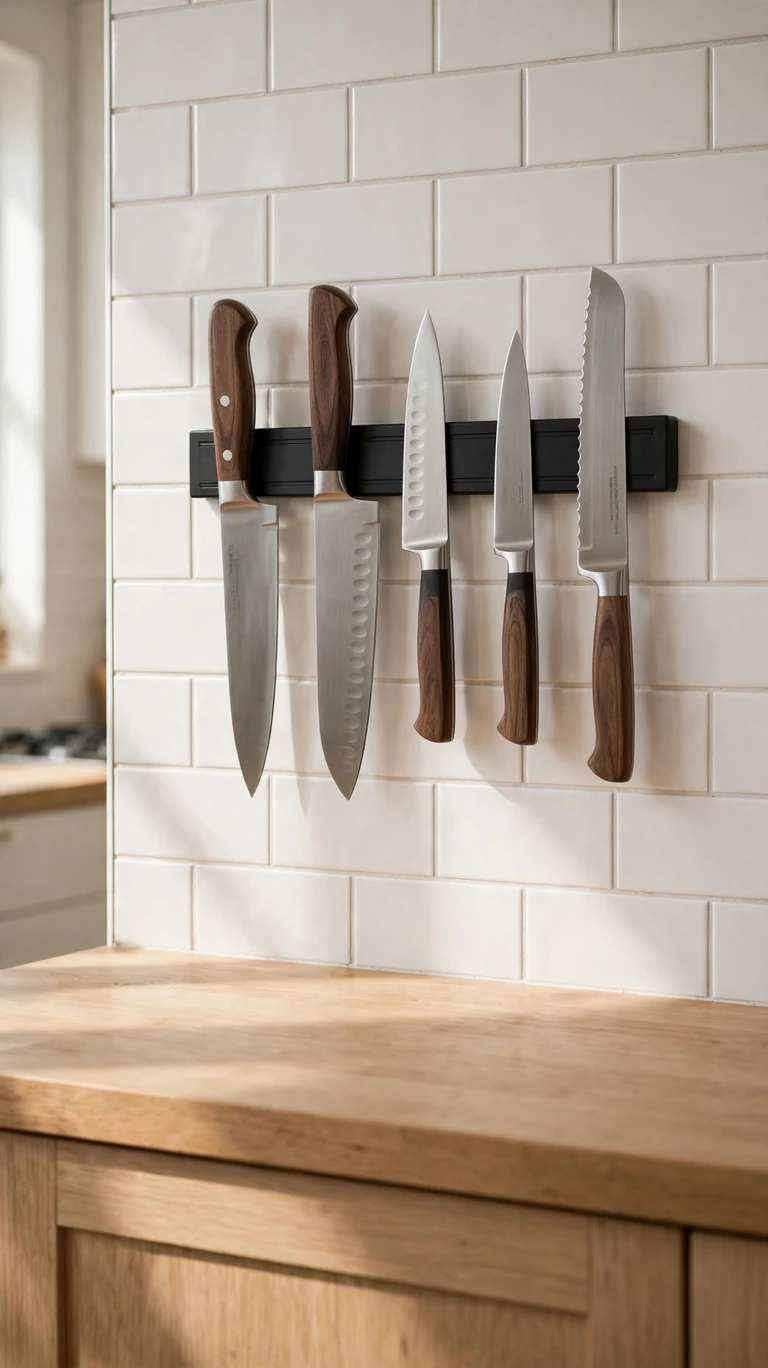
A knife block eats an entire corner of counter space, which a small kitchen cannot spare. I mounted a magnetic strip on the wall near my prep area, and my knives are now visible, reachable, and off the counter completely. It is safer than a drawer full of loose blades and faster than digging through a block. The wall was doing nothing, and now it works.
Mount it at a height where the blades are out of reach of small children, and make sure it is screwed into a stud or a solid anchor, because knives are heavy. Keep the strip away from the stove’s heat and steam. Wipe the knives dry before hanging them so the magnets stay strong. This one change freed up a whole corner of my counter, which in a small kitchen feels like gaining a room.
8. Add Shelf Risers Inside Cabinets
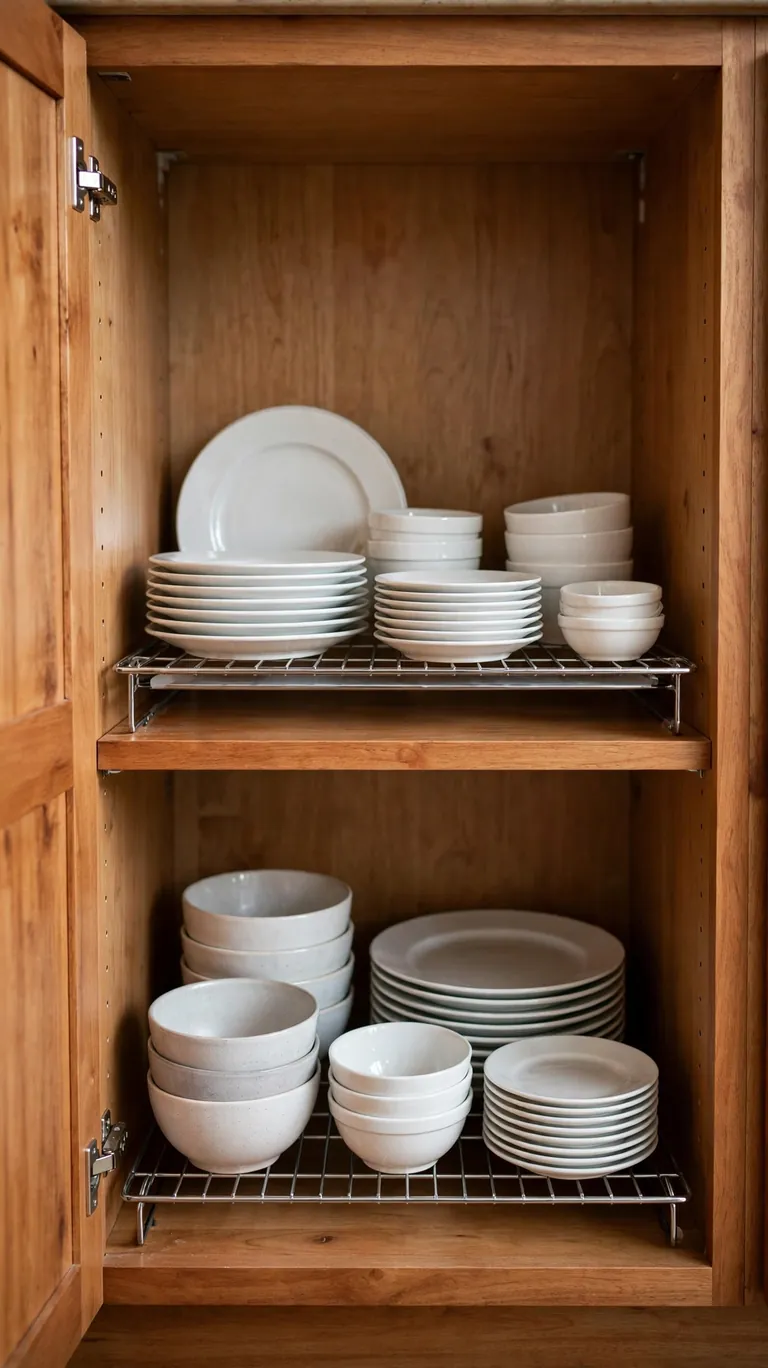
Most cabinet shelves waste the air above the dishes. A simple shelf riser doubles every shelf by creating a second level, and it costs almost nothing. I put risers in my dish cabinet, and now the bowls sit under the plates instead of in a wobbly tower. Everything is visible, nothing is stacked more than two high, and unloading the dishwasher takes half the time.
Choose risers that are sturdy and the right depth for your shelves, because a riser that is too deep blocks the door. Stackable ones let you customize the height. Use them for mugs, bowls, canned goods, and spices, anywhere you have headroom going to waste. This is the cheapest idea on this list, and it might be the most useful. Air is storage if you give it a floor.
9. Put a Lazy Susan in Corner Cabinets
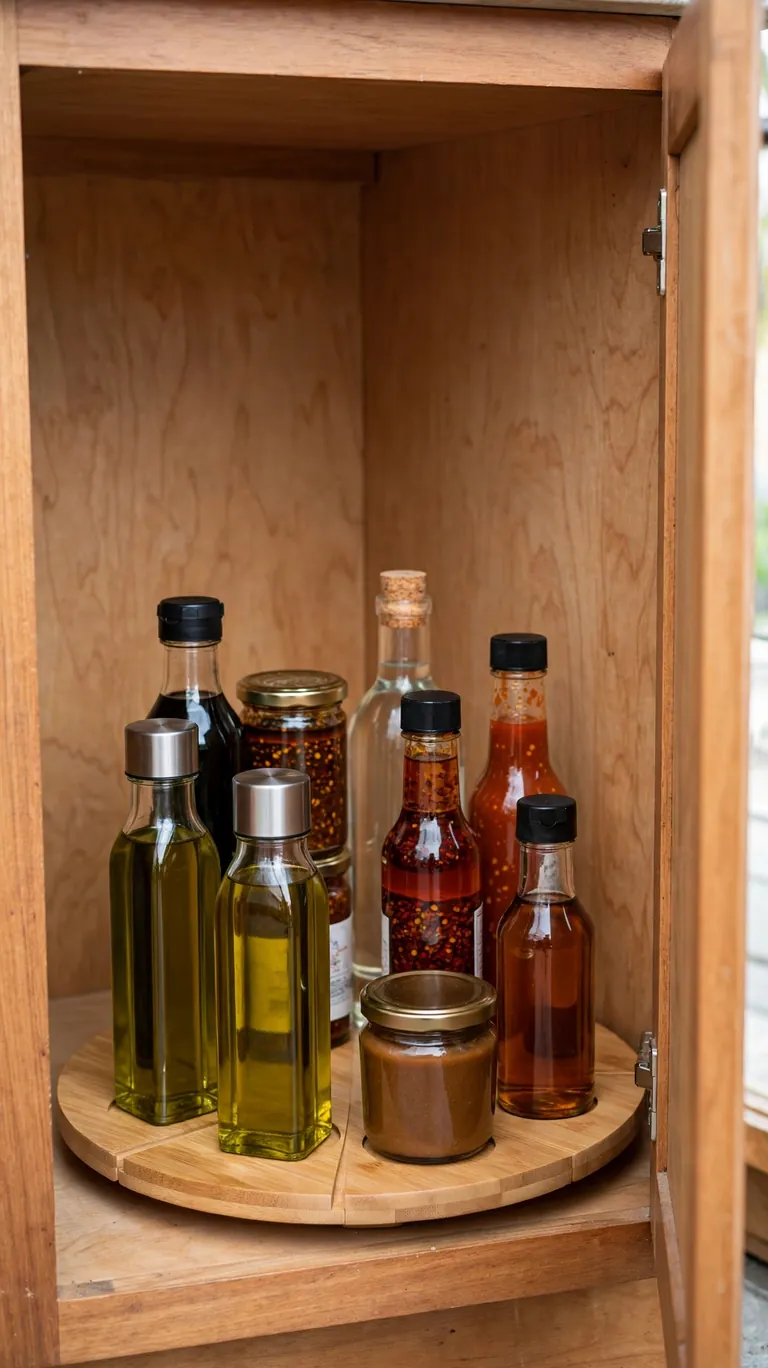
Corner cabinets are the Bermuda Triangle of small kitchens. Things go in and never come out. A lazy susan fixes that completely. I put one in my corner cabinet for oils, vinegars, and sauces, and now a single spin brings everything into view. No more buying a third bottle of sesame oil because the other two were hiding in the back.
Measure the cabinet opening before you buy, because lazy susans come in specific diameters and a turntable that does not fit is just clutter. Two-tier versions double the storage. Use the rimmed kind so bottles do not slide off when it spins. For deep corner cabinets, this one addition recovers space you had basically written off. Corners stop being dead zones.
10. Divide Every Drawer
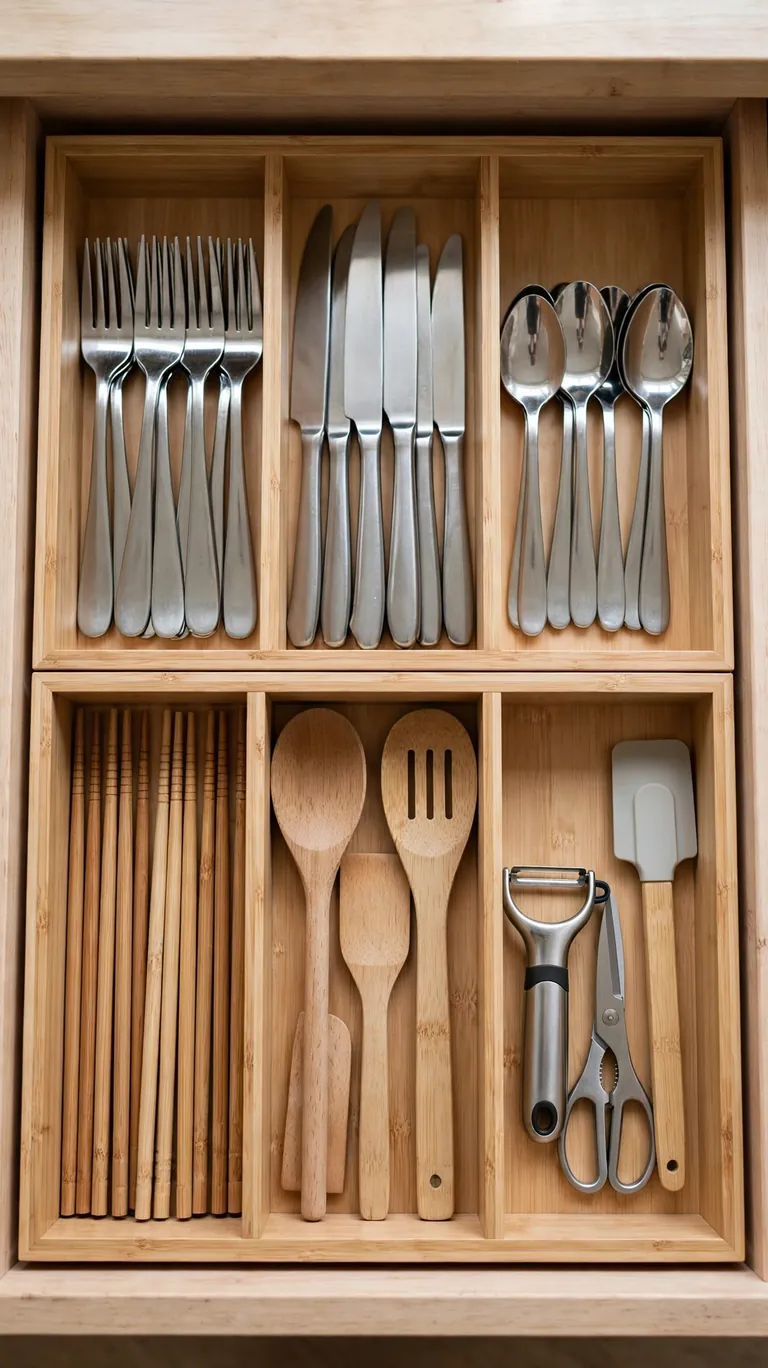
An undivided drawer is a junk drawer waiting to happen. I put dividers in every kitchen drawer, and the difference is dramatic. Utensils stay in their lanes, the gadget drawer stopped being a tangle, and I can find the vegetable peeler in two seconds. Dividers turn a drawer from a bin into a filing system.
Adjustable bamboo dividers expand to fit and look nice doing it. For the utensil drawer, use a proper tray with slots sized for what you actually own. Be ruthless first: if you have three spatulas and use one, the other two go. A divided drawer only works if it is not overstuffed. Divide first, then fill, and keep only what earns the space.
11. Corral the Pantry with Bins
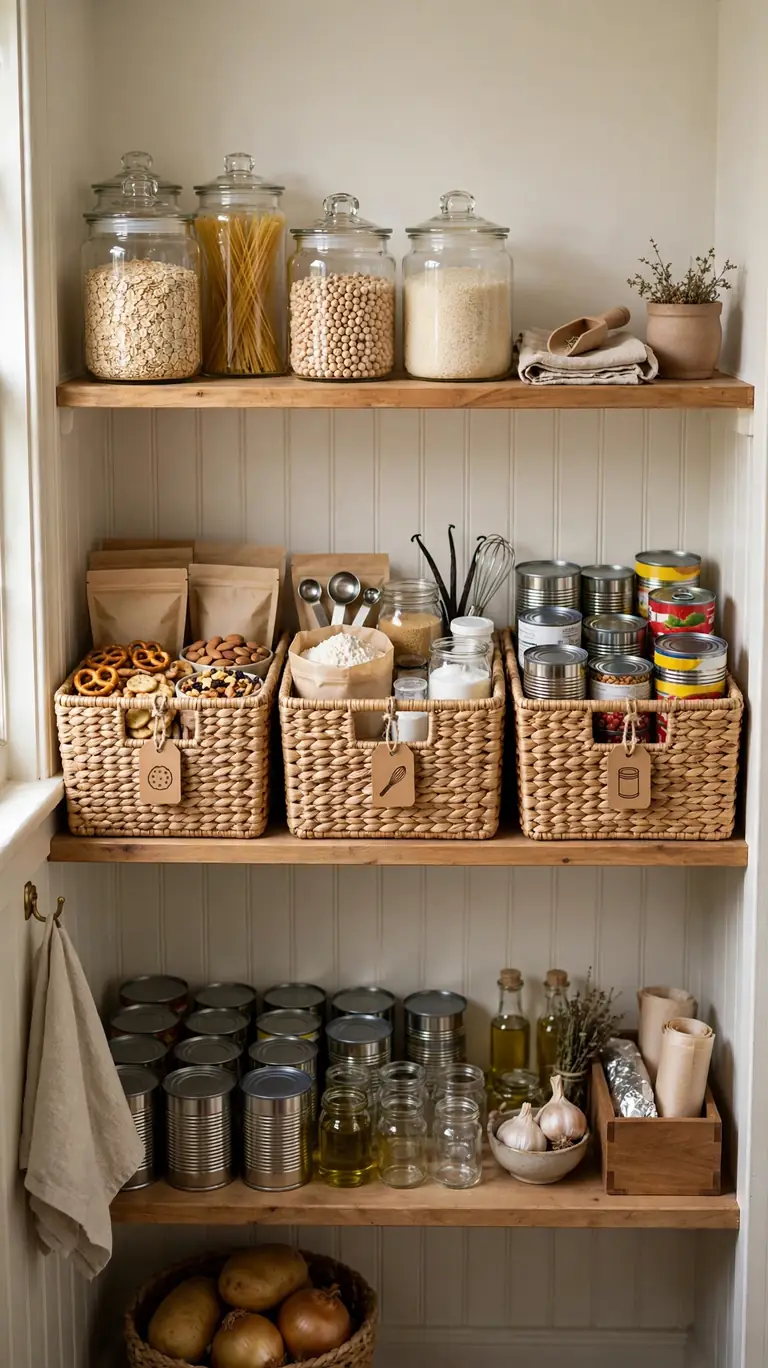
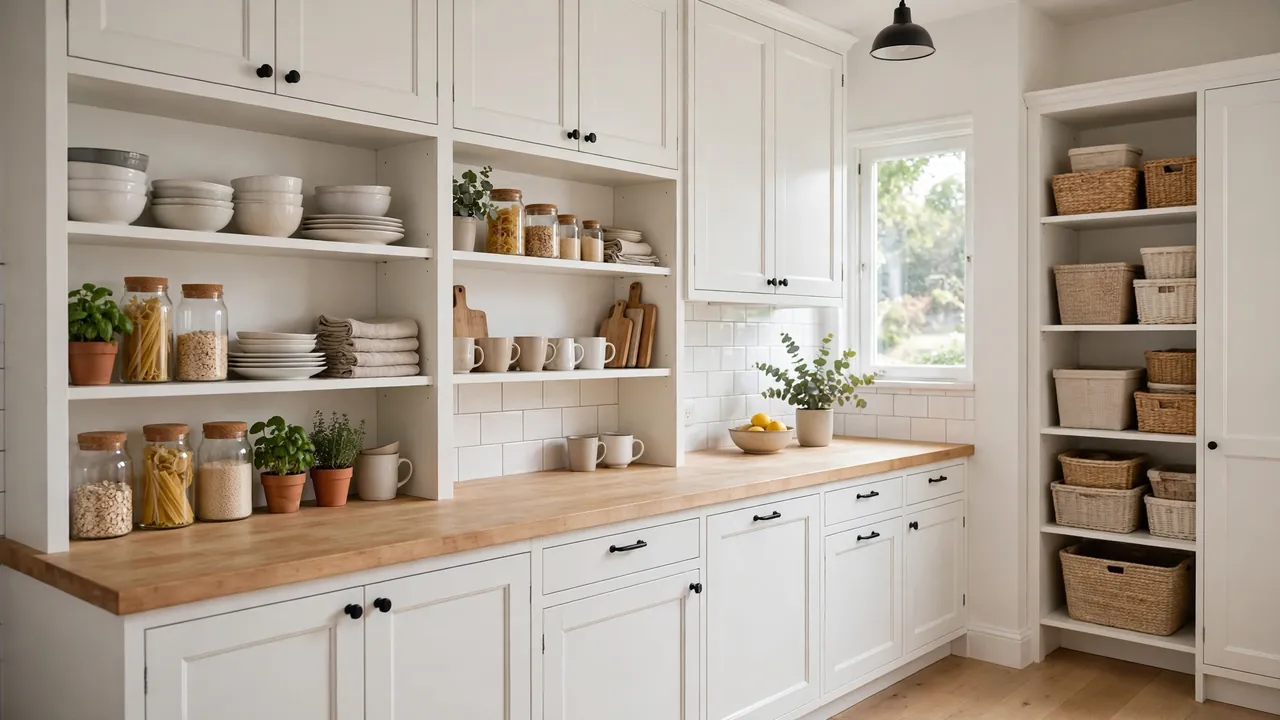
A pantry without bins is just shelves of chaos. I gave every category its own bin, snacks, baking, cans, backstock, and the pantry went from overwhelming to obvious. When everything has a labeled home, putting groceries away takes minutes, and you can see at a glance what you are running low on. Bins are the walls of a small pantry.
Use clear or open-front bins so you can see inside without pulling them out. Label every bin, because the system only survives if everyone in the house follows it. Keep the daily items at eye level and the backstock low or high. And do a quick pantry reset once a month, tossing the expired and consolidating the half-empty. Ten minutes keeps the system honest.
12. Decant Dry Goods into Clear Containers
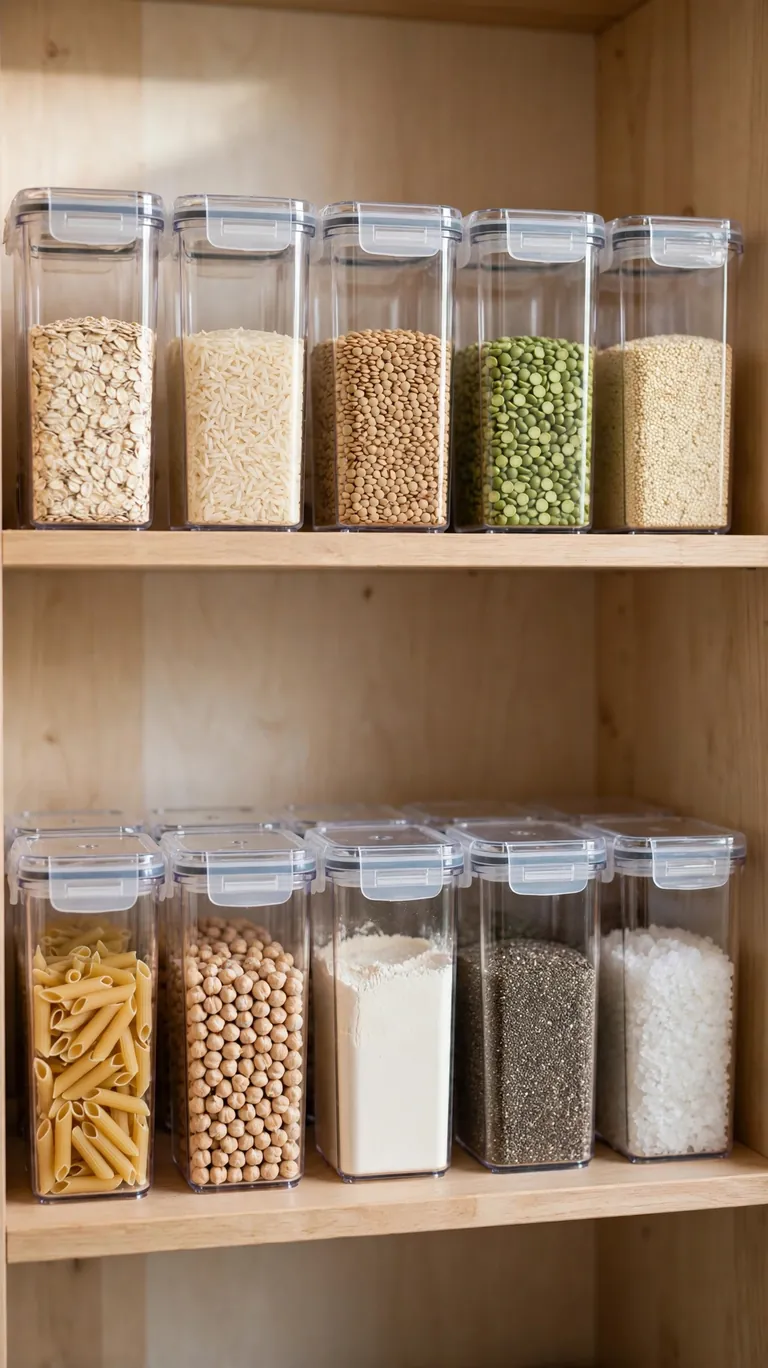
Half-empty bags of flour, rice, and pasta are the enemy of a tidy pantry. I decanted all my dry goods into clear, airtight containers, and the pantry instantly looked calmer and held more. You can see exactly what you have and how much is left, which means fewer duplicate purchases and less waste. Uniform containers also stack neatly, which bags never do.
Choose square or rectangular containers, because they use shelf space far better than round ones. Make sure the lids seal properly, since pantry moths love a loose lid. Label everything, especially the flours and sugars that all look alike. Keep the original cooking instructions taped under the lid or snapped in a photo. Decanting is a one-afternoon project that pays off every single day.
13. Clip Baskets Under Shelves
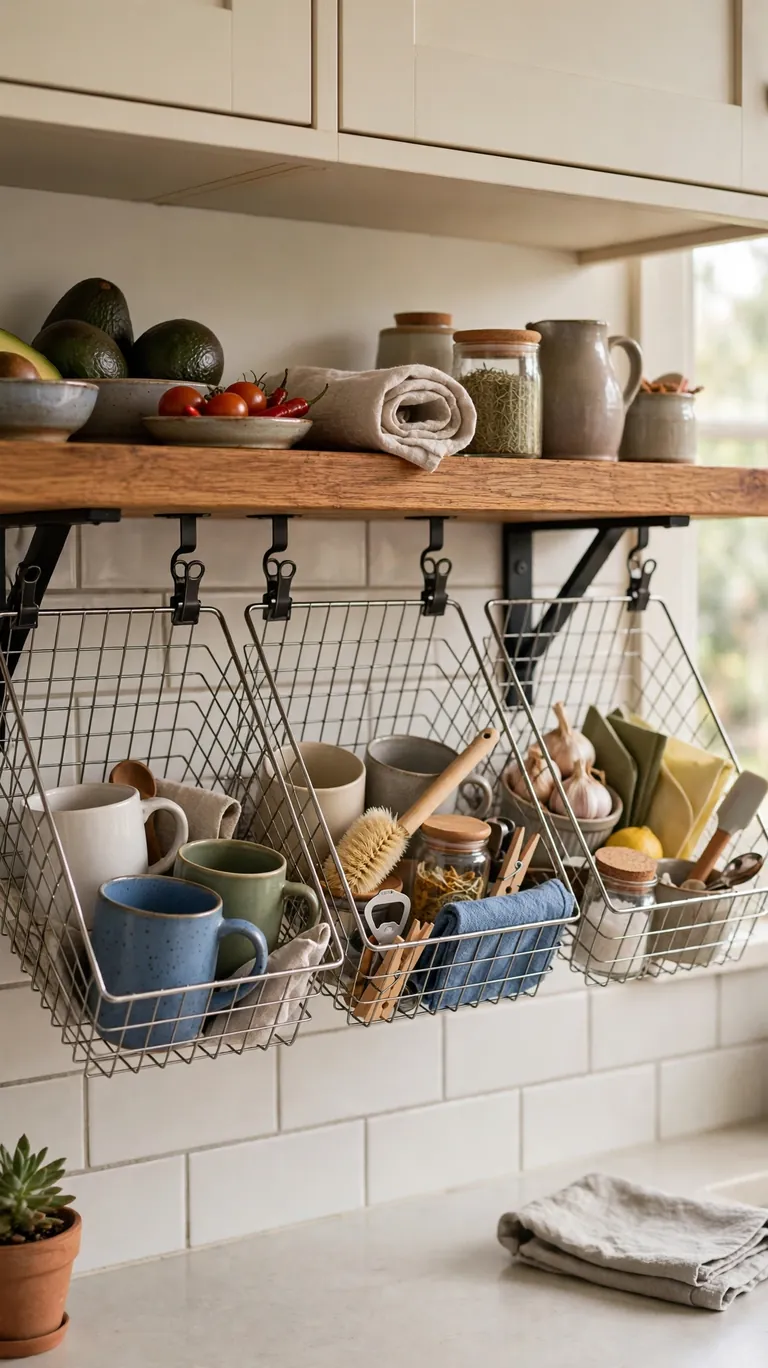
Under-shelf baskets are the secret to doubling your shelf space without installing anything. They clip onto existing shelves and create a second layer for mugs, small bowls, spice packets, and all the little things that get lost. I added three to my kitchen shelves and gained the equivalent of another whole shelf. In a small kitchen, found space is the best space.
Measure your shelf thickness before buying, because the clips are size-specific. These are for light items only, so keep the heavy dishes on the real shelf. Group by category so each basket has a purpose. A basket of random small things is just a junk drawer hanging in the air. Done right, the space under every shelf starts earning its keep.
14. Hang Tools on a Backsplash Rail
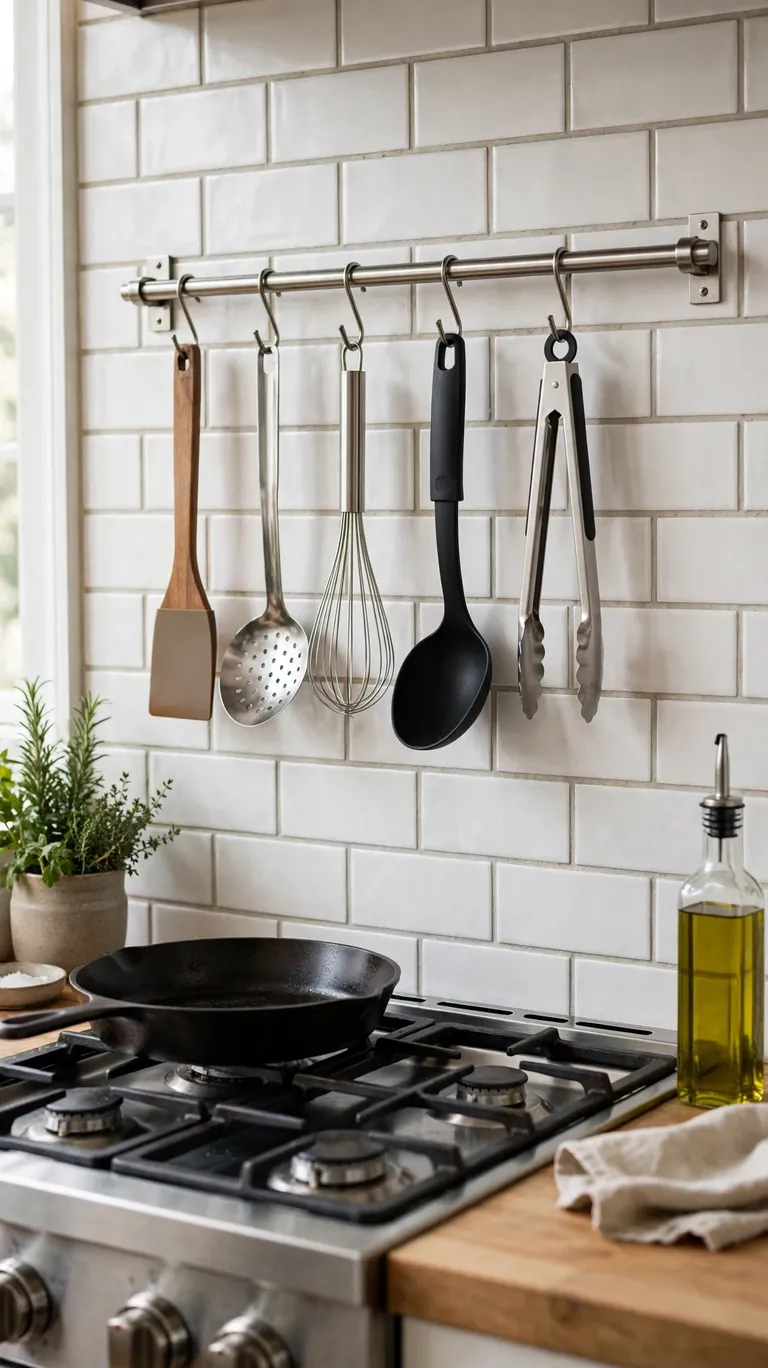
The strip of backsplash between the counter and the upper cabinets is prime storage territory. I mounted a rail there with hooks, and my most-used utensils, the spatulas, the ladle, the whisk, hang within arm’s reach of the stove. It freed a whole drawer and put the tools where the cooking happens. The wall was empty, and now it is the hardest-working part of the kitchen.
Use sturdy hooks that will not slide or tip, and keep the rail away from direct heat and splatter. Hang only what you use weekly, because a rail crowded with rarely used tools becomes visual clutter. Wipe the rail monthly, since kitchen grease settles on everything. This is professional-kitchen logic adapted for a small home kitchen, and it works beautifully.
15. Roll a Slim Cart into the Gap
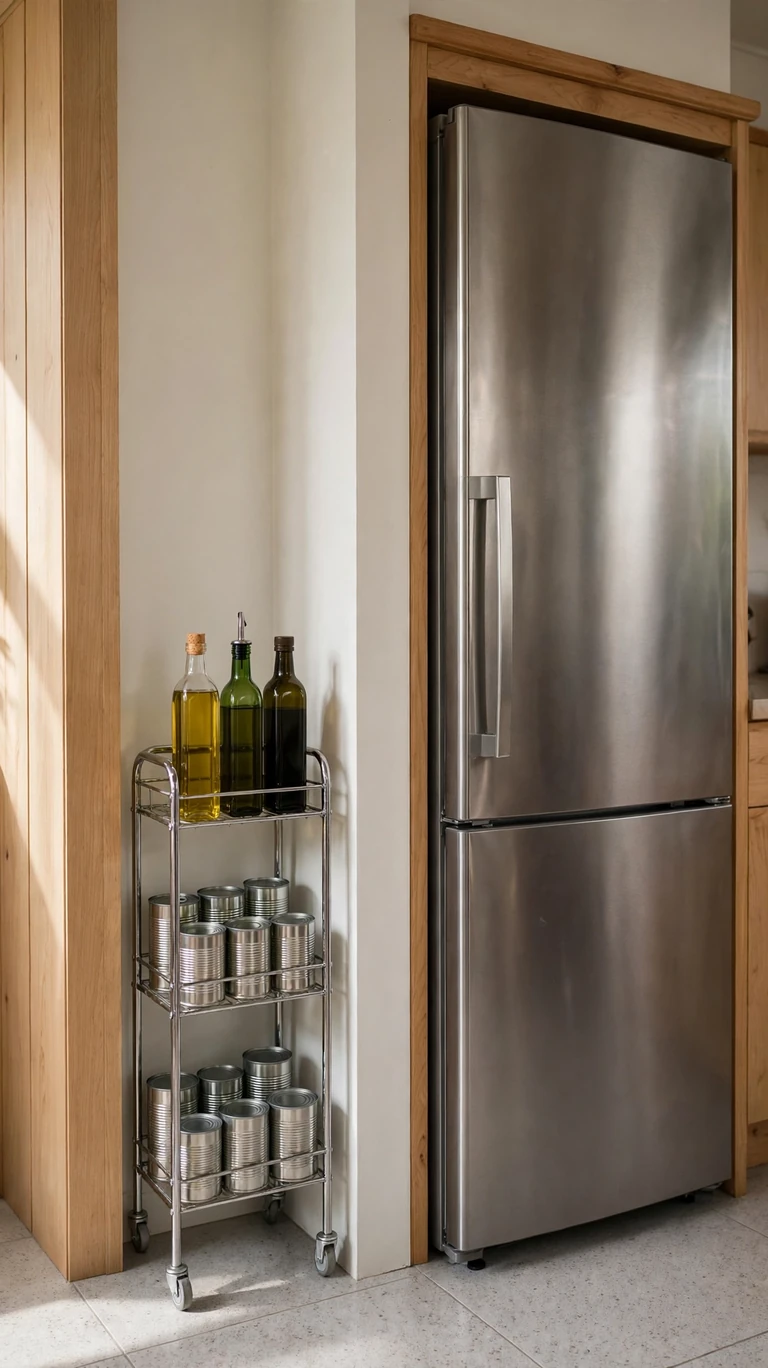
That narrow gap between the fridge and the counter is not dead space, it is a storage slot. I bought a slim rolling cart that fits exactly in mine, and it holds oils, spices, canned goods, and all the things that used to crowd the counter. It rolls out when I need something and disappears when I do not. A gap you never noticed becomes a pantry.
Measure the gap before you buy, because these carts come in specific widths. Look for one with multiple tiers and a stable base that will not tip when loaded. Keep the heaviest items on the bottom tier for stability. This is one of the cheapest ideas on the list, and it solves the overflow problem instantly. Every small kitchen has a gap. Find yours.
16. Hang a Pegboard for Odd-Shaped Tools
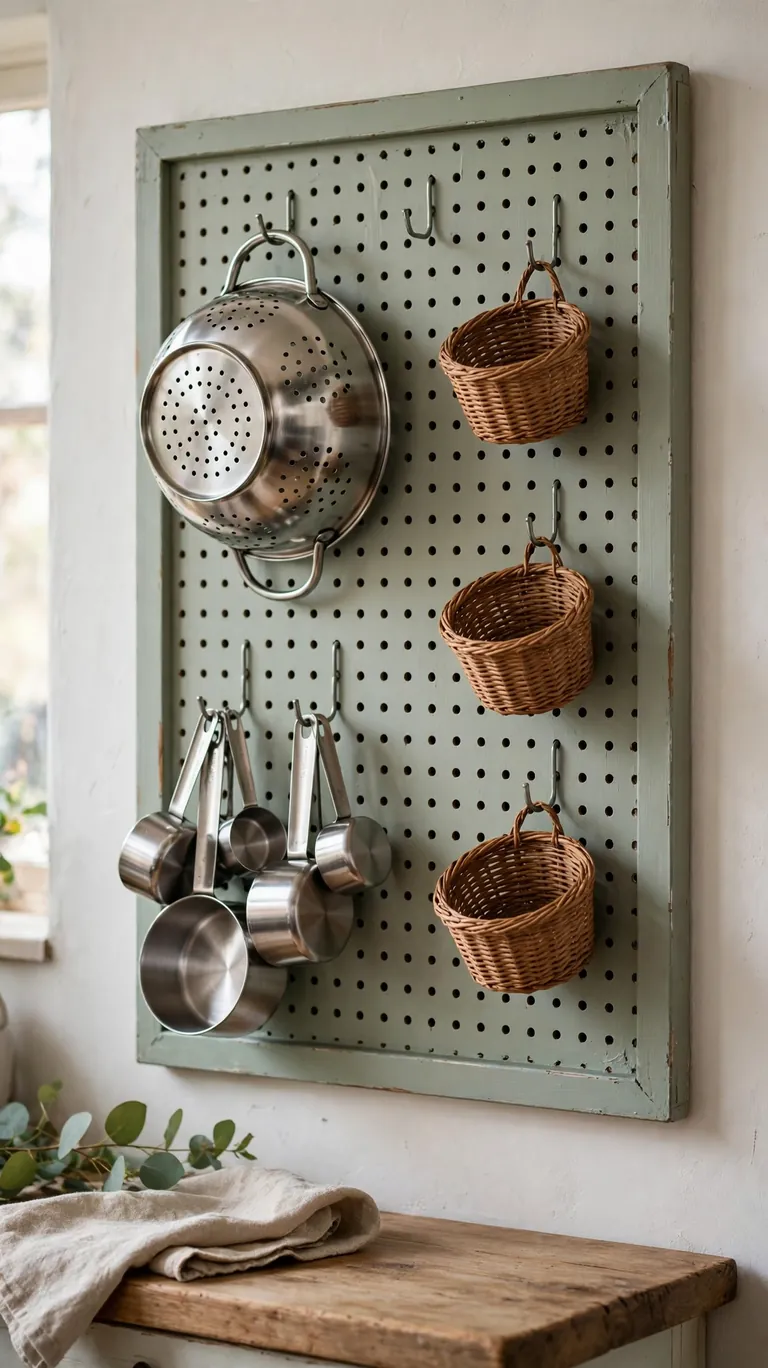
Pegboard is the most flexible storage in existence, and it is perfect for the odd-shaped tools that never fit in drawers. I mounted a panel on my largest free wall and hung measuring cups, colanders, the apron, and small baskets on it. When my needs change, I just move the pegs. No new holes, no wasted space, total adaptability. The wall becomes a custom organizer.
Paint the pegboard to match your walls so it looks intentional rather than workshop-like, and frame it for a finished look. Use real weight-rated hooks, because kitchen tools are heavier than they look. Keep it to the tools you use often, so it stays functional instead of decorative. Pegboard is wonderful, but it rewards editing. What hangs there should earn its spot.
17. Use a Tension Rod for Cleaning Supplies
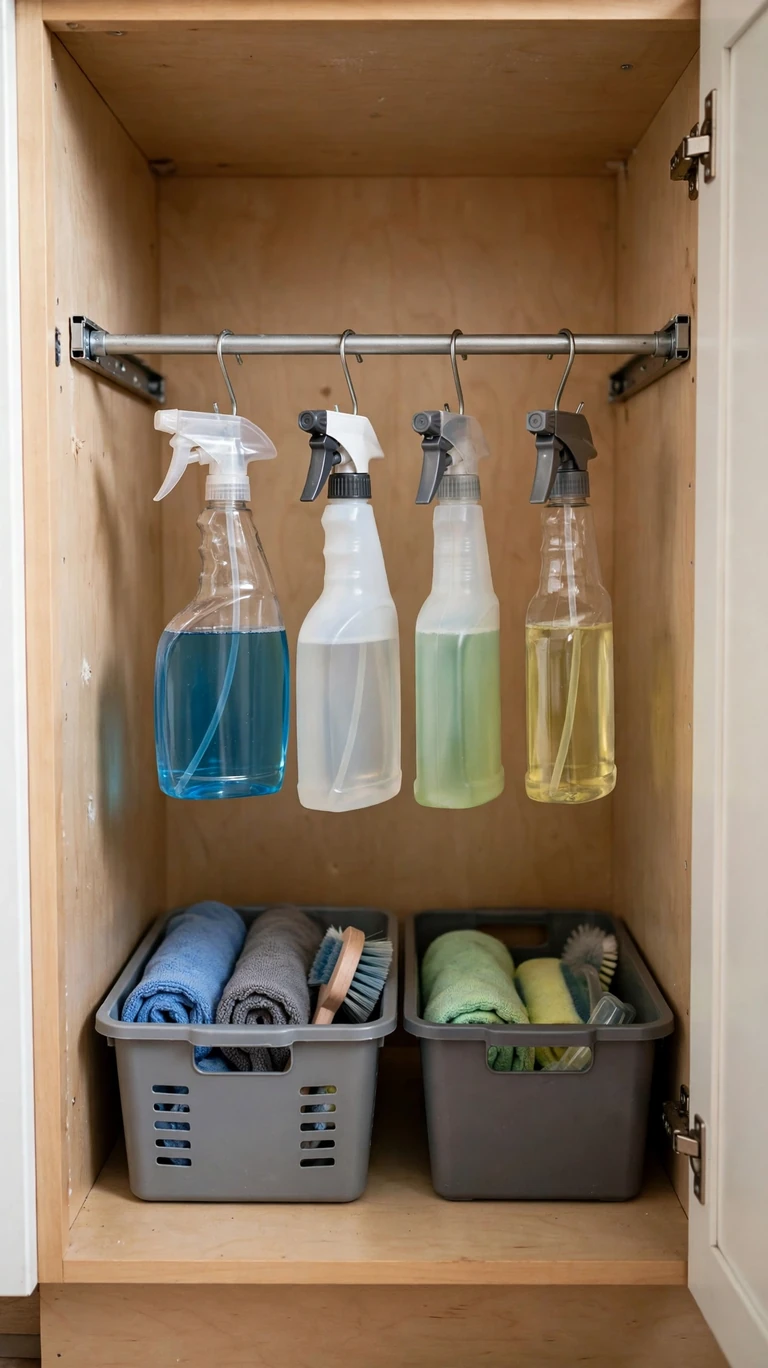
Spray bottles are awkwardly tall and waste the space above shorter items. I put a tension rod across the front of my cleaning cabinet and hung the spray bottles from their triggers. Suddenly the floor of the cabinet was free for bins of sponges, brushes, and refills. A five-dollar rod doubled the usable space. It is the kind of trick that feels like cheating.
Measure the inside width of the cabinet and buy a rod that fits snugly, because a loose rod will slip. This also works under the kitchen sink, where the plumbing makes shelving tricky. Hang only the bottles you use regularly, and keep the backstock on the shelf below. Vertical hanging turns tall awkward items into efficient ones. The cabinet finally makes sense.
18. Nest Cookware and Ditch Duplicates
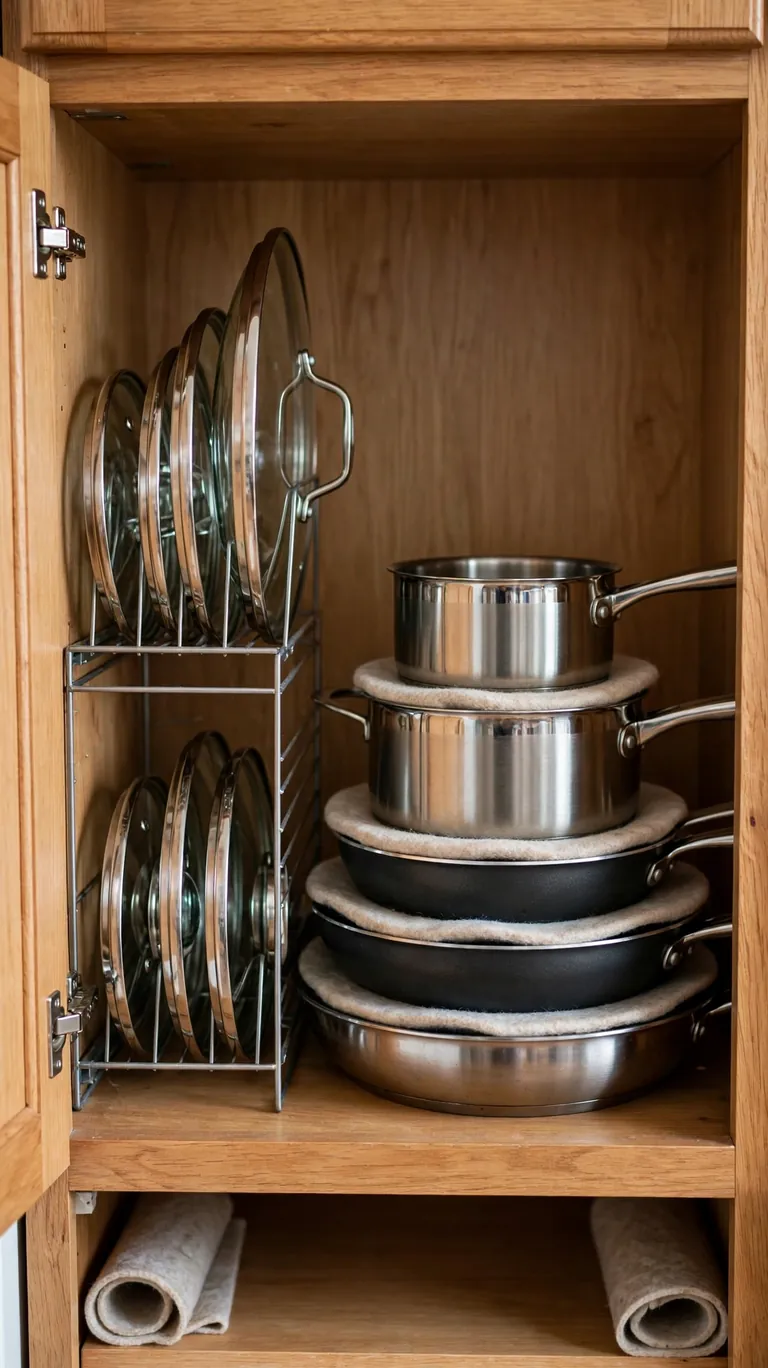
Cookware multiplies silently until the cabinet will not close. I pulled everything out, kept only the pieces I actually use, and nested the rest properly with protectors between them. Two saucepans became one, four skillets became two, and the cabinet went from jammed to comfortable. Nesting only works when you are not nesting things you never touch.
Use felt or fabric protectors between nested pans so the surfaces do not scratch. Store lids separately, standing upright in a rack, because lids are what make nesting fail. Be honest about the specialty pan you have used twice in three years. In a small kitchen, every item must justify its space. The cookware you keep should be the cookware you reach for weekly.
19. Use the Space Above the Fridge
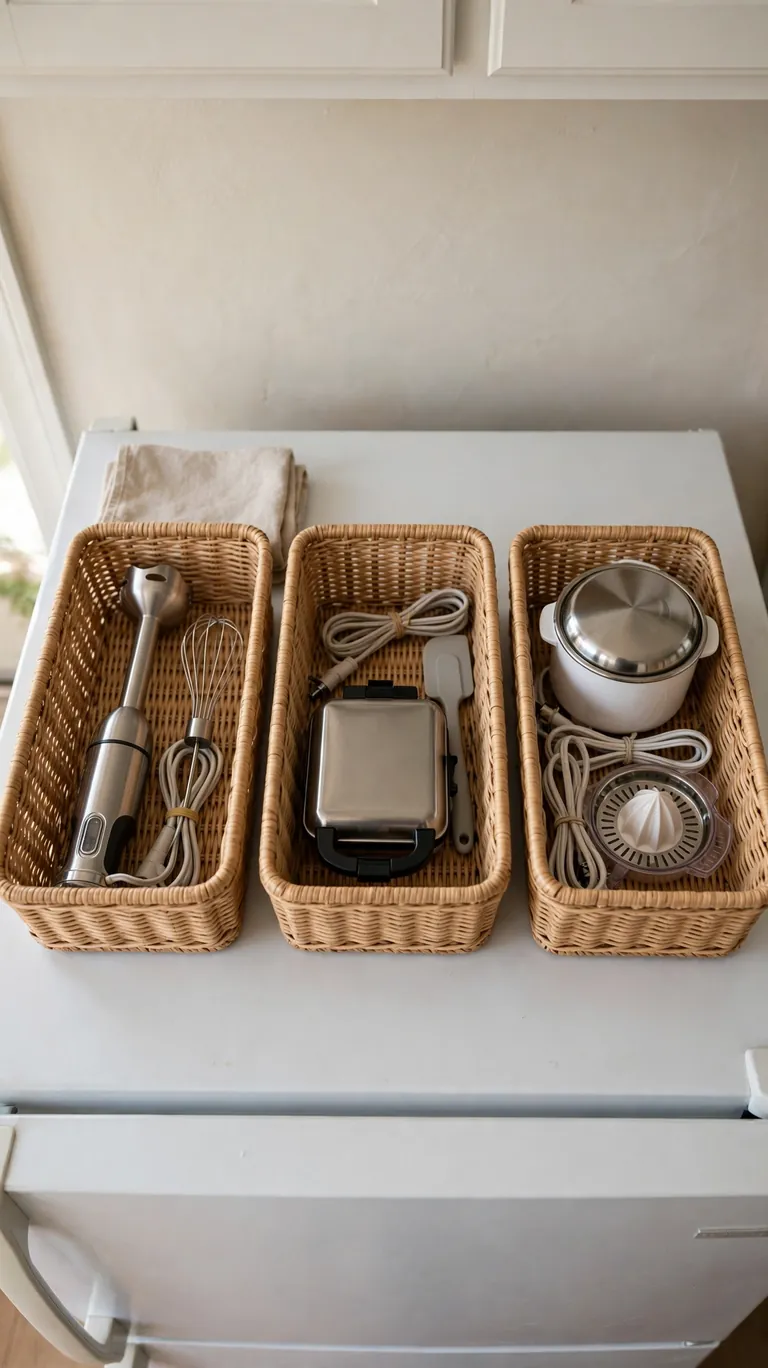
The top of the fridge is the most underused surface in a small kitchen. I keep a sturdy basket up there with the less-used appliances, the waffle maker, the extra blender jars, and the big stockpot. It is out of the way but still reachable with the step stool. The fridge top is free real estate, and in a small kitchen, free is precious.
Use one or two matching baskets so it looks tidy rather than piled. Do not store anything heat-sensitive up there, because the top of the fridge runs warm. Keep the weight reasonable and balanced. This is backstock territory, not daily-use territory. What lives on the fridge should be the things you need monthly, not daily. High, out of the way, but not forgotten.
20. Create a Sink-Side Caddy
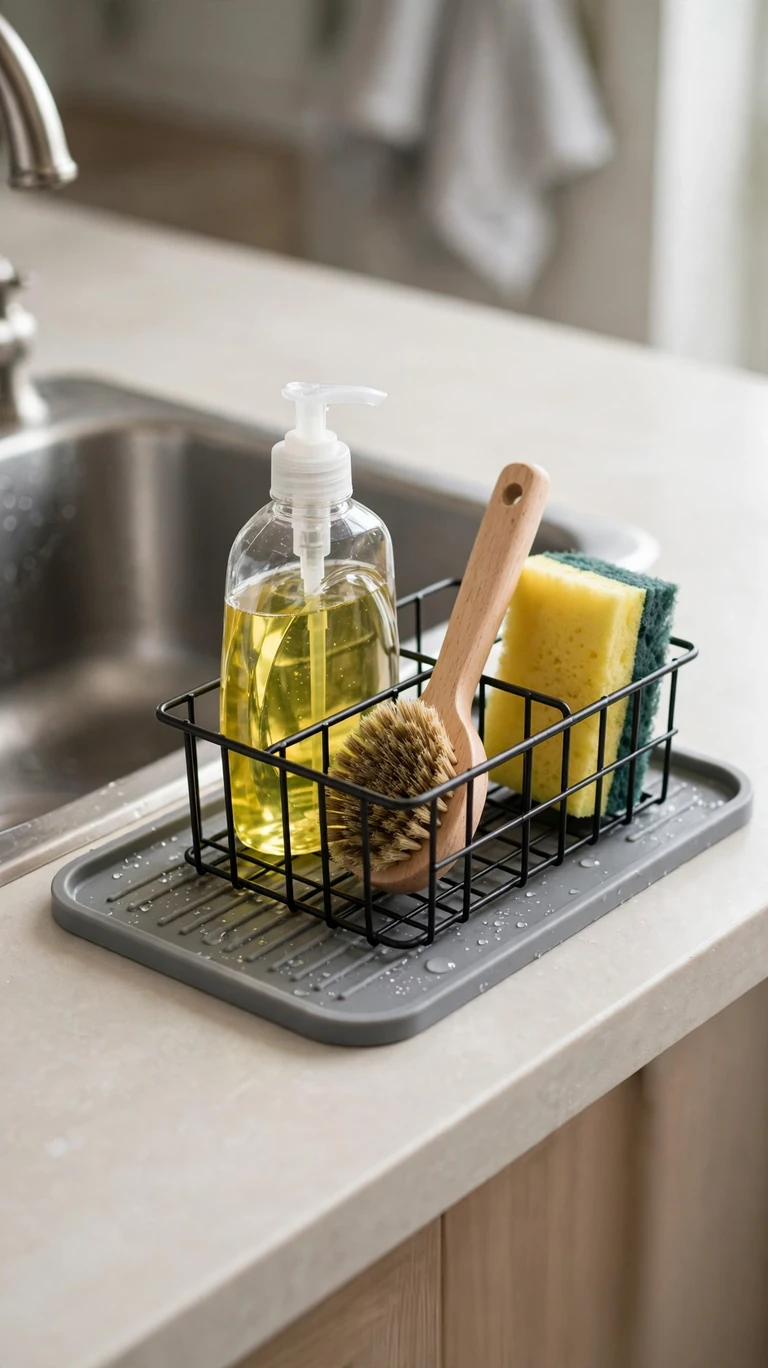
The area around the sink collects clutter faster than anywhere else in the kitchen. I put everything, dish soap, brush, sponge, hand soap, on a single caddy with a drip tray, and the counter around the sink stays clear. When I need to wipe the counter, I lift one caddy instead of ten items. Containment is the whole trick.
Choose a caddy with drainage so it does not get slimy underneath. Keep it to the true daily essentials, because a caddy that overflows is just clutter with a handle. Replace sponges regularly and let the brush dry upright. The sink area is the busiest square foot in the kitchen. Giving it a system keeps the busiest spot calm.
21. Declutter the Gadget Drawer First
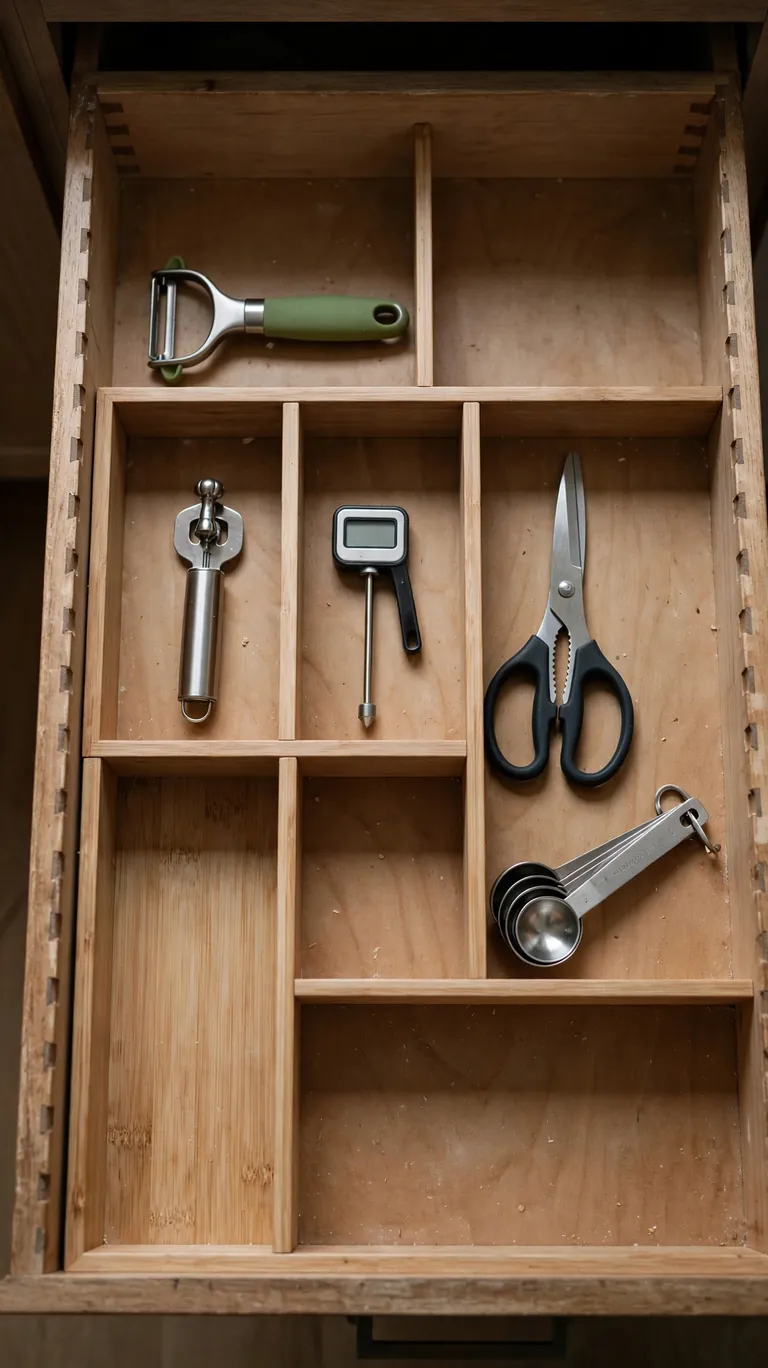
Every small kitchen has a drawer of gadgets that seemed like a good idea at the time. I emptied mine completely and only put back the tools I had used in the last month. The avocado slicer, the third garlic press, and the mystery attachments went to donation. The drawer went from jammed to half-empty, and I have not missed a single item. Decluttering is organization, because you cannot organize what should not be there.
Do this drawer by drawer, not all at once, or you will burn out. The rule is simple: if you have not used it in a year and it is not a true specialty tool, it goes. Donate the good stuff so it gets used. What remains should fit comfortably with dividers and room to spare. An honest declutter does more for a small kitchen than any product ever will.
22. Follow the One-In-One-Out Rule
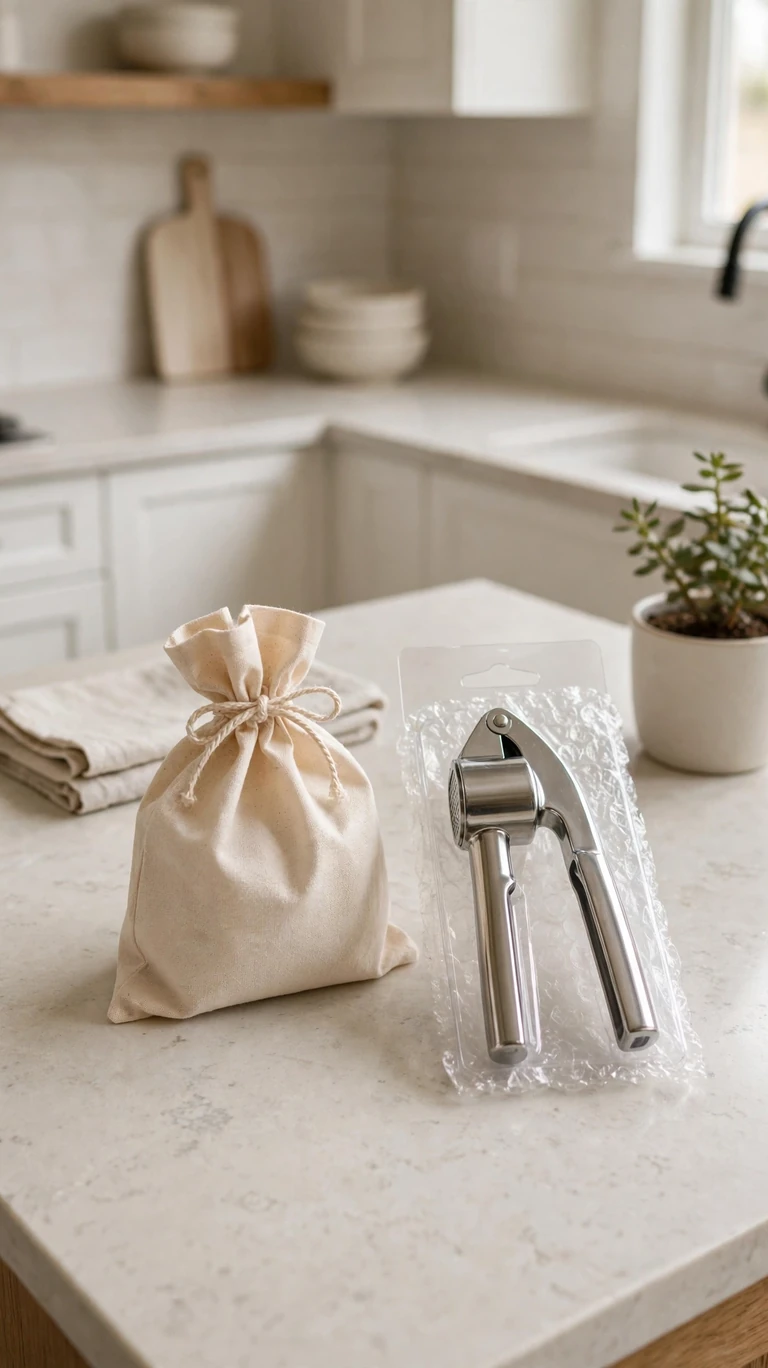
Organization is not a one-time project, it is a habit, and the one-in-one-out rule is the habit that keeps a small kitchen working. Every time something new comes in, something old goes out. New mug in, old chipped mug out. New gadget in, the one it replaces goes to donation. It takes ten seconds and it stops the slow creep of clutter that undoes every system.
Make it a household rule, not just your rule, so everyone follows it. Keep a small donation bag in a closet so the outgoing items actually leave the house. Review the rule when the seasons change, because that is when new things tend to arrive. A small kitchen stays organized the same way it got organized: one honest decision at a time. This rule is the lock on all the other ideas.
Frequently Asked Questions
How do I start organizing a very small kitchen?
Start with a full declutter before you buy a single organizer. Pull everything out of one cabinet or drawer at a time, keep only what you use, and donate the rest. Then organize by zones, putting things where you use them. Only after the declutter should you buy organizers, because then you know exactly what you need to store. Organizing clutter just makes tidy clutter.
What is the best way to organize kitchen cabinets without a renovation?
Use the inside of the doors, add shelf risers, and put pull-out drawers or lazy susans in the deep cabinets. These three changes transform fixed shelving without touching the cabinets themselves. Tension rods, adhesive hooks, and under-shelf baskets add storage with no drilling, which renters love. You can completely reorganize a kitchen in a weekend with off-the-shelf products.
How do I organize a small pantry?
Give every category its own bin and label everything. Decant dry goods into clear, square containers so you can see what you have. Keep daily items at eye level and backstock low or high. Do a quick reset once a month, tossing expired items and consolidating half-empty packages. A small pantry works when every item has a labeled home and nothing is hiding.
How can I create more counter space in a small kitchen?
Get things off the counter first. Mount knives on a magnetic strip, hang utensils on a backsplash rail, and move small appliances you use weekly into a cabinet or onto the fridge top. Use the wall and the inside of cabinet doors for the small things. Clear counters are not about having less stuff, they are about giving everything else a home that is not the counter.
How do I keep a small kitchen organized long term?
Follow the one-in-one-out rule so clutter cannot creep back in. Do a five-minute reset every evening, putting things back in their homes. Review each zone once a season and adjust what is not working. The systems that last are the simple ones, because simple gets maintained. A small kitchen stays calm the same way it got calm: a little attention, regularly.
Conclusion
A small kitchen is not a problem to solve, it is a space to respect. Every zone you define, every door you use, every duplicate you let go of makes the room work a little harder for you. You do not need to do all 22 of these ideas this weekend. Start with the declutter, because nothing organizes well until the excess is gone. Then pick the idea that addresses your biggest daily annoyance, the digging, the stacking, the cluttered counter, and fix that one thing. The rest can follow one weekend at a time. Before long, your tiny kitchen will feel like it was designed for exactly the way you cook, because in a way, it will have been. The best small kitchen is not the one with the most organizers. It is the one where everything has a place, everything is reachable, and cooking feels like a pleasure instead of a puzzle. That is a kitchen that earns its keep every single day.