23 Cardboard Halloween Decorations for a Spooky DIY Party
If you’ve got a stack of cardboard boxes in the garage, you’re already holding a Halloween party’s worth of decorations. Cardboard halloween decorations are cheap, sturdy, and way more impressive than people expect, and most of them take less than an hour to make. You don’t need fancy tools or craft skills. A utility knife, some paint, and a little imagination will carry you through almost everything on this list.
What makes cardboard such a good Halloween material is how forgiving it is. Crooked lines look spooky on purpose, rough edges add character, and if you mess up a cut you just grab another flap and try again. Kids can help with the painting and taping, which makes these projects perfect for family crafting weekends. Below you’ll find 23 genuinely makeable ideas, from haunted house silhouettes to glowing lantern villages, each with clear steps so you know exactly what to do. For even more spooky inspiration beyond cardboard, take a look at these [stylish Halloween decor ideas](https://dreamydecorideas.com/25-stylish-halloween-decor-ideas/) to round out your party look.
1. Haunted House Silhouette Backdrop
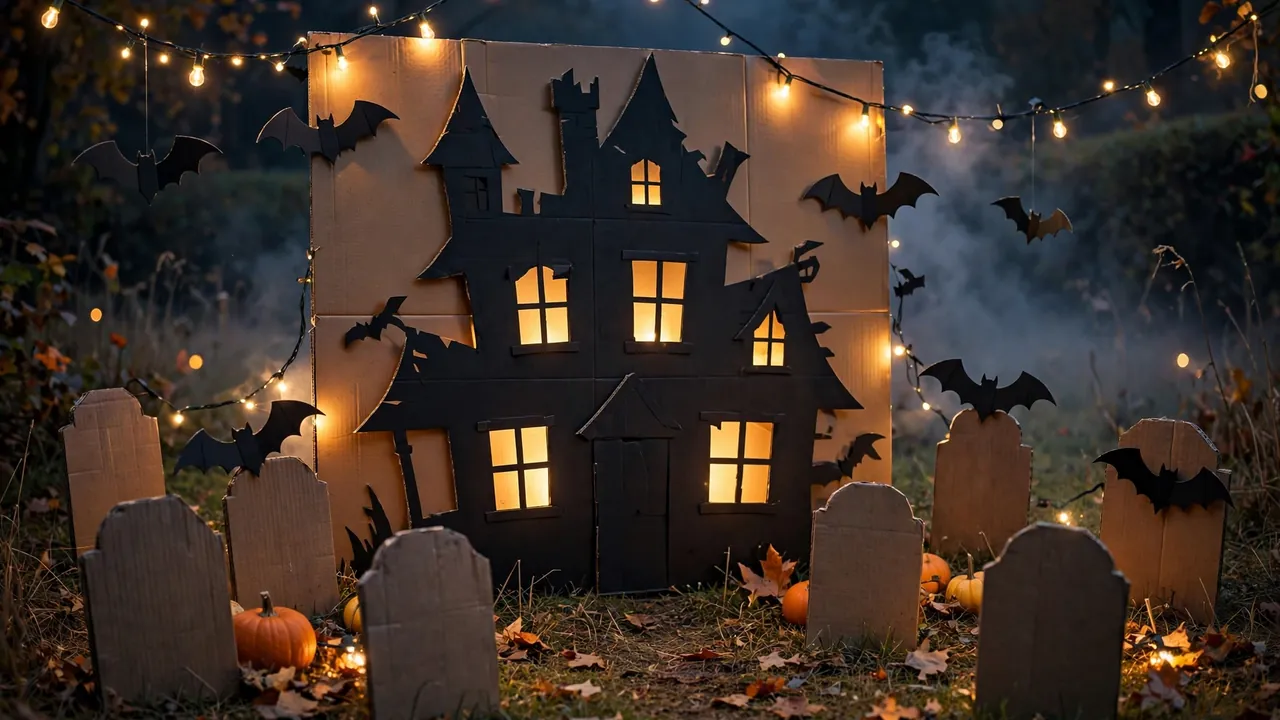
Cut a large rectangle from a flattened appliance box and sketch a haunted house shape right onto it with a pencil. Think crooked chimneys, a tall tower, broken shutters, and a couple of round attic windows. Cut the whole silhouette out in one piece with a utility knife, then paint it solid black. Prop it against a wall or hang it with string, and it instantly reads as a spooky manor.
To make it look even better, cut out the window shapes completely and place a string of warm white fairy lights behind the board. When the room lights go down, the windows glow like the house is alive. Lean a smaller silhouette of a dead tree next to it for extra drama. This is the single biggest-impact decoration on the list for how little effort it takes.
2. Crooked Cardboard Tombstones
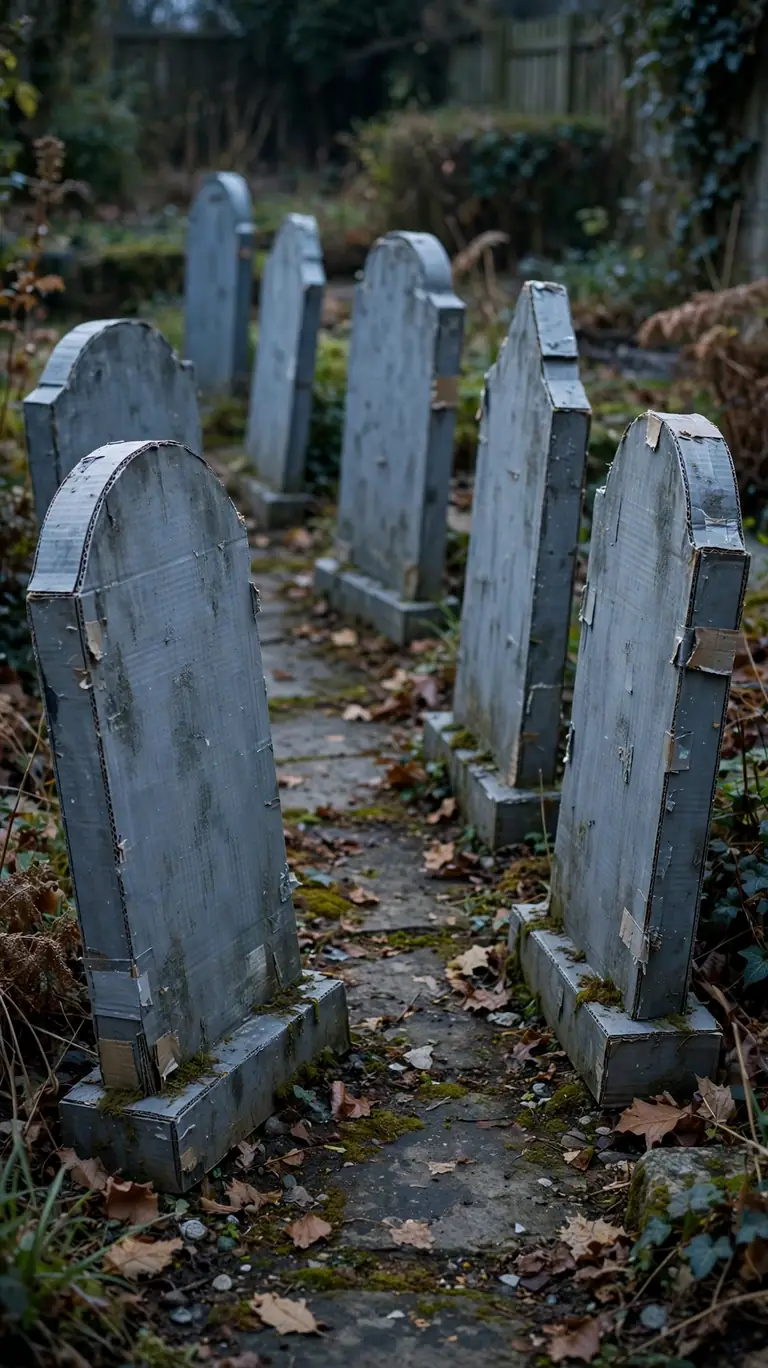
Cut tombstone shapes from corrugated cardboard, keeping the tops rounded or arched like real headstones. Make each one a little lopsided on purpose. Nobody’s tombstone was ever perfectly straight, and the crookedness is what sells the effect. Cut a small tab at the bottom of each one so you can fold it back and stake it into the ground or tape it to a floor.
Paint the tombstones gray, then dry brush a lighter gray over the top to give them a weathered stone look. Write funny epitaphs on them with a black marker, things like “Here lies Barry M. Deep” or “RIP: Ran out of candy.” Stick them along your walkway or cluster them in a corner of the yard. Add a little fake moss at the base if you have it.
3. Flock of Paper-Thin Cardboard Bats
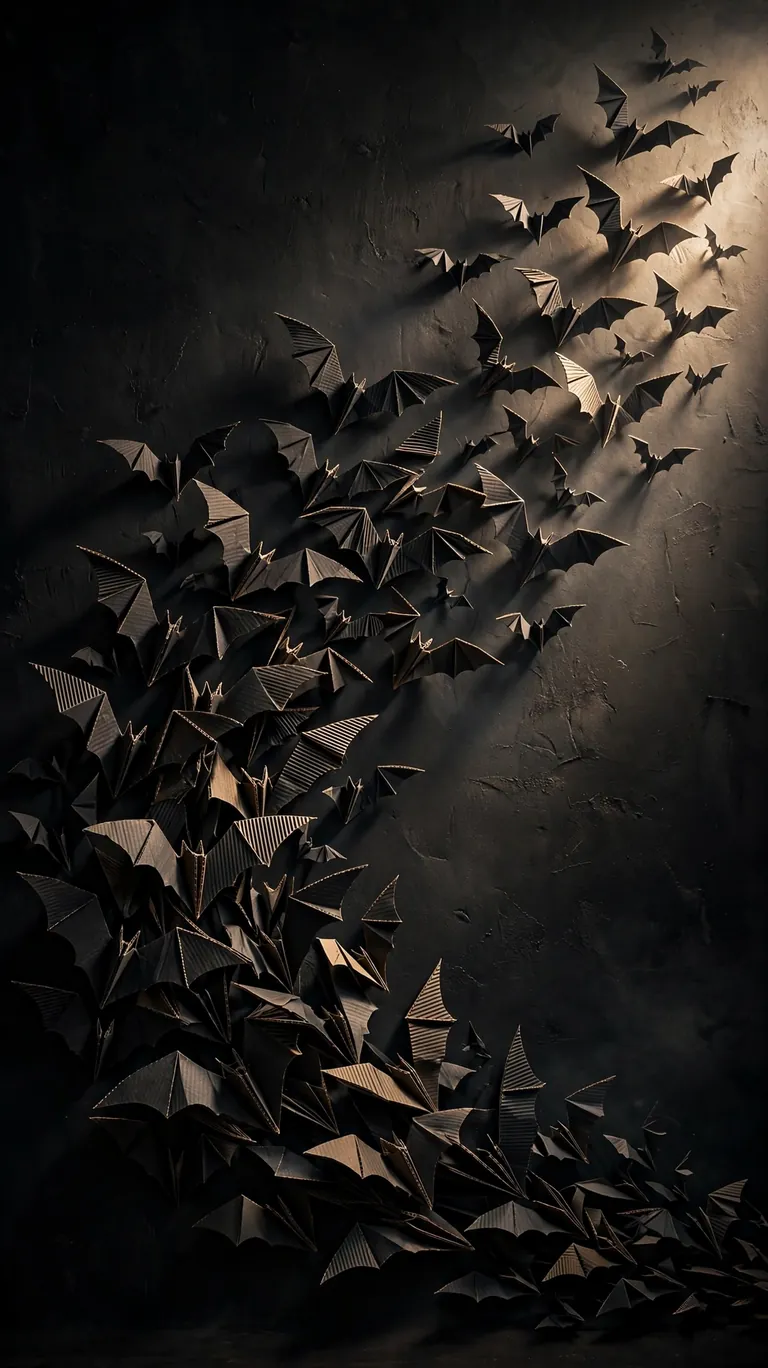
Thin cardboard like cereal boxes is perfect for bats because it holds a curve. Draw a simple bat shape, about the size of your hand, cut it out as a template, then trace and cut as many as you like. Paint them all black on both sides and let them dry completely before you handle them.
Fold each bat slightly down the middle so the wings angle upward, then stick them to the wall with small pieces of painter’s tape or mounting putty. Arrange them in a sweeping curve like they’re flying out of a chimney. Twenty or thirty bats look amazing on a staircase wall. Since they’re so light, you can also hang a few from the ceiling with clear fishing line.
4. Haunted Window Silhouette Scene
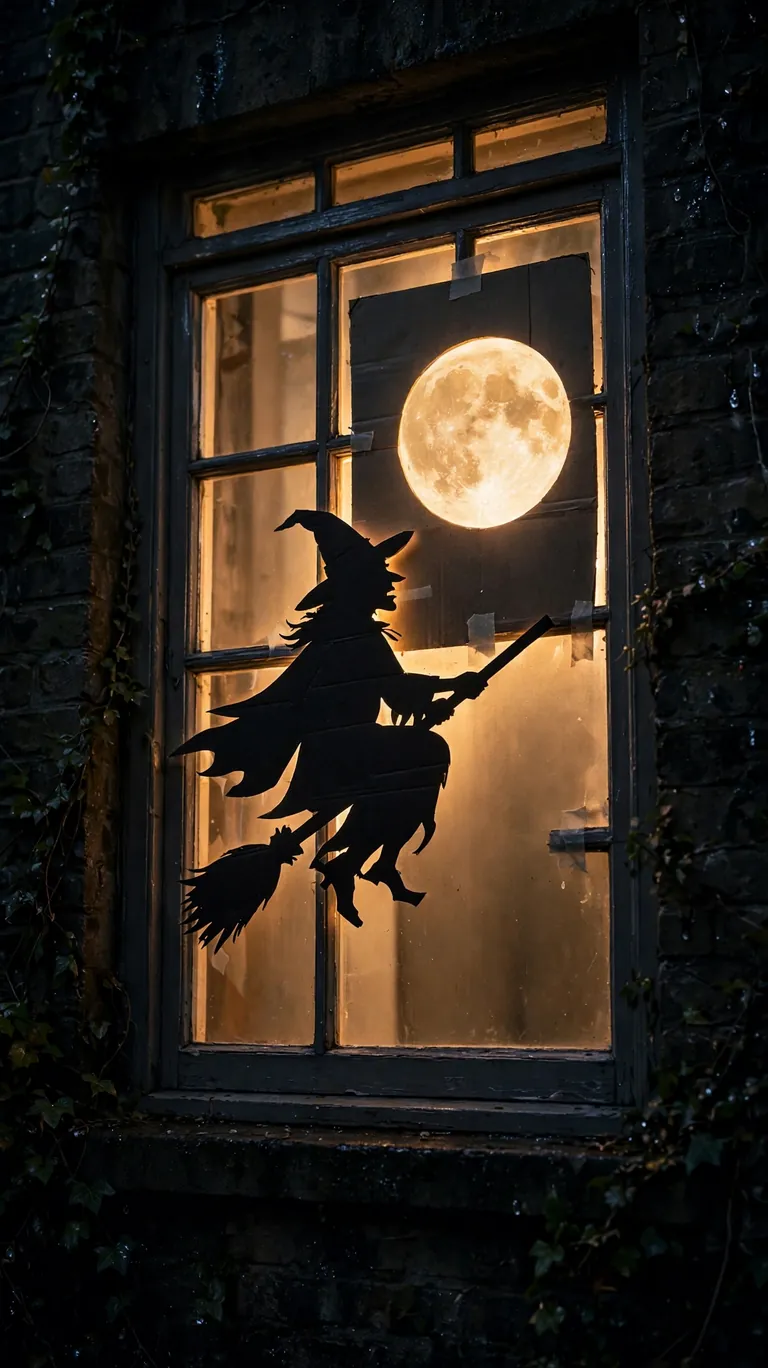
Cut a piece of black cardboard or painted black poster board to fit inside a window frame. Cut out shapes like a witch on a broom, bare tree branches, and a full moon, leaving the moon as a hole. Tape it to the inside of the window. From the street at night it looks like a shadow puppet scene.
The trick that makes this work is backlighting. Leave a lamp on in that room or hang a string of warm lights a few feet behind the window so the cutouts glow. White or yellow bulbs look best, like moonlight. Do one window as a test first so you can step outside and check how it reads before you decorate the rest of the house.
5. Standing Cardboard Ghosts
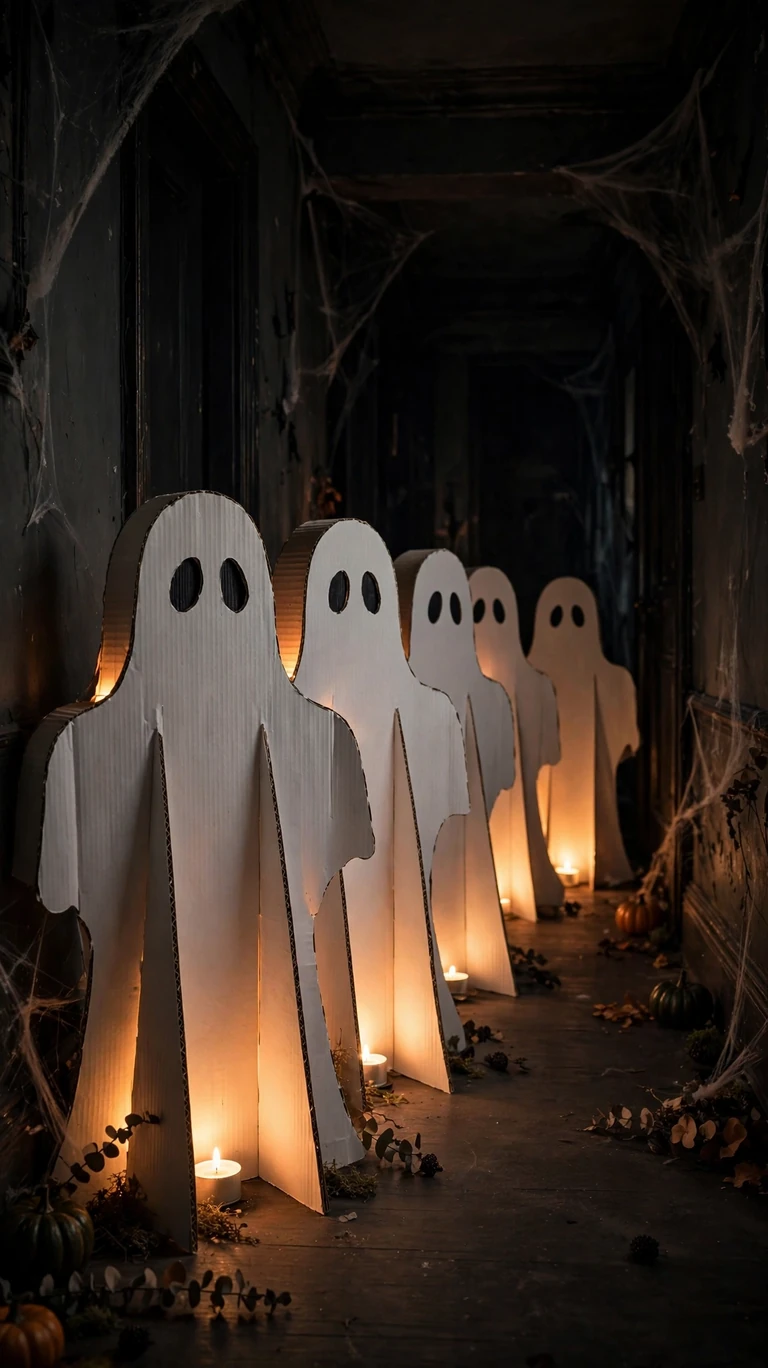
Draw a classic ghost shape with wavy bottom edges on a large piece of cardboard and cut out two identical copies. Paint them white and give them simple black oval eyes and a mouth. Tape the two pieces together along the top and sides, leaving the bottom open, and they’ll stand up on their own like a little tent.
These are wonderful for lining a hallway or a porch because they actually take up space and catch the light. For a spookier version, skip the friendly face and cut the eyes out completely, then put a battery tea light inside each ghost so the eyes glow. Kids love making these because there’s no wrong way to draw a ghost.
6. Giant Cardboard Spider
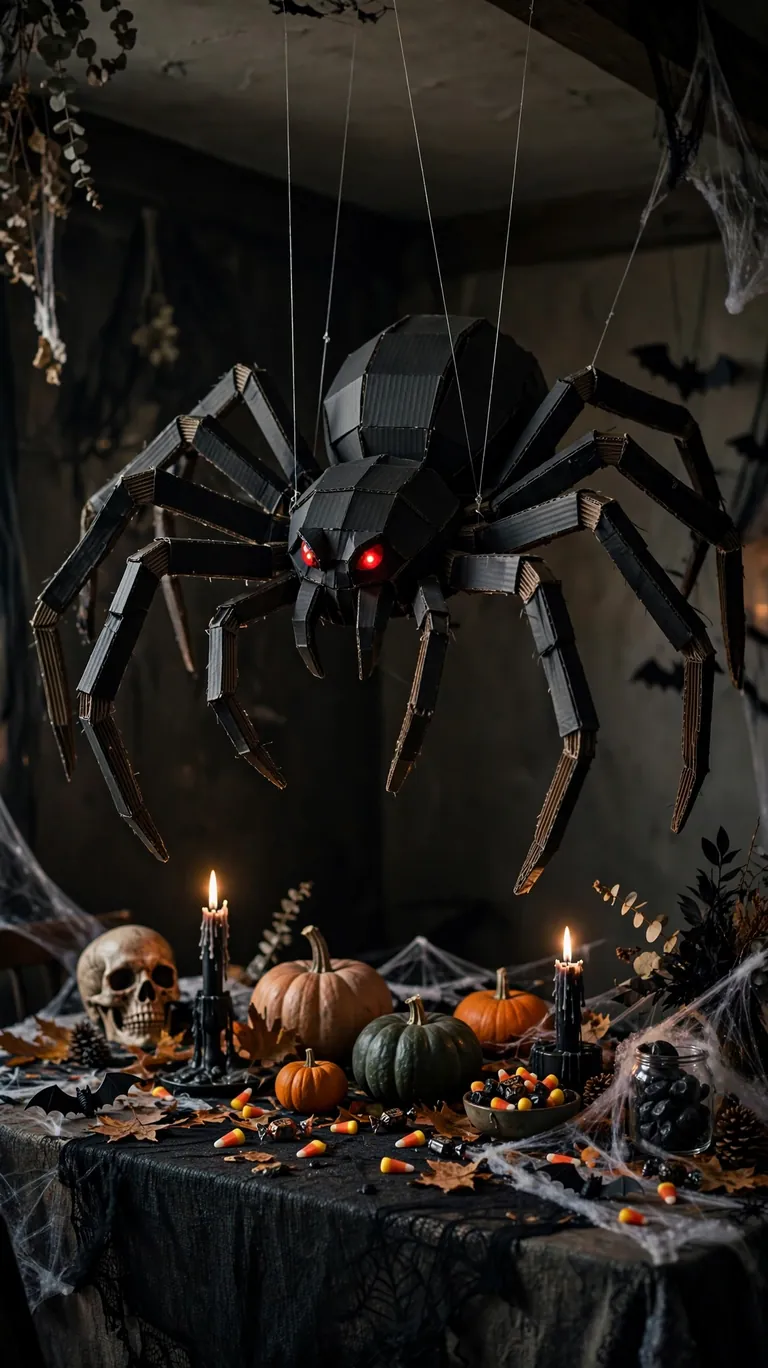
Cut an oval body and a smaller round head from thick cardboard, then cut eight long leg strips. Score each leg strip at two points so you can bend them into jointed segments, and hot glue or tape the legs to the body at an angle. Paint everything black and add two red paper eyes for that classic scary look.
Hang the spider from the ceiling with fishing line over your snack table or doorway. Because the legs are bent, it looks three-dimensional and casts great shadows. You can make it as big as you want. A three-foot-wide spider hanging in a dark hallway is genuinely startling, and it only costs you one box and some paint.
7. Witch on a Broom Silhouette
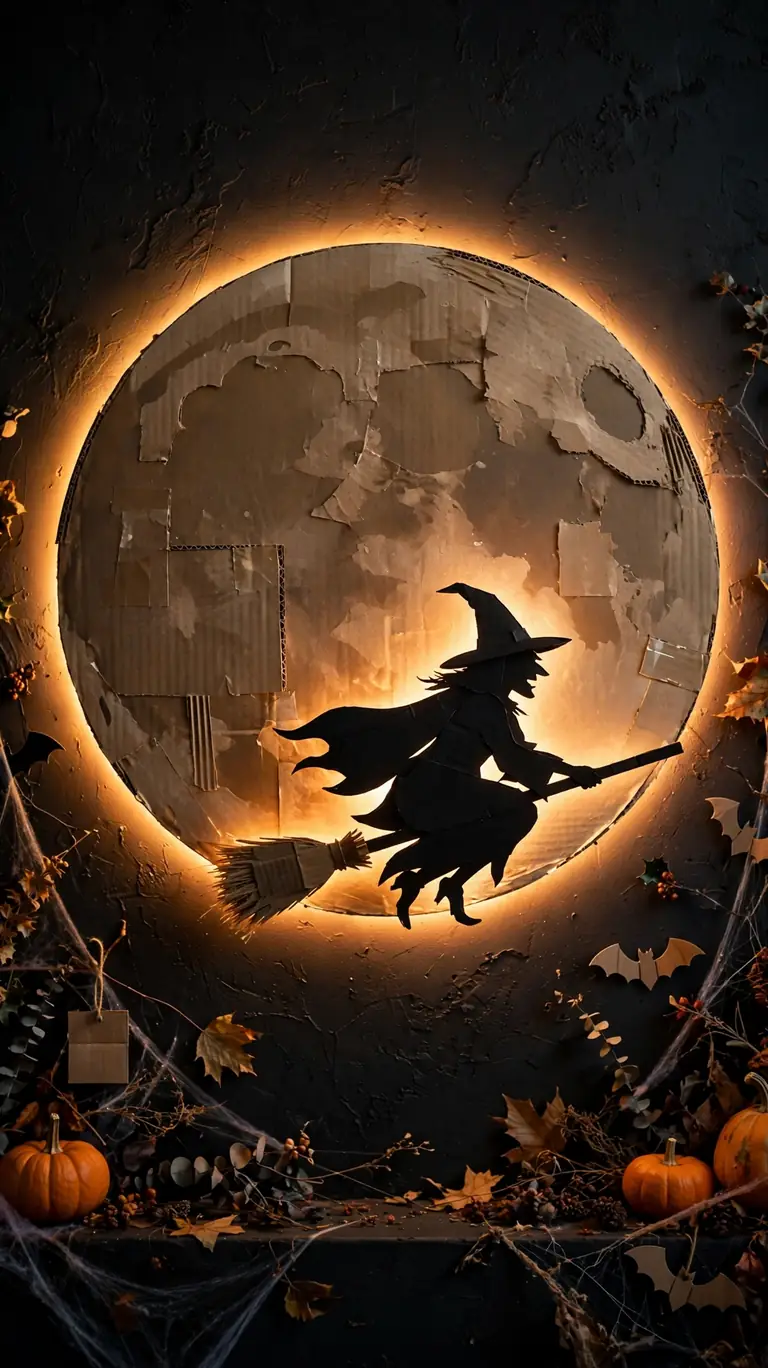
Draw a witch flying on a broomstick on black cardboard, or print a simple silhouette outline and trace it. The key shapes are the pointed hat, the flowing cape, and the broomstick stretched out behind her. Cut it out carefully, the thinner pieces are delicate, so cut slowly and support the cardboard as you go.
Hang her against a round cardboard moon cutout and tape the whole thing to a wall or window. With a light behind it, the witch looks like she’s flying across the moon. This pairs perfectly with the haunted window scene idea above. Make two or three at different sizes for a little coven effect across one wall.
8. Spooky Photo Booth Frame
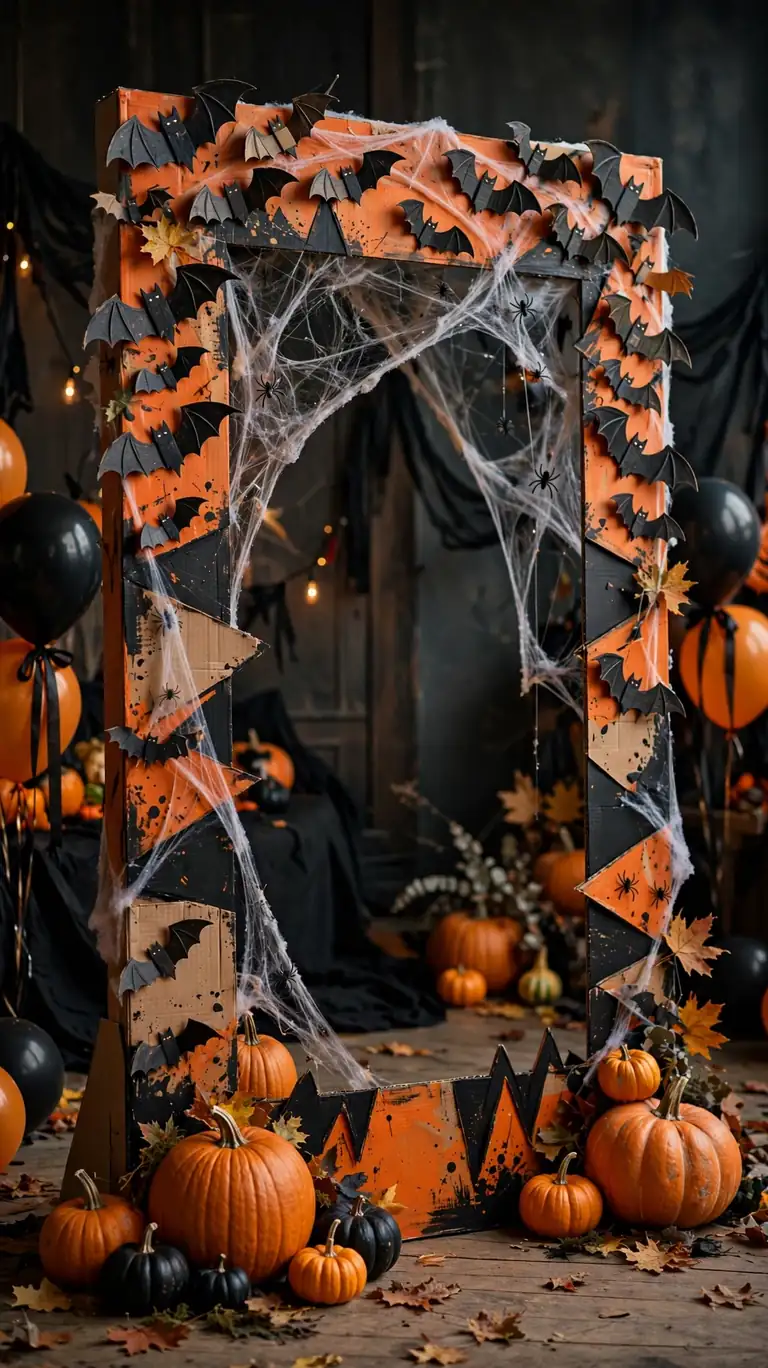
Cut the center out of a large flat piece of cardboard to make a big frame, then decorate the edges with cutout bats, spider webs, pumpkins, and a wavy “EEK” or “BOO” banner along the top. Paint it orange and black, or go for a haunted purple and black color scheme.
Stand it in front of a plain wall or a dark sheet and let guests hold it up for photos. Party guests will use this all night, so make it sturdy by doubling the cardboard at the corners with tape. Add a few cardboard props like a witch hat on a stick and a speech bubble that says “Trick or treat” for people to hold.
9. Glowing Lantern Village
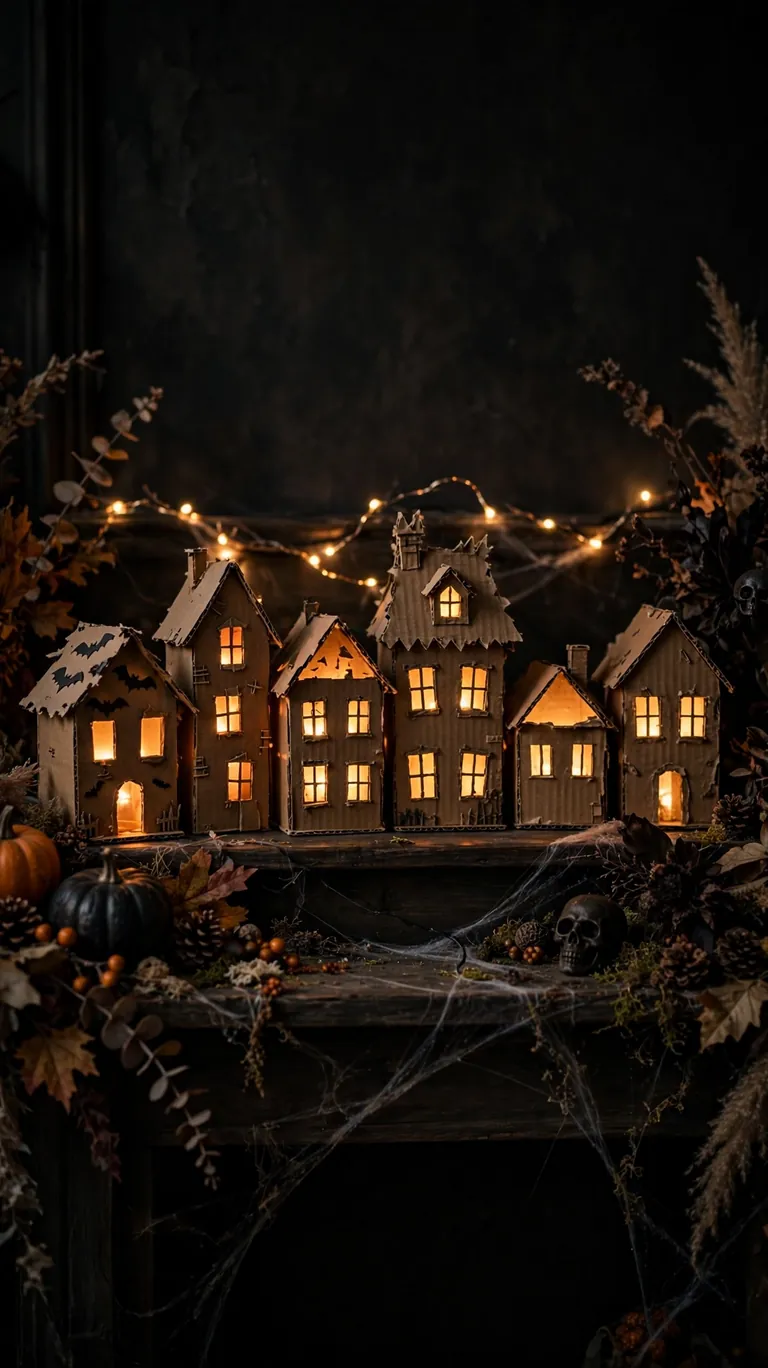
Cut simple house shapes from cardboard, small rectangles with triangle roofs, and cut little square windows out of each one. Paint them in dark autumn colors like deep orange, brown, and black. Line them up along a windowsill or mantel with the window holes facing forward.
Place a string of fairy lights behind the row so each window glows. The village looks like a sleepy haunted town after dark. Vary the house heights and add tiny cardboard chimneys and dead trees between them. This is one of the prettiest decorations on the list and it photographs beautifully.
10. Coffin Candy Box
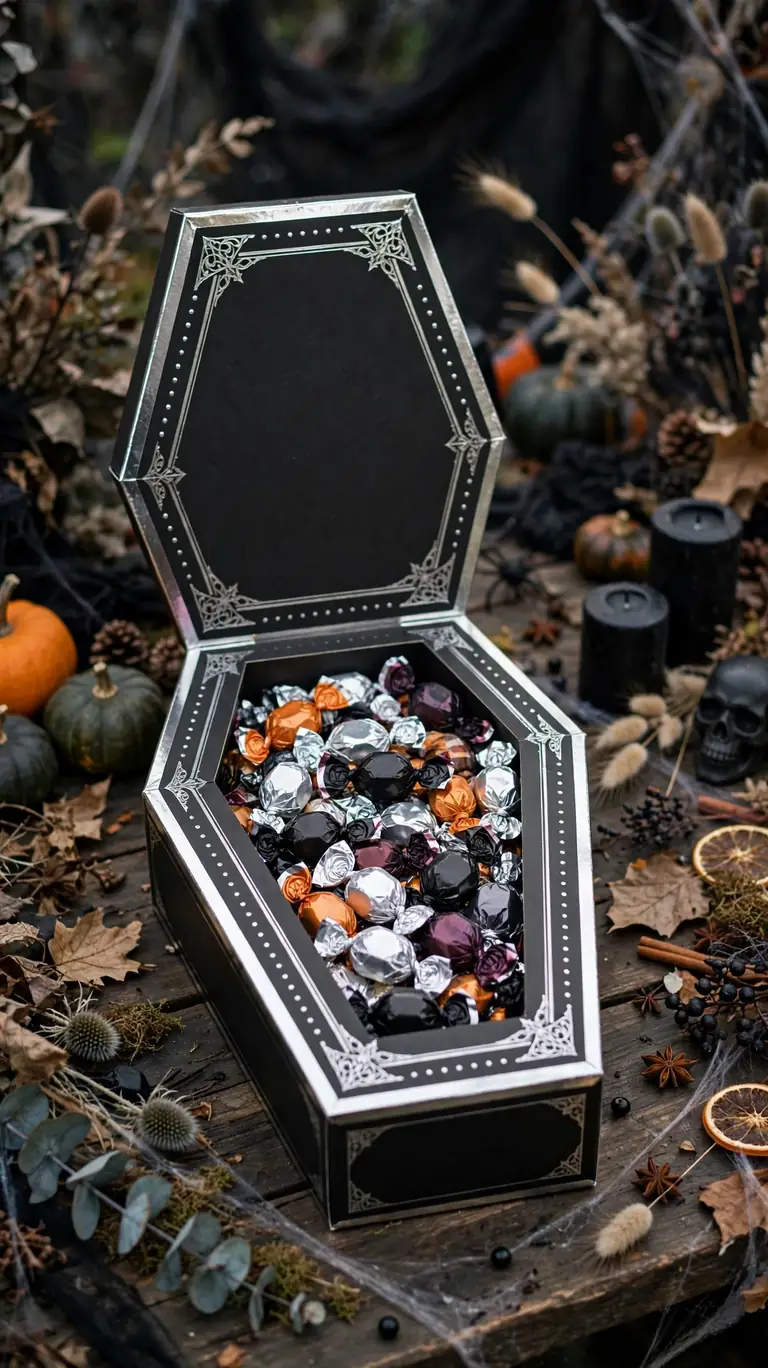
Cut six panels from sturdy cardboard: two long sides, two short ends, a bottom, and a coffin-shaped lid that tapers at the top and bottom. Tape them together into a box shape, reinforcing the corners with packing tape on the inside. Paint it black and add silver duct tape crosses or handles on the lid for detail.
Fill it with wrapped candy and set it on your treat table. Kids get a huge kick out of reaching into a coffin for their candy. Make the lid hinged with a strip of tape so it opens and closes. A “Take One” sign written in spooky letters on the lid finishes it off.
11. Haunted Doorway Facade
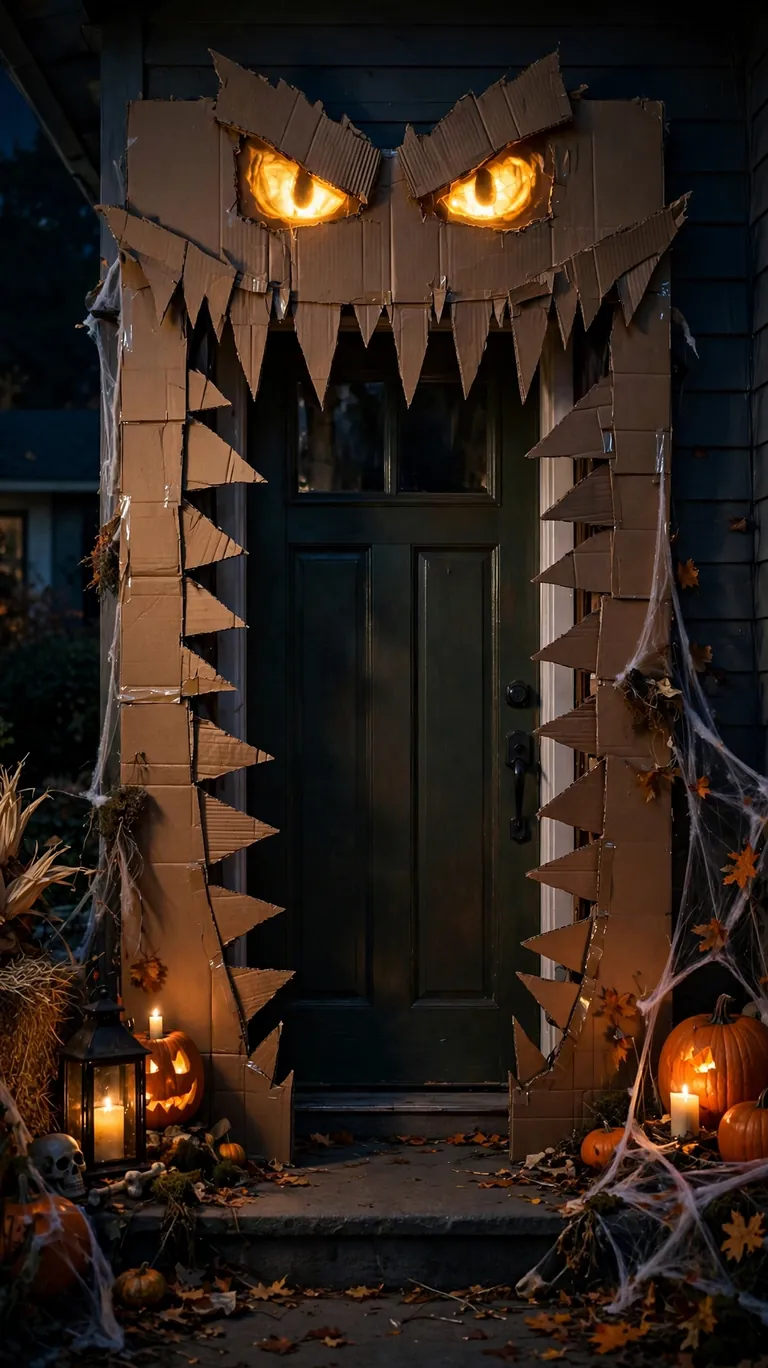
Turn your front door into a monster mouth or a haunted gate. Cut large cardboard pieces to frame the door, adding jagged teeth along the top so it looks like the doorway is a gaping mouth. Paint the pieces dark red and black, and tape them around the door frame so trick-or-treaters walk right into the mouth.
Add paper eyes above the door that glow with a light behind them, and you’ve got a full monster face. This is the first thing guests see, so it sets the tone for the whole party. Make sure the pieces are taped securely and don’t block the door from opening. Test it before party time.
12. Floating Ghost Garland
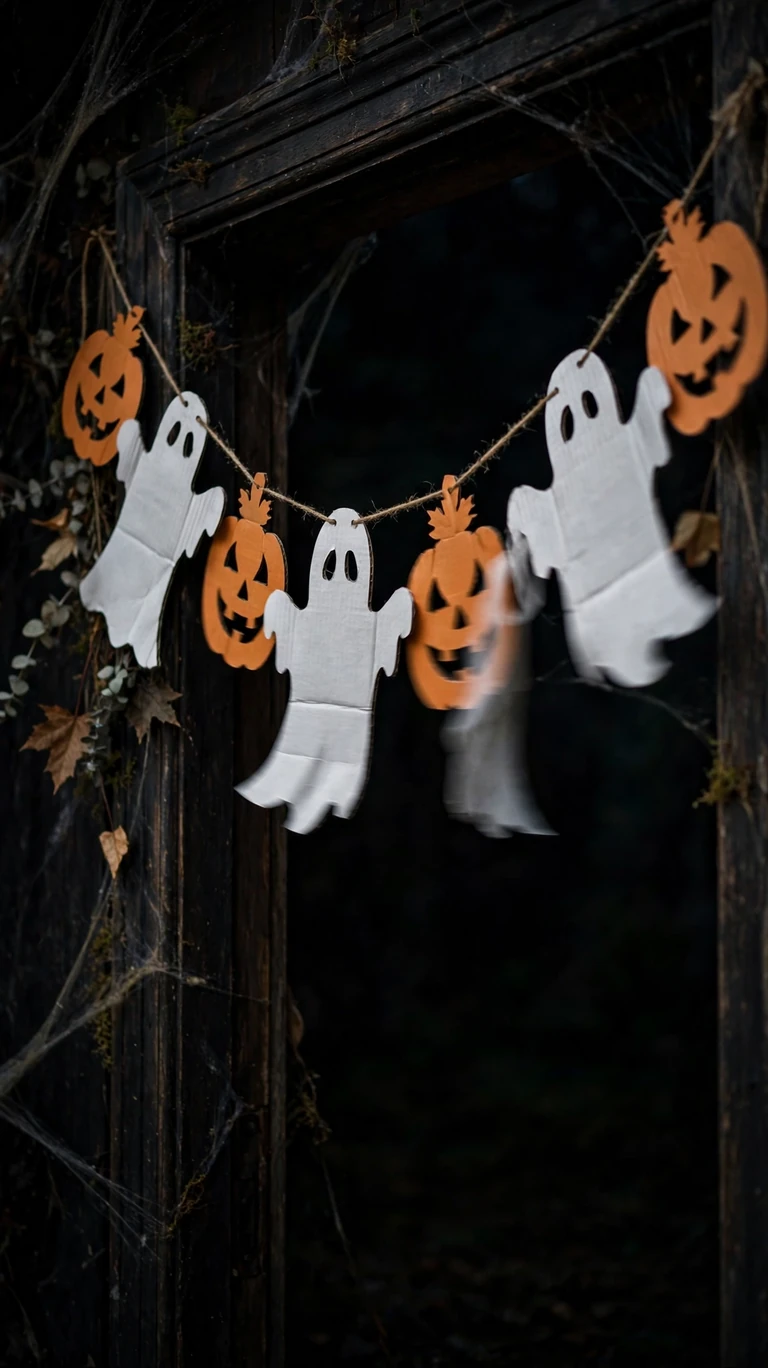
Cut small ghost shapes from white cardboard, about four inches tall, and punch a hole at the top of each one. Paint simple faces or leave them blank for a spookier look. Thread them onto a long piece of string or yarn with a knot below each ghost so they stay spaced out.
Hang the garland across a doorway, along the mantel, or in a zigzag across the ceiling. It moves gently when people walk past, which makes the ghosts feel alive. Mix in some orange cardboard pumpkins between the ghosts for color. This is a great project to make in bulk while watching a scary movie.
13. Creepy Graveyard Fence
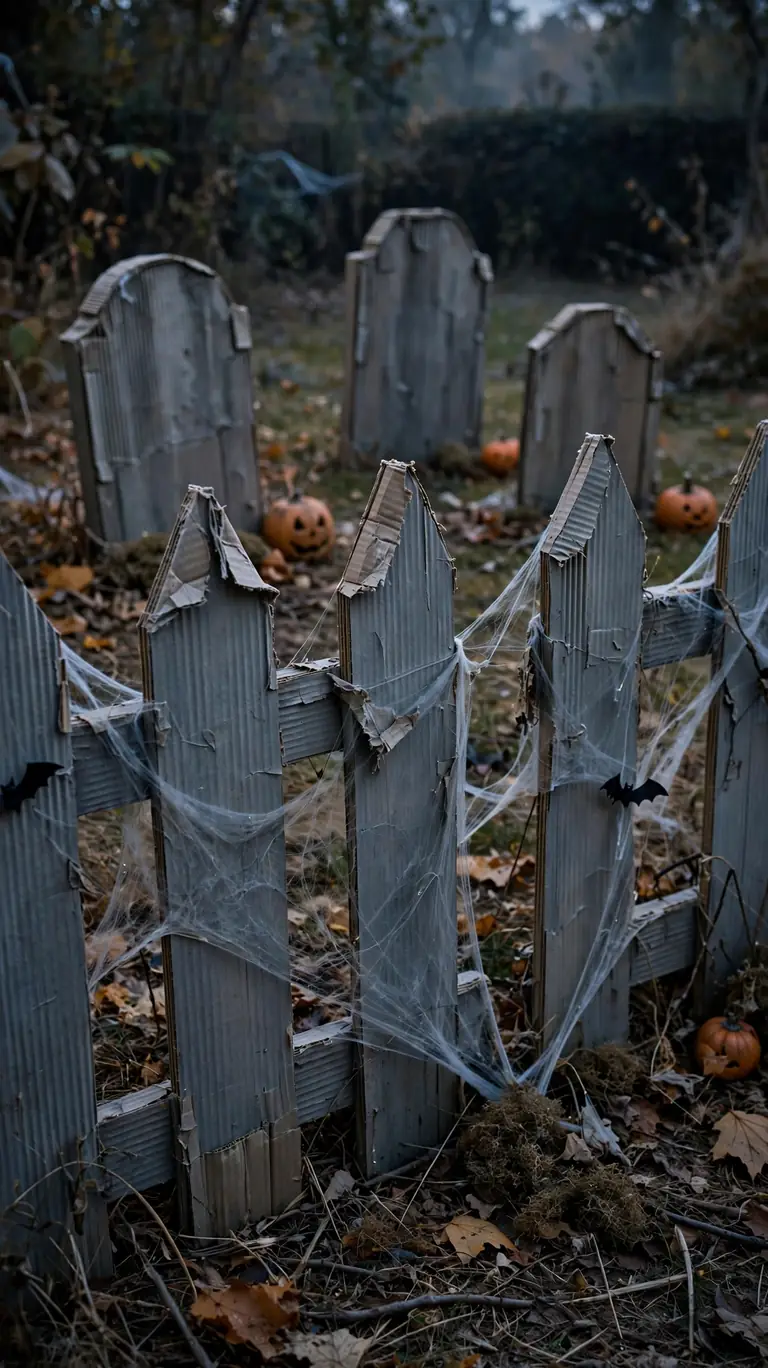
Cut long horizontal rails and vertical pickets from cardboard, and give each picket a pointed or rounded top. Assemble a fence section about three feet tall, spacing the pickets a couple of inches apart. Paint it a weathered gray or a chipped black for that abandoned cemetery look.
Set two or three fence sections in front of your tombstone cluster to create a proper little graveyard scene. They stand up on their own if you tape triangular cardboard feet to the back of each section. Add some fake cobwebs draped over the pickets and you’ve got a scene people will stop to look at.
14. Twisted Spooky Tree
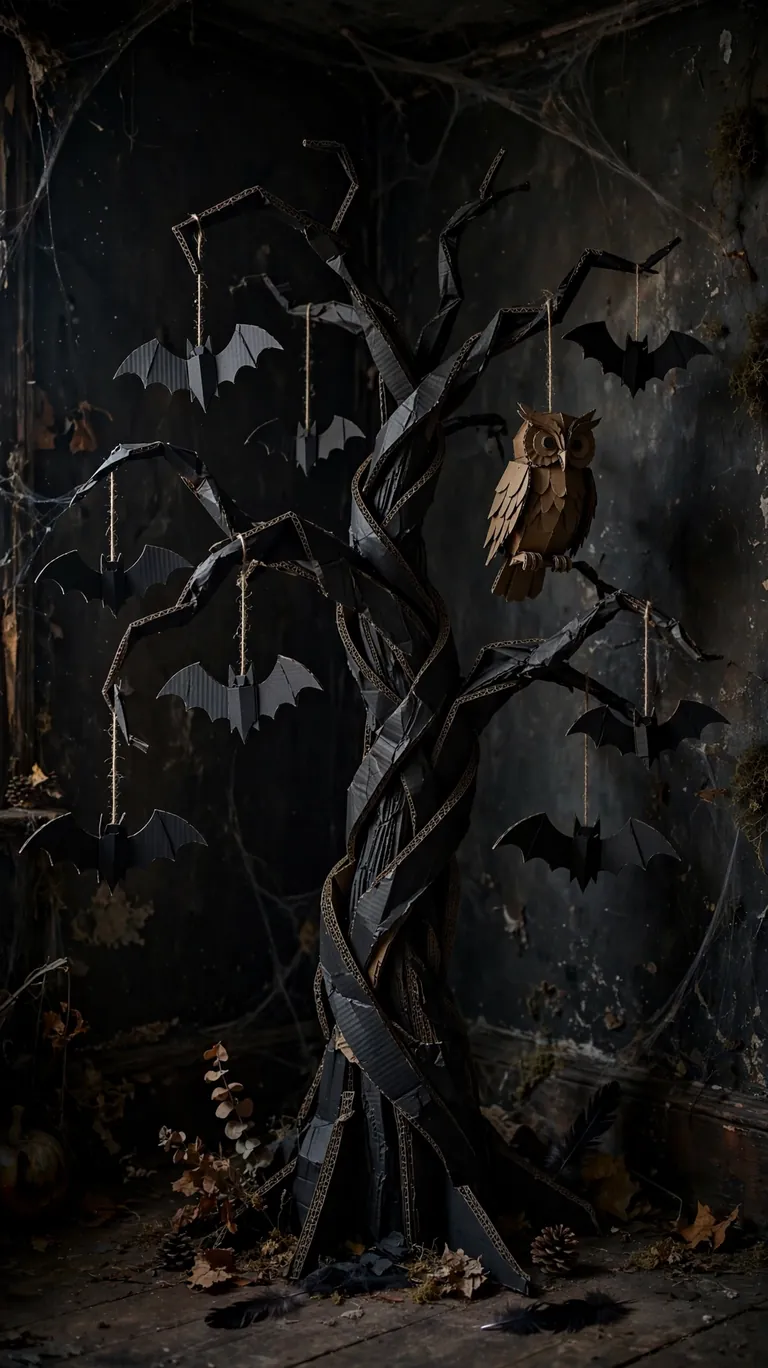
Cut two identical tree shapes with twisted branches from large cardboard sheets. Slit each one halfway, one from the top and one from the bottom, and slide them together to make a free-standing 3D tree. Paint it dark brown or black, and rough up the edges with sandpaper or a knife for bark texture.
Hang a few cardboard bats or a cardboard owl from the branches. This tree is the perfect companion for your haunted house silhouette, and at four or five feet tall it really fills a corner. For an outdoor version, wrap the base in a garbage bag first so damp ground doesn’t soften the cardboard.
15. Bubbling Cardboard Cauldron
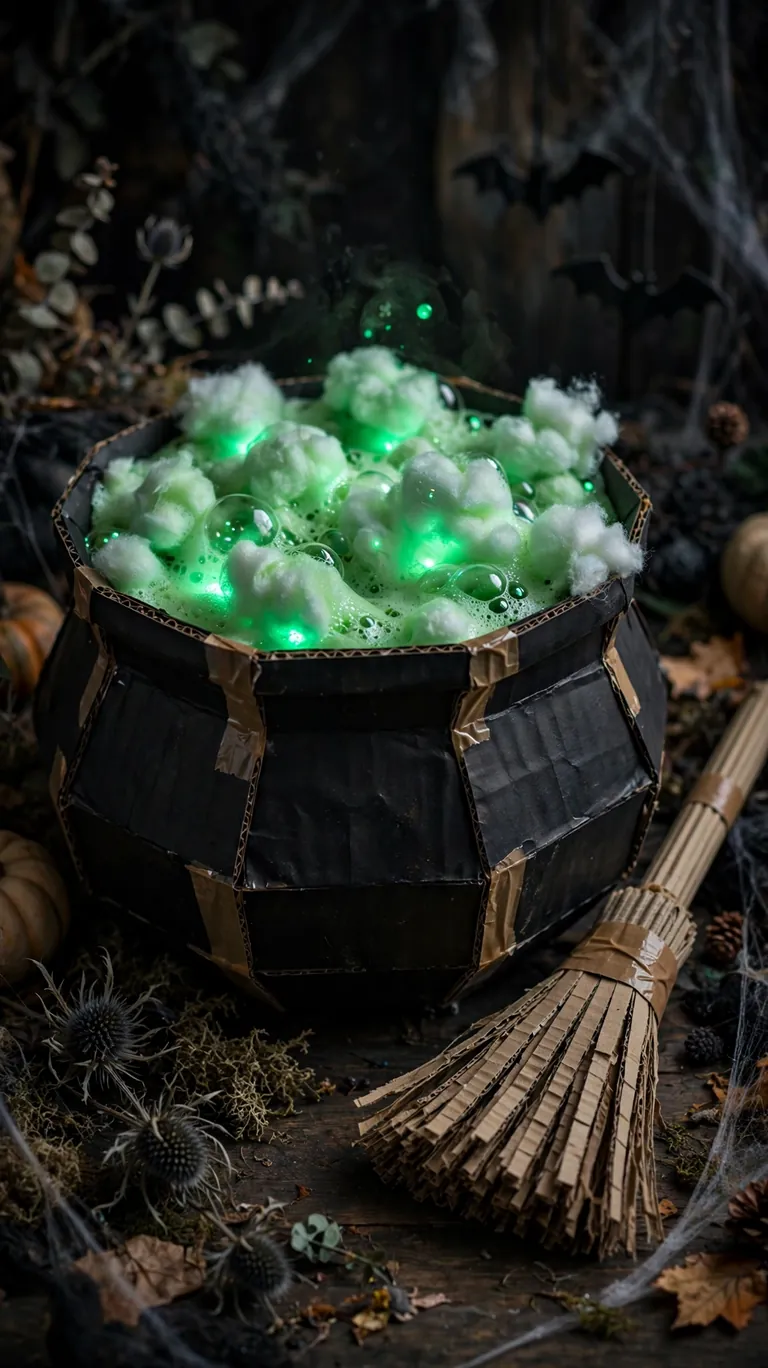
Cut a wide cauldron shape with a rounded bottom and small feet from black cardboard, then cut green “bubbles” in different sizes from thinner cardboard. Glue cotton balls or crumpled tissue paper behind the bubbles so they look three-dimensional. Paint everything in glossy black and toxic green.
Prop the cauldron against a wall with a battery light underneath so the green bubbles glow. Lean a cardboard broom and a witch hat next to it to complete the scene. This one is a favorite for kids’ parties because it’s colorful and silly rather than truly scary.
16. Hanging Pumpkin Faces
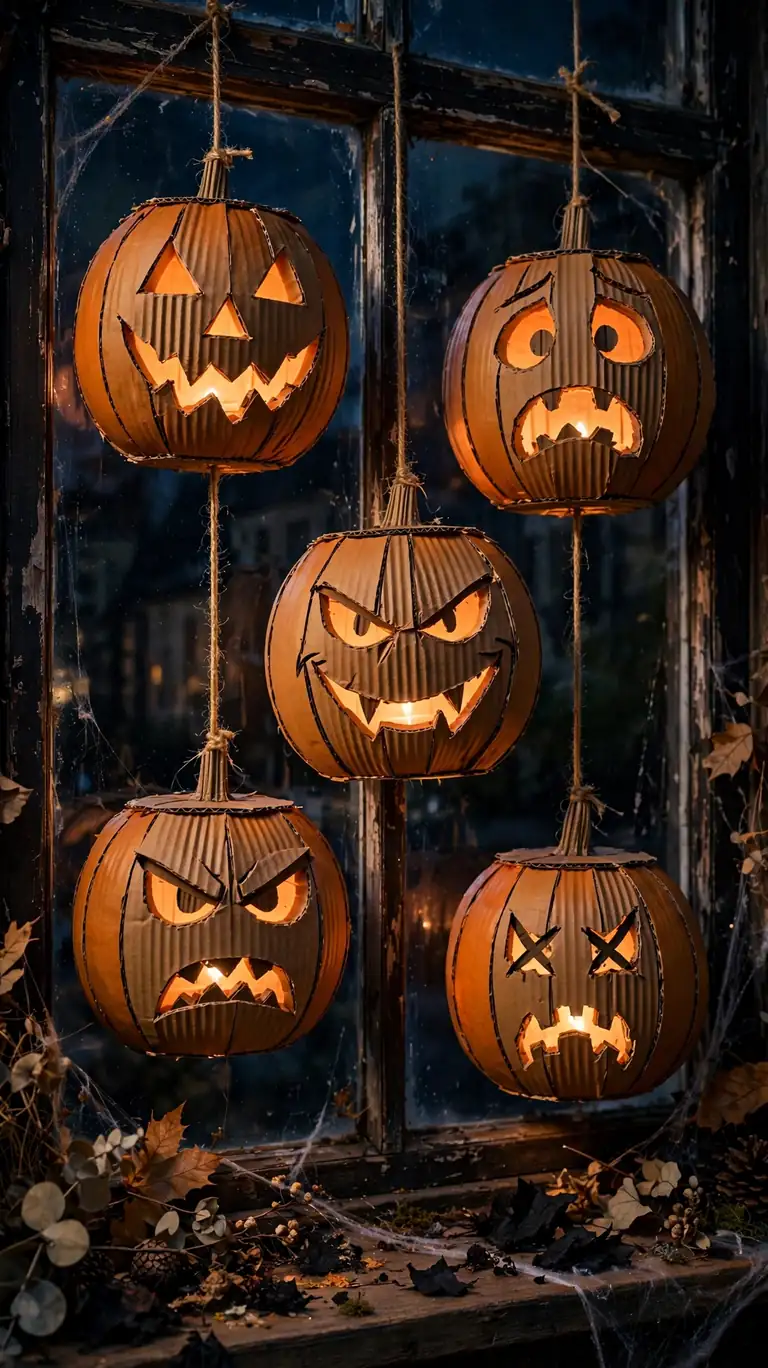
Cut pumpkin shapes from cardboard and carve different jack-o-lantern faces into them with a utility knife, cutting the eyes, nose, and mouth all the way through. Paint them bright orange on both sides. Classic grins, scary frowns, and silly surprised faces all work.
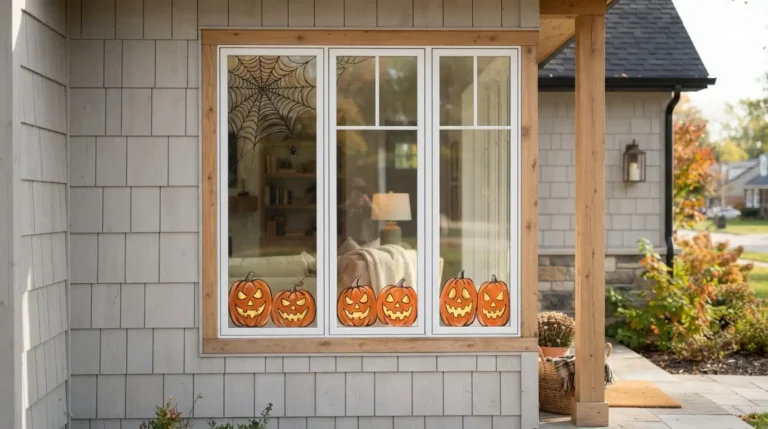
Hang them in a window or from tree branches with string so they catch the light. At night, put a light behind each one and the faces glow like real jack-o-lanterns. Since there’s no carving mess and no rotting, these last the whole season, which real pumpkins definitely don’t.
17. Cardboard Spider Web
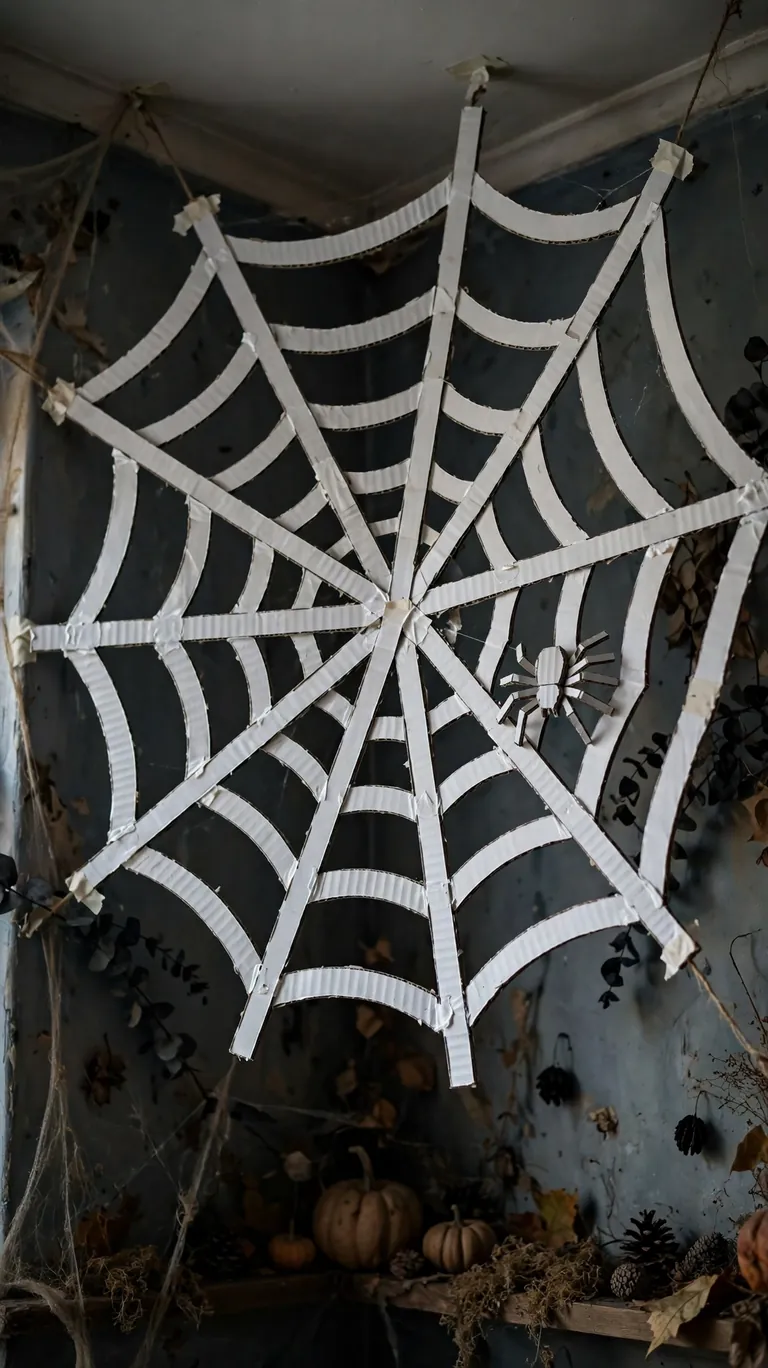
Cut long strips from cardboard and arrange them in a circle like the spokes of a wheel, taping them together at the center. Then cut curved strips and tape them between the spokes in concentric circles to build the web. Paint the whole thing white or silver-gray.
Hang the web in a corner and put a small cardboard spider on it from the giant spider project above. Stretch some real fake cobweb material between the cardboard spokes if you want it to look extra full. This looks fantastic stretched across a ceiling corner where it catches the light.
18. Trick-or-Treat Directional Signs
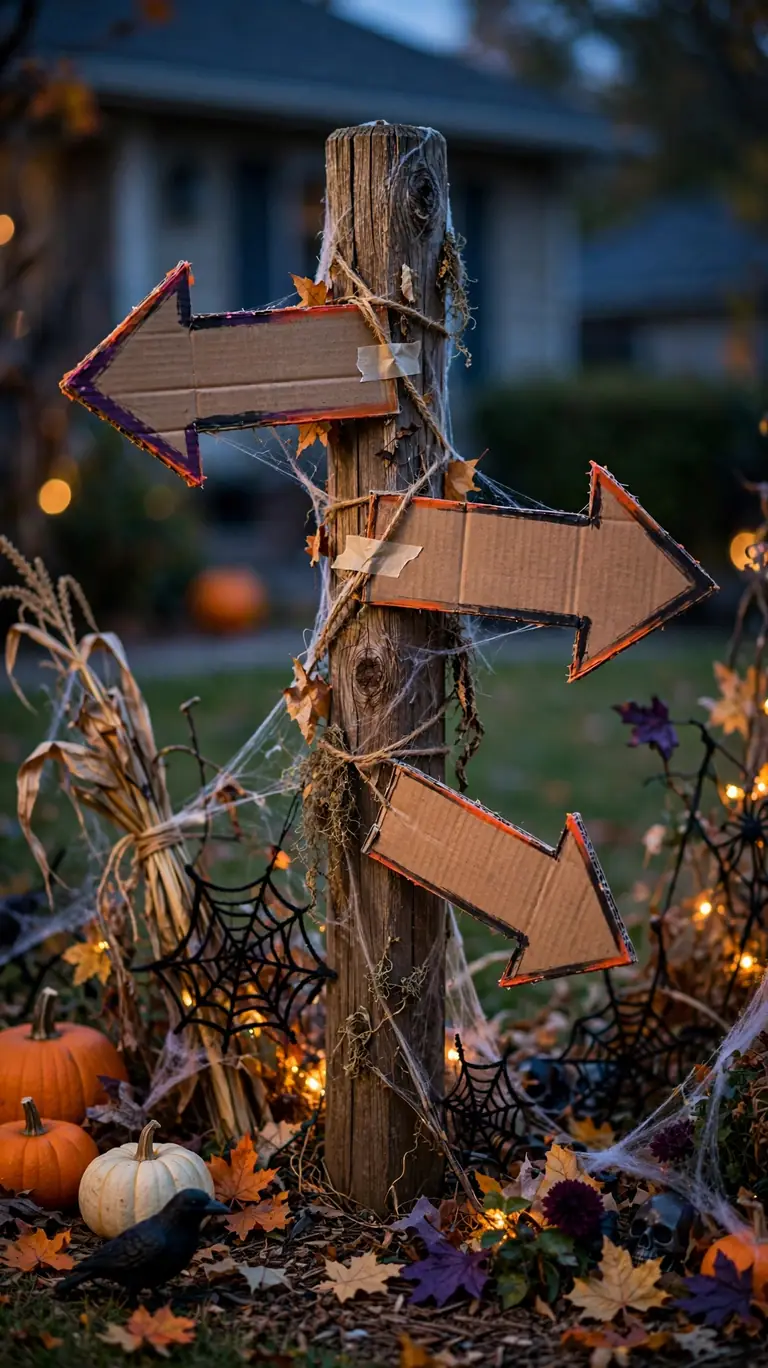
Cut arrow shapes from cardboard, one pointing left, one pointing right, and one pointing straight ahead. Paint each arrow a different Halloween color and write destinations on them with a marker: “Candy This Way,” “Haunted House,” and “Beware.”
Nail or tape the arrows to a cardboard post and stick it in your front yard or at the end of your hallway. It guides guests and trick-or-treaters while adding a playful touch. The handwriting is part of the charm, so don’t worry about making it perfect. Crooked letters look right at home on Halloween.
19. Floating Candle Plaques
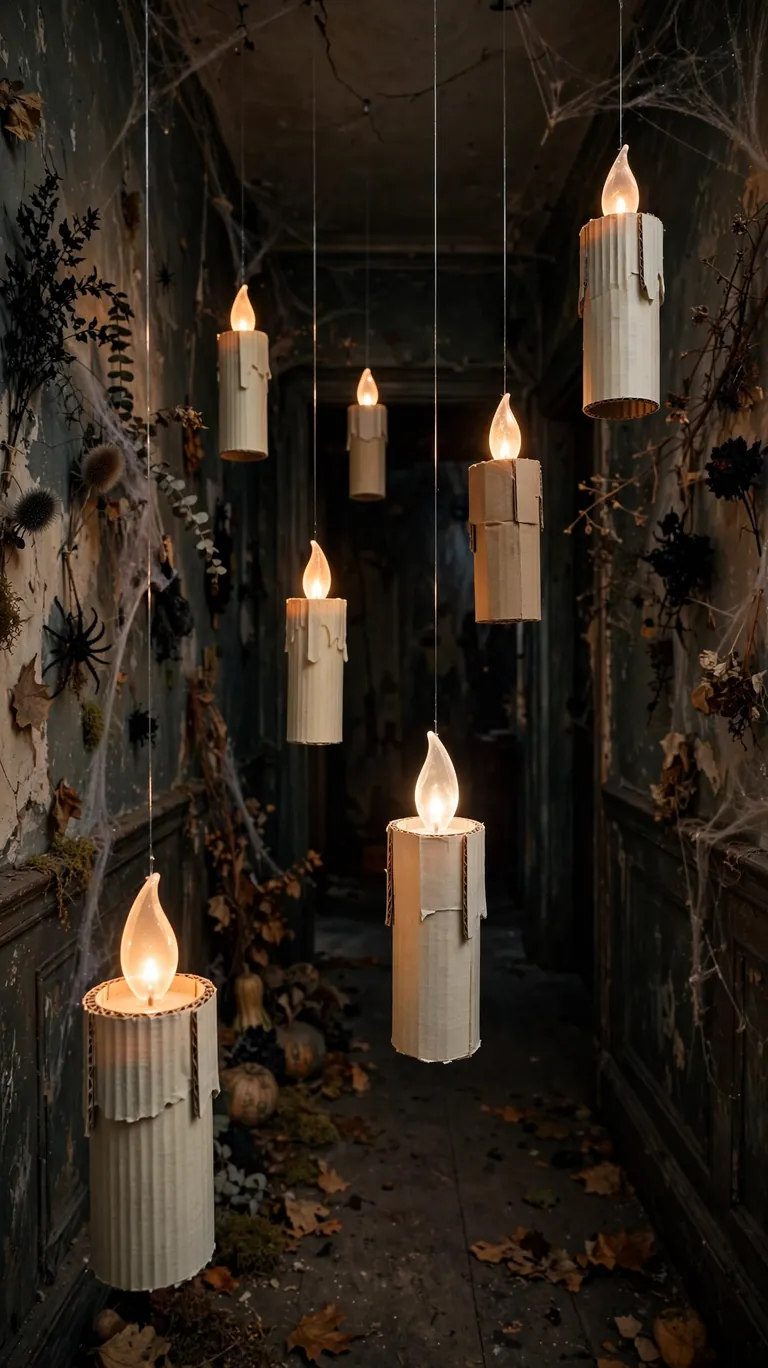
Cut candle shapes from cardboard with a flame shape on top, and cut the flame out so light can pass through. Paint the candle body ivory white with drippy wax details, and paint the flame area with translucent yellow and orange craft paint or tissue paper.
Hang a row of them from the ceiling at different heights with fishing line for a floating candle effect. Backlight each flame with a small battery tea light taped behind it so they flicker gently. Guests will do a double take, they genuinely look magical in a dim hallway.
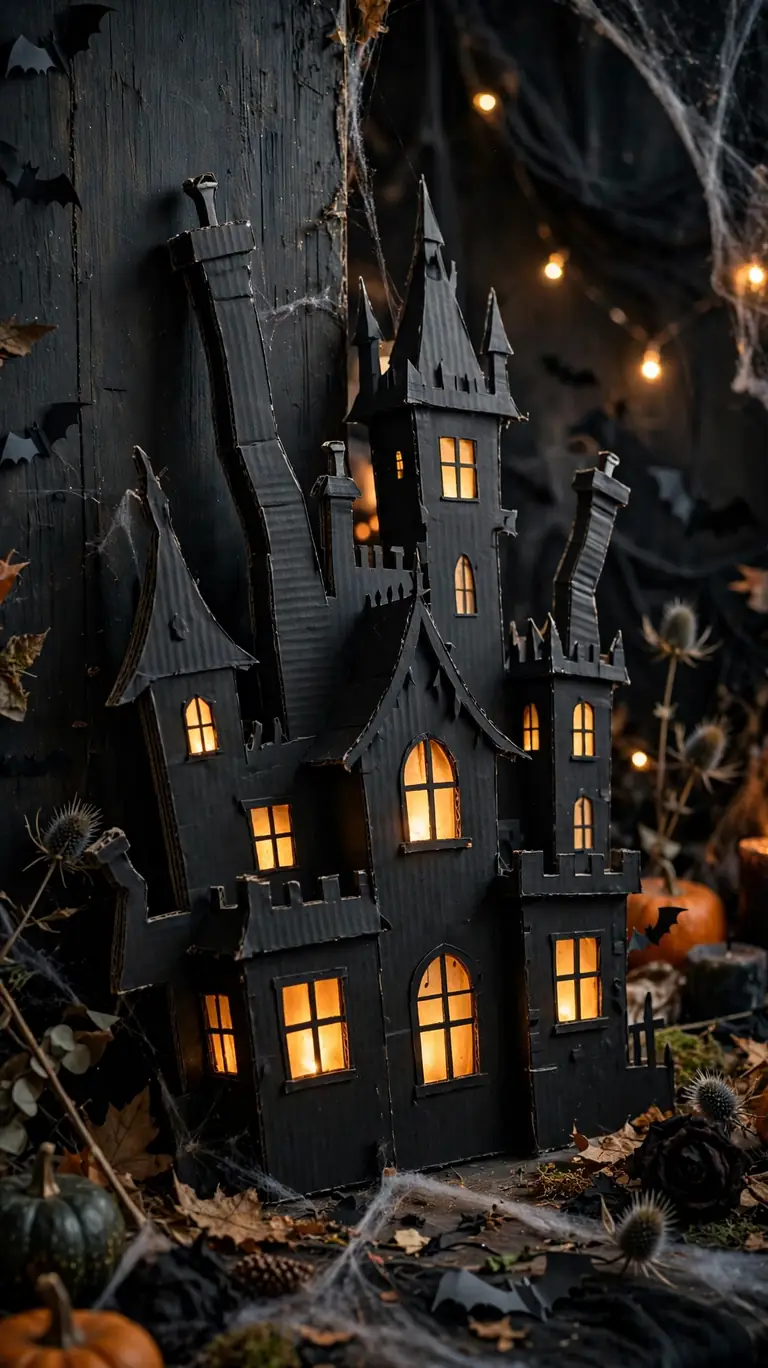
20. Haunted Castle Backdrop
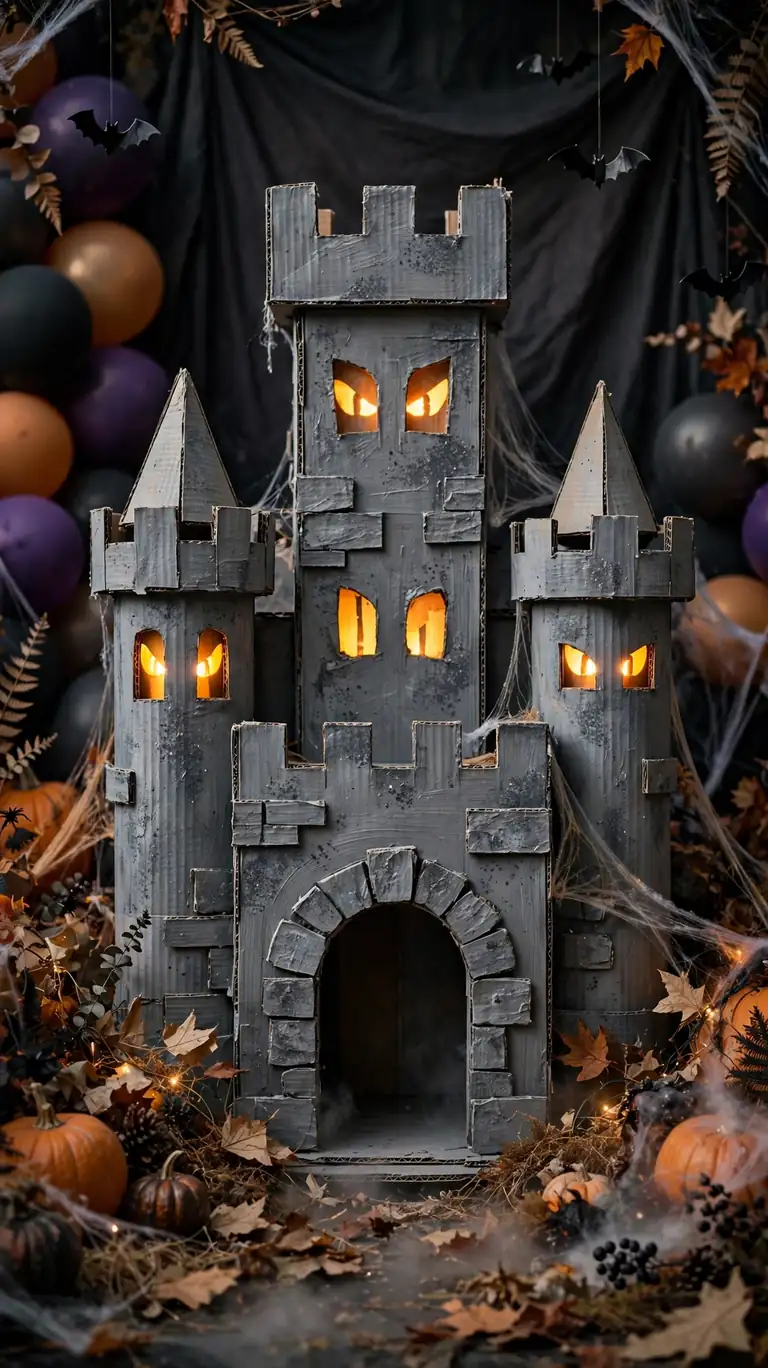
Cut a castle front from a big cardboard sheet, with tall towers, pointed turrets, and an arched doorway. Cut the doorway and a few windows all the way through. Paint it dark gray, then add lighter gray dry brushing to make the stones look old and crumbling.
Stand it behind your food table or use it as a photo backdrop. Kids can pose in the doorway like they’re entering a haunted castle. Add cardboard flags on the turrets and a pair of glowing eyes in one window. It’s a bigger project, but it becomes the centerpiece of the whole party.
21. Bat Mobile Chandelier
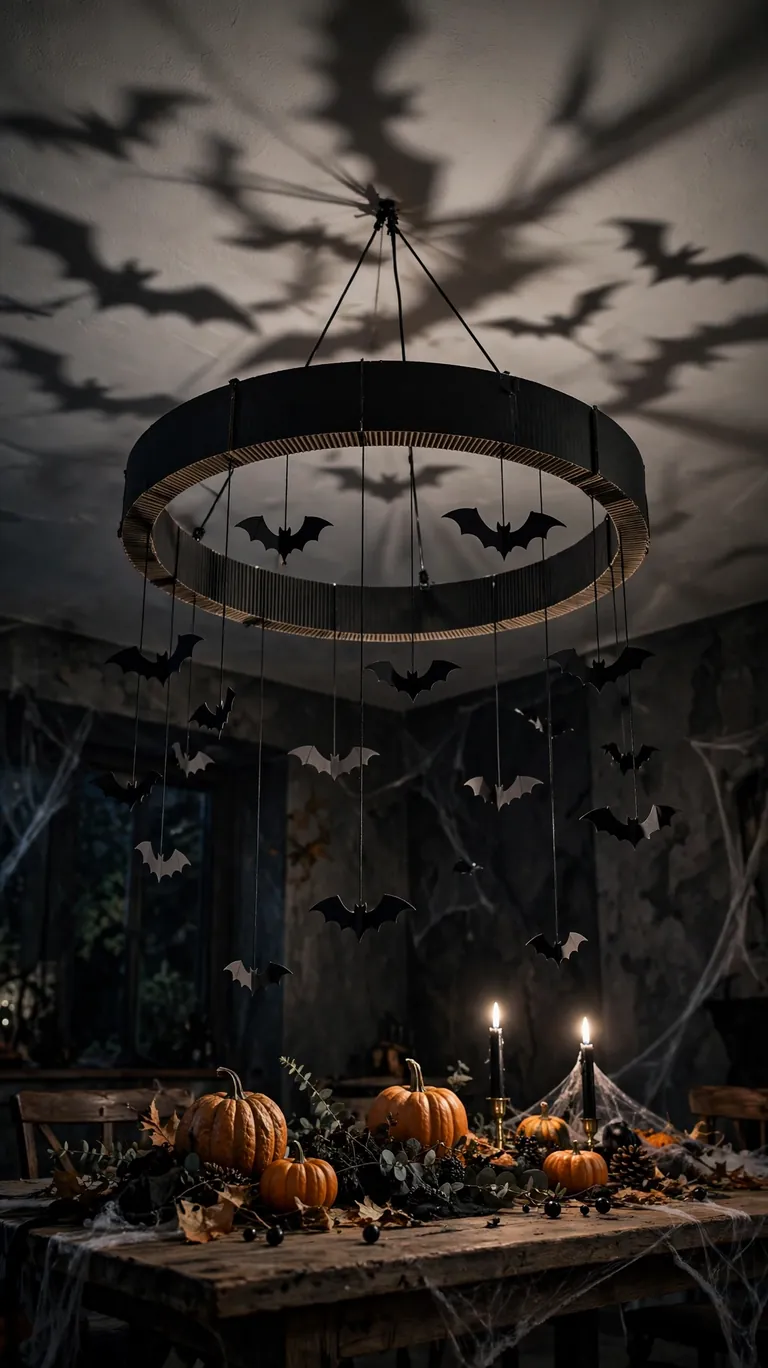
Cut a large cardboard ring, about two feet across, and paint it black. Cut a dozen small bats from thin cardboard and hang them from the ring at different lengths with fishing line. Attach four strings to the ring and tie them together above so the whole thing hangs from the ceiling.
The bats spin slowly in the air current and cast moving shadows on the ceiling, which is wonderfully creepy. Hang it over the dining table or in the entryway. This is a great upgrade from the wall bats if you want motion in your decorations.
22. Spooky Pumpkin Patch Centerpiece
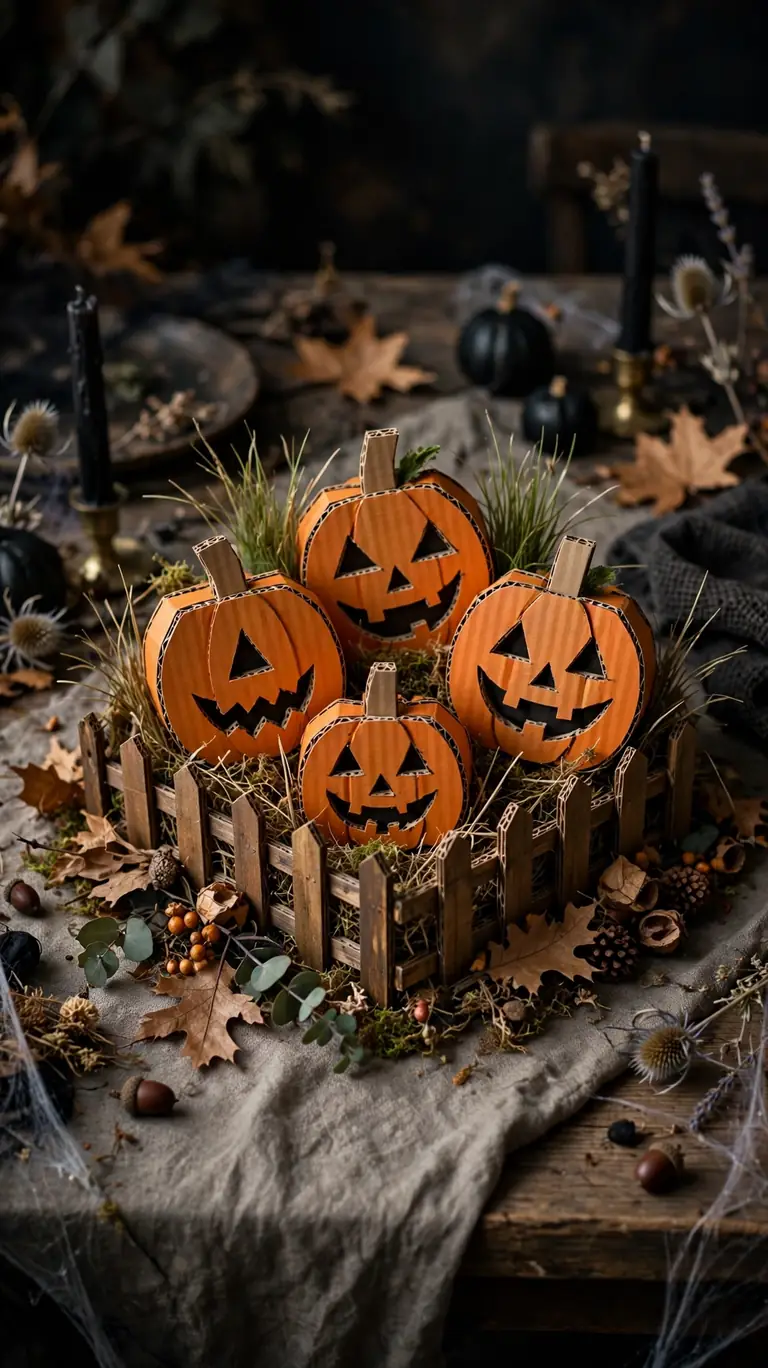
Cut several pumpkins in different sizes from cardboard, some whole and some as jack-o-lantern faces. Cut grass blades and a little fence from green and brown cardboard. Arrange everything on a tray or directly on the table with the tallest pumpkin in the middle.
This makes a perfect centerpiece for a Halloween dinner because it’s flat enough to see over but detailed enough to be interesting. Scatter a few candy corn pieces around the base. You can make a second smaller one for the entryway table so guests see it when they walk in.
23. Creepy Moon Backdrop
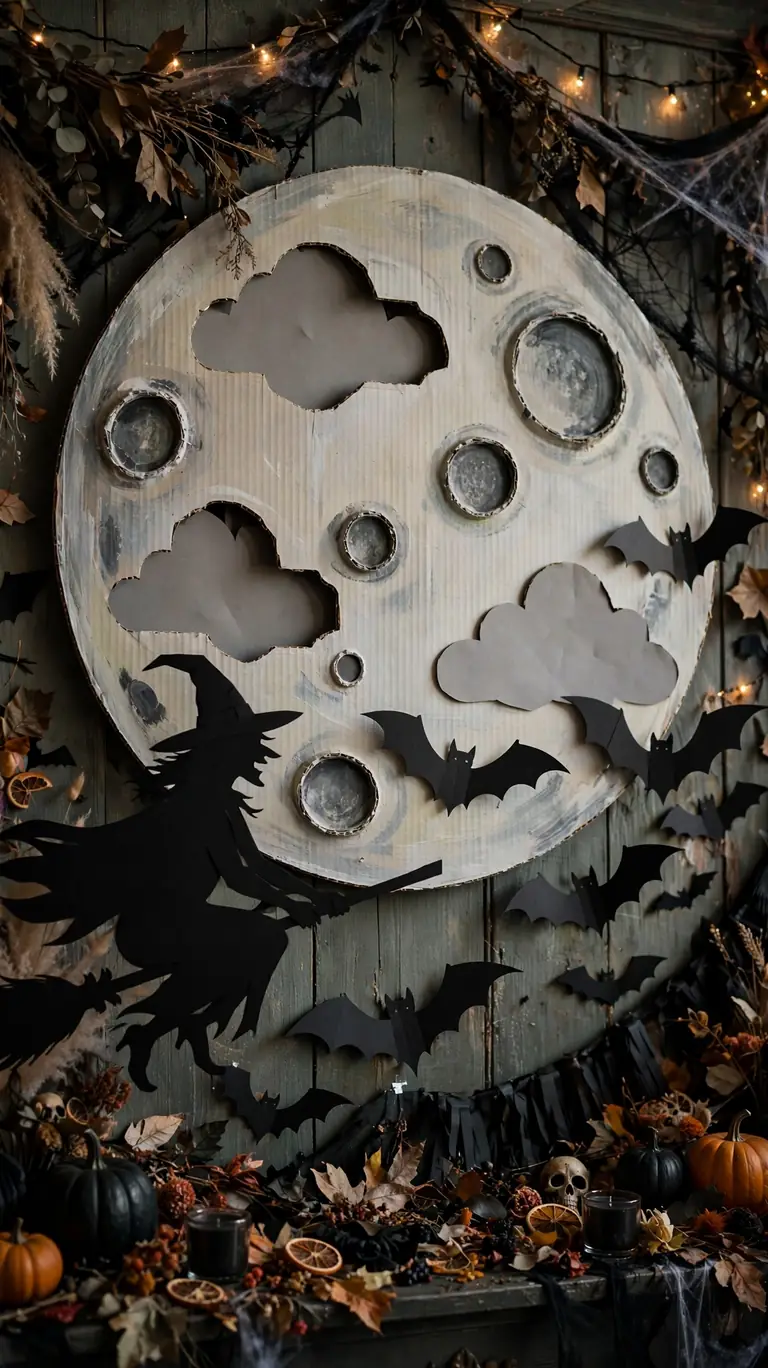
Cut a large circle from cardboard, about three feet across, and paint it a pale yellow-white. Add darker gray craters by dabbing paint with a sponge. Cut thin cloud shapes from gray cardboard and glue them across the moon’s face so it looks like a cloudy Halloween night.
Hang it high on a wall and place silhouettes in front of it: a witch, bats, a dead tree. This is the backdrop that makes all your other silhouettes look ten times better. It takes twenty minutes to make and becomes the visual anchor of your whole party wall.
Frequently Asked Questions
What kind of cardboard works best for Halloween decorations?
Corrugated cardboard from shipping boxes is the best all-around choice because it’s stiff and holds its shape, which matters for tombstones, trees, and backdrops. Thin cardboard like cereal boxes is better for smaller details like bats, garlands, and pumpkin cutouts since it’s easier to cut and curve. If you’re making anything that stands up, double up the cardboard or add triangular support feet on the back.
How do I make cardboard decorations last outdoors?
Cardboard and rain don’t mix, so keep your decorations under a porch roof or covered area whenever possible. A quick coat of spray sealant or even cheap clear packing tape over painted surfaces helps them survive damp evenings. For pieces that sit on the ground, wrap the bottom few inches in a plastic bag or tape before staking them so moisture doesn’t wick up and soften them.
What paint should I use on cardboard?
Acrylic craft paint is the easiest option. It sticks well to cardboard, dries fast, and comes in every Halloween color you could want. Avoid watery paints like watercolors or very thin tempera, which can warp the cardboard as they dry. For big pieces like backdrops, a small roller covers the surface faster and more evenly than a brush.
Are cardboard Halloween decorations safe around kids?
Yes, as long as an adult handles the cutting. Cardboard itself is safe, and the finished decorations have no sharp parts. Keep utility knives and hot glue guns strictly in adult hands, and let kids take over the painting, gluing with regular glue, and decorating. Finished pieces are light enough that they won’t hurt anyone if they fall, which is a big advantage over heavy store-bought props.
How far in advance can I make these decorations?
Most of these can be made two or three weeks before Halloween and stored flat or in a dry corner. Painted pieces hold up fine indoors. The only thing to avoid is storing them somewhere damp, like a wet basement, since cardboard absorbs moisture. If you’re making a big batch, do the cutting one weekend and the painting the next so it never feels like a chore.
Conclusion
Halloween decorating doesn’t have to mean spending a fortune at the party store. With nothing more than the boxes you were about to recycle, you can build a haunted house silhouette, a crooked little graveyard, a flock of bats, and a glowing lantern village, all in a weekend. The best part is how personal these decorations feel. Every cut and brushstroke is yours, and guests always notice the difference between something handmade and something store-bought.
Start with the projects that excite you most, and don’t stress about making everything perfect. Crooked tombstones, wobbly trees, and lopsided ghosts are exactly what Halloween is supposed to look like. Save your leftover cardboard for next year, because once you see how good these look, you’ll want to add a few more.
One last tip: involve your guests or kids in the making, because half the fun is crafting together in the days before the party. Put on a spooky movie, spread out the paint, and let everyone make a bat or a ghost for the wall. By the time the party starts, your house will feel like a haunted mansion you built with your own hands. Have fun crafting, and enjoy your spooky DIY party.