19 Clever Shed Interior Ideas to Create a Functional Space
Most sheds end up as dark boxes full of tangled garden hose, half-empty paint cans, and boxes nobody remembers packing. That is a waste of some of the most flexible square footage on your property. A shed can become a potting station, a real workshop, a quiet home office, a craft room, or all of those at different times of the year, and none of it requires a contractor or a big budget. What it takes is a plan for the inside: walls that store things, floors you can actually walk on, light where you need it, and zones that match how you use the space. These shed interior ideas cover exactly that. You’ll find storage layouts that double your usable space, workbench setups that fold away when you’re done, and cozy conversions that turn a drafty outbuilding into a room you’ll actually want to spend time in. Whether your shed is a compact 6×8 or a generous 12×20, there’s something here that fits. Read through, pick the two or three ideas that match your life right now, and start this weekend.
1. Build a Full-Wall Pegboard for Tools
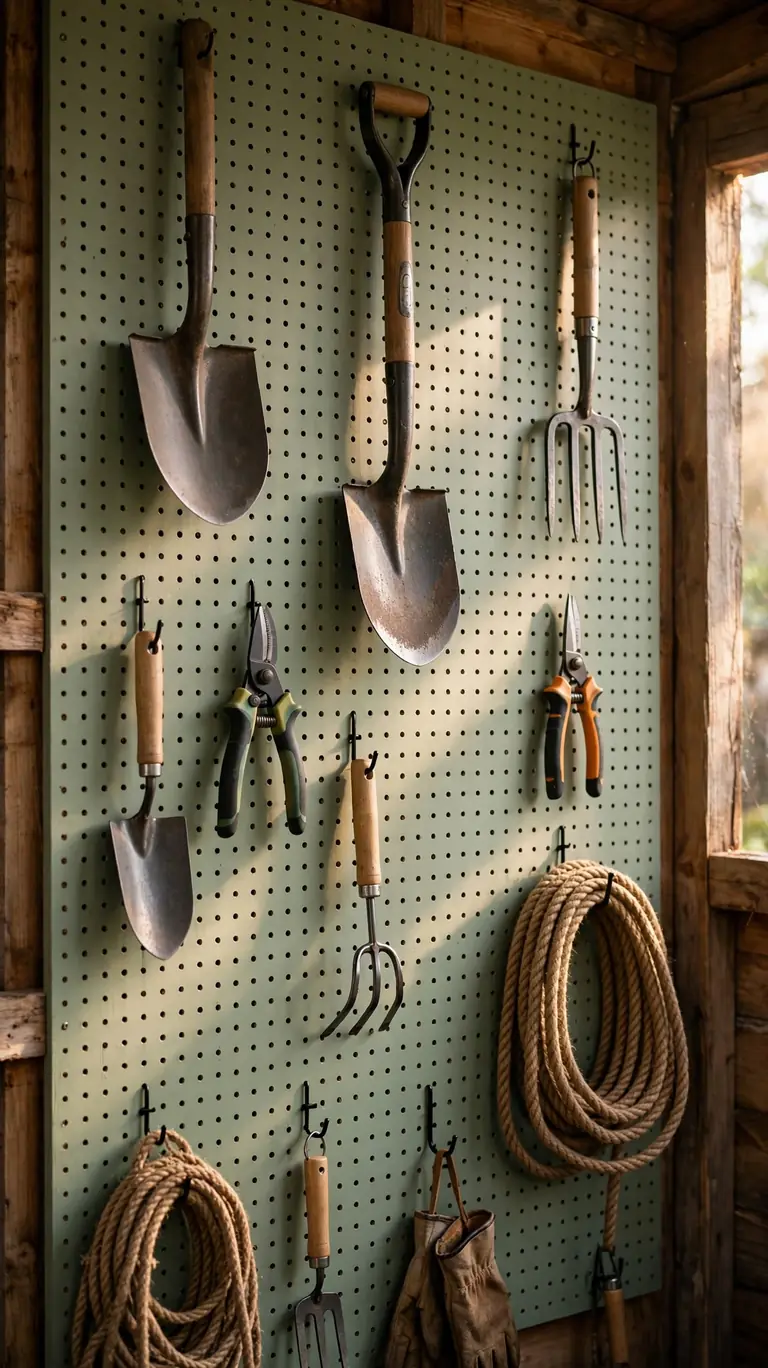
A pegboard wall is the single fastest way to make a shed feel organized. Instead of tools piled in a bin or hooked on random nails, mount a large sheet of pegboard (or two) across one entire wall and arrange everything where you can see it. Shovels, rakes, hand tools, extension cords, and even coiled rope all get a home. Use a mix of hooks, small baskets, and shelf brackets made for pegboard, and outline each tool’s spot so it goes back to the right place. Once the wall is full, you have created the visual anchor for the whole shed, and everything else can be planned around it.
Keep the pegboard near the door for the fastest in-and-out access. You will grab a trowel or the hedge clippers without stepping past the lawnmower, which means muddy footprints stay by the entrance. Mount heavier items like saws and large pruning shears lower and toward the studs so the weight is supported, and keep sharp blades in simple sheaths or blade covers for safety. If your shed walls are unfinished studs, you can skip the pegboard entirely and screw hooks straight into the framing, but a painted pegboard (a soft sage or warm gray works nicely) turns a utility wall into something that looks intentional instead of improvised.
2. Add a Potting Bench Along the Brightest Wall
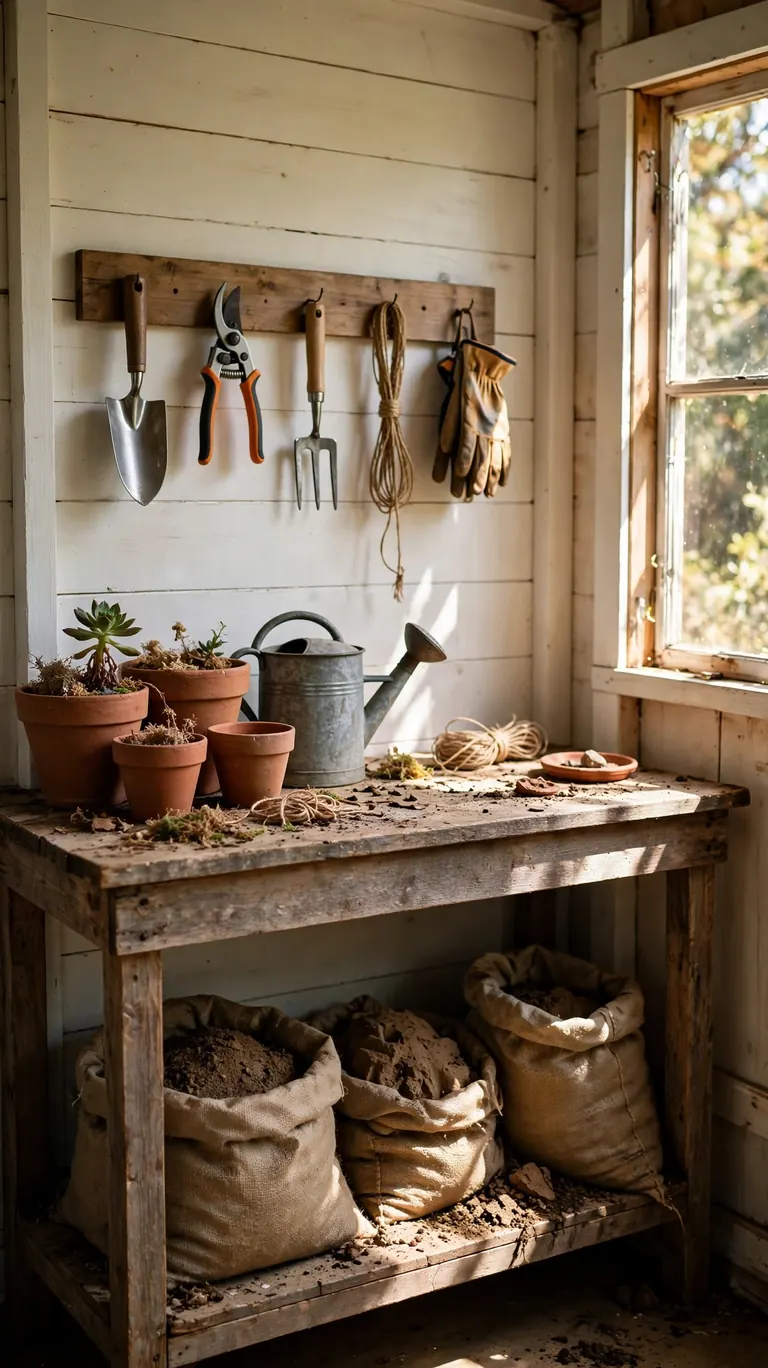
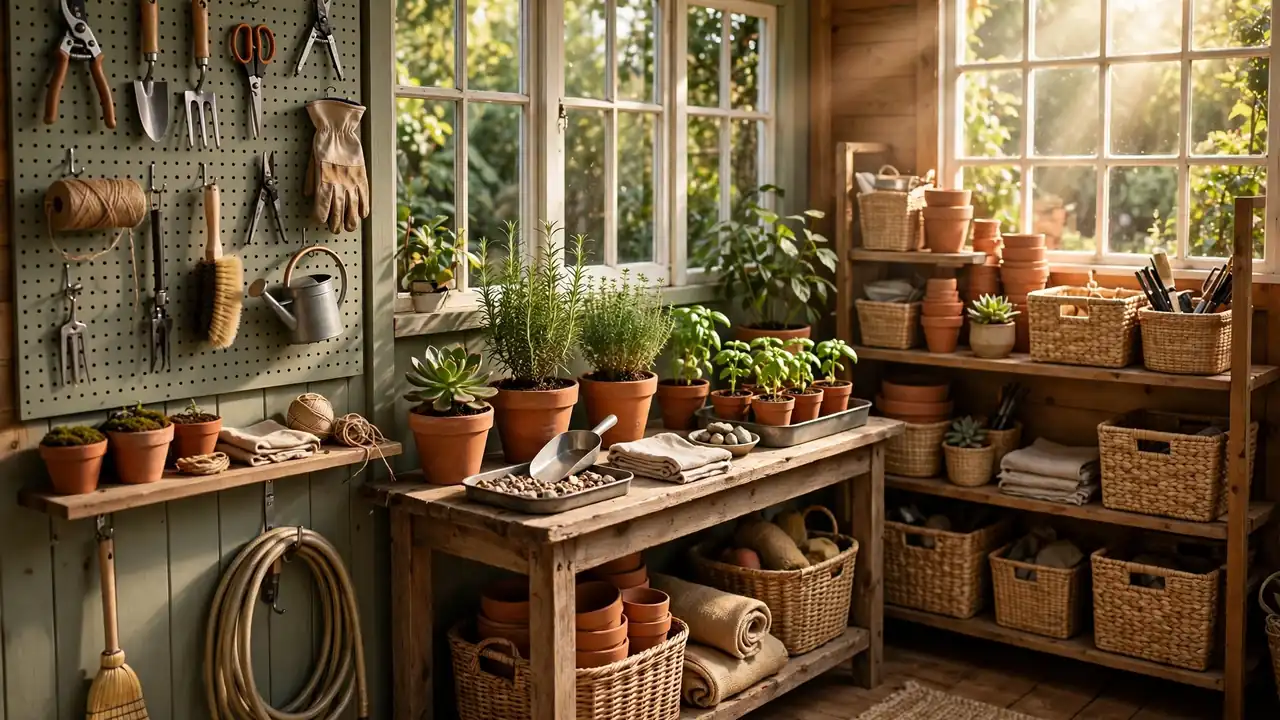
If you garden at all, a potting bench earns its floor space in a single spring. Choose the wall with the best natural light, ideally near a window, and set up a sturdy work surface at counter height. A simple bench with a lower shelf for soil bags and a backboard with small shelves for pots keeps every step of repotting in one place. You can build one from basic lumber in an afternoon, or repurpose an old desk or dresser with the drawers removed. Add a small bin system for soil, compost, and perlite underneath so you are not hauling bags back and forth from the garage.
Make the bench do double duty by treating the backboard like a mini pegboard. Hand tools, twine, plant tags, and a watering can hang within arm’s reach, and a small strip of hooks under the shelf holds gloves and aprons. Keep a brush and dustpan on the bench itself so cleanup takes thirty seconds instead of ten minutes. Because soil and water are involved, lay a waterproof mat or an old tray under the work surface to protect the floor. In winter, when the potting season ends, the bench becomes general work space for sharpening tools or assembling things, so it never sits idle.
3. Install an Overhead Loft for Seasonal Storage
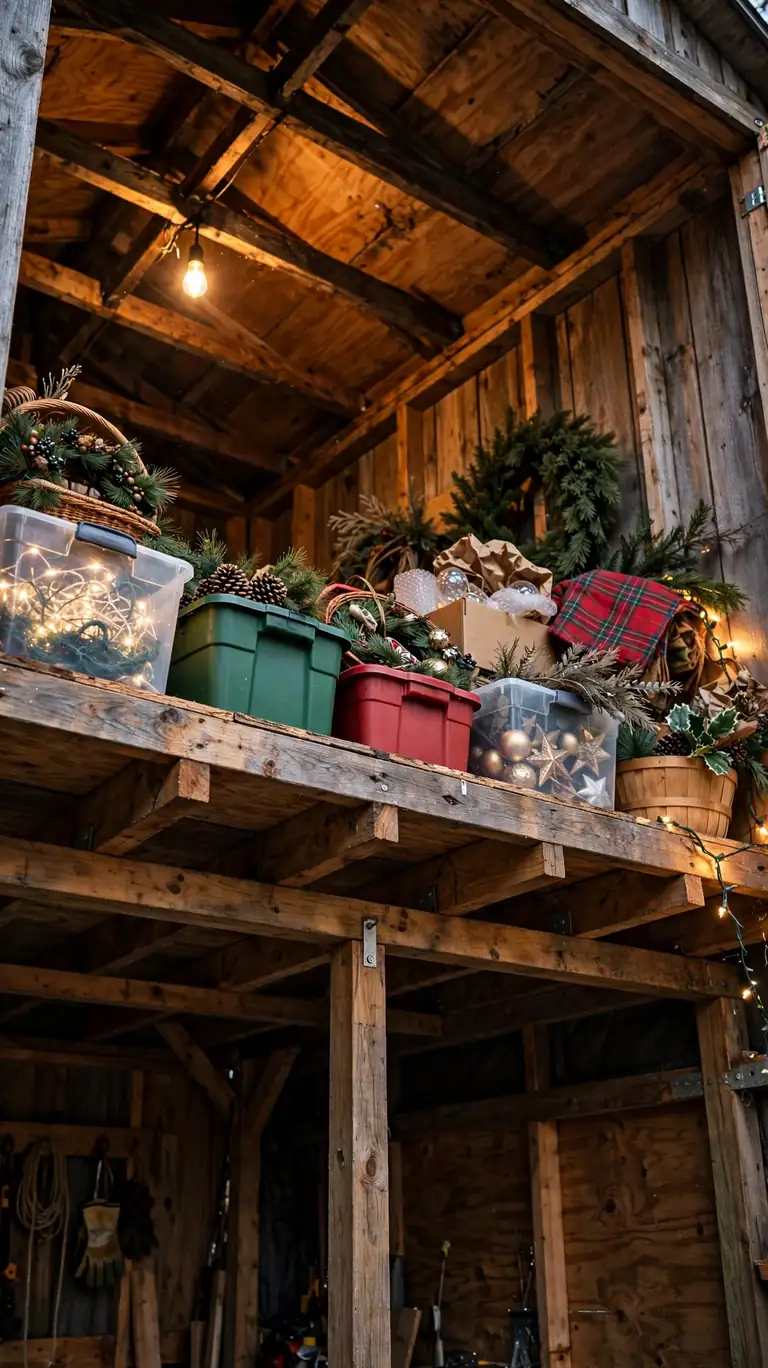
The air above your head is free storage, and most sheds waste it completely. A simple loft platform built across the back third of the shed, at least a couple of feet below the roof peak, gives you a whole second level for things you only need twice a year. Holiday decorations, winter gear, coolers, and spare plant pots all live up there, out of the way but still accessible. Support it with 2×4 framing resting on the wall studs and floor it with plywood, and make sure the framing ties securely into the shed’s structure so it can carry real weight.
Access matters as much as the platform itself. A simple hook-on ladder or a sturdy step stool kept nearby is enough for most people, and you can hang the ladder on the wall when it is not in use. Keep the loft organized with labeled bins so you are not climbing up to hunt through mystery boxes. One important note: keep anything heavy or awkward to lift at floor level instead. The loft is for light, bulky items that would otherwise eat your wall space. Done right, it can easily free up half a wall below.
4. Use a Fold-Down Workbench to Save Floor Space
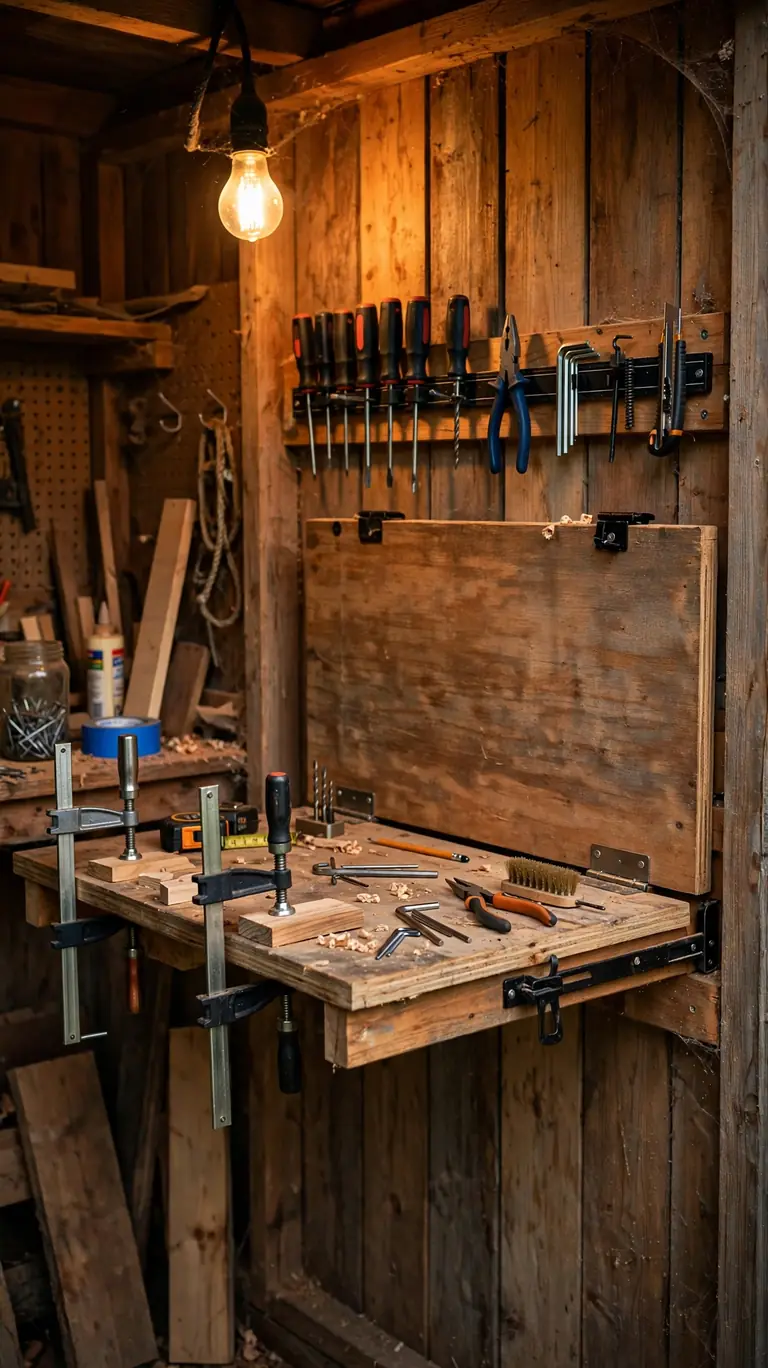
A permanent workbench is great until you need the floor for the lawnmower, the wheelbarrow, or a winter’s worth of firewood. A fold-down workbench solves the conflict. Mount a sturdy hinged tabletop to the wall with folding leg brackets, and it drops flat against the wall when you are finished. You get a full work surface for projects and zero footprint when you need to move around. Choose a solid top, at least an inch thick, and brackets rated for real weight so it feels rock solid when it is up.
Build in a few details that make the folded version work harder. A shallow back shelf above the hinge line holds clamps, glue, and small parts even when the bench is down, and a strip of magnetic holders along the wall keeps drill bits and wrenches handy. When you fold the bench up, the wall behind it can hold a cutting mat or a task light that doubles as ambient light for the shed. This setup is especially smart in smaller sheds where every square foot has to serve two purposes, and it takes up less visual space than a standing bench, which makes the whole shed feel bigger.
5. Sort Small Parts Into Clear Labeled Jars and Bins
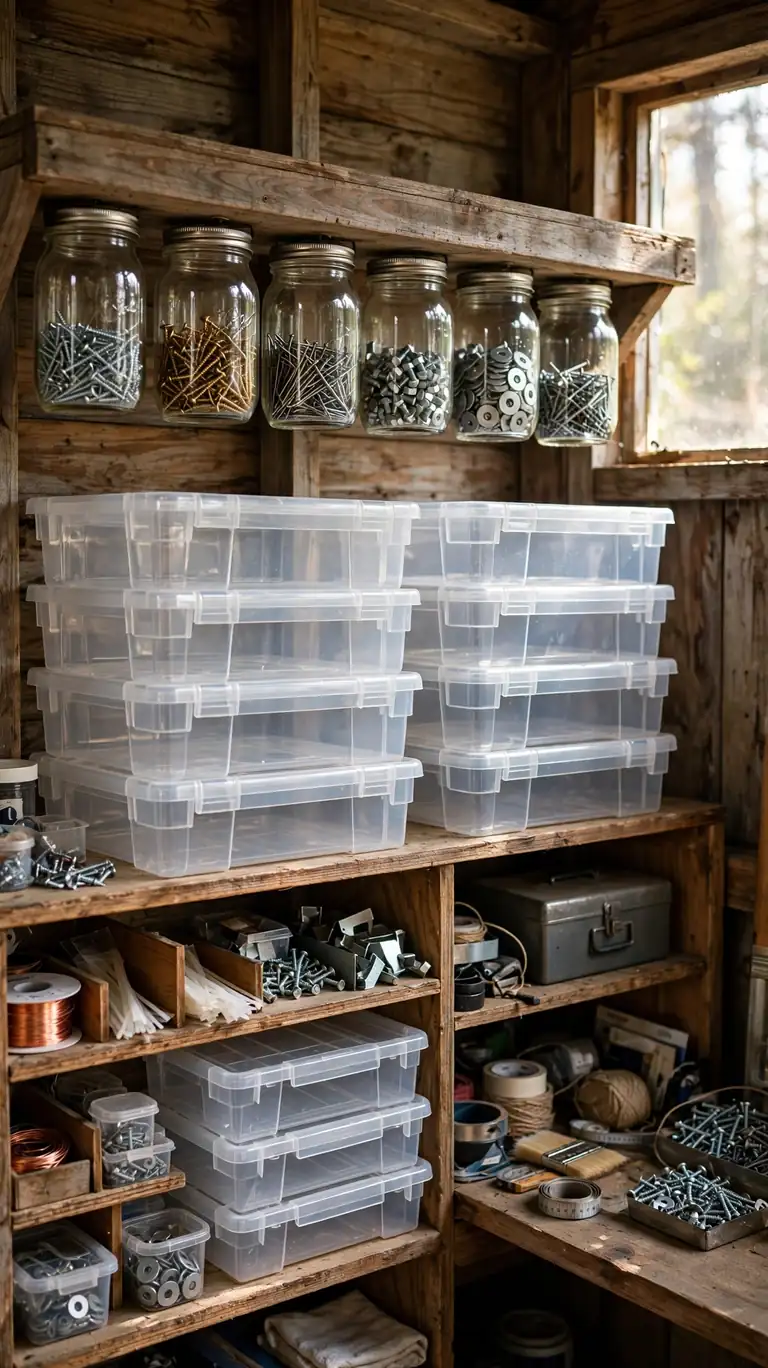
Every shed accumulates the same chaos: screws in coffee cans, nails in a bucket, seeds in envelopes that all look alike. Clear containers with real labels end that. Screw a row of small jars under a shelf for screws, bolts, and wall anchors so you can see contents at a glance, and use stackable clear bins on shelves for larger categories like electrical parts, plumbing fittings, and garden ties. The rule is simple: if you cannot see it or the label does not say it, it does not exist when you need it.
Keep the labeling system low effort so you actually maintain it. A label maker is nice, but masking tape and a marker work just as well. Sort by project type rather than by part type: a “picture hanging” bin beats a “miscellaneous fasteners” bin every time. Put the bins you reach for most at eye level and the rarely used ones higher or lower. Once the small stuff is corralled, you will notice the shed feels bigger, because visual clutter is what makes a small space feel cramped more than the actual square footage does.
6. Turn One Corner Into a Seedling Starter Station
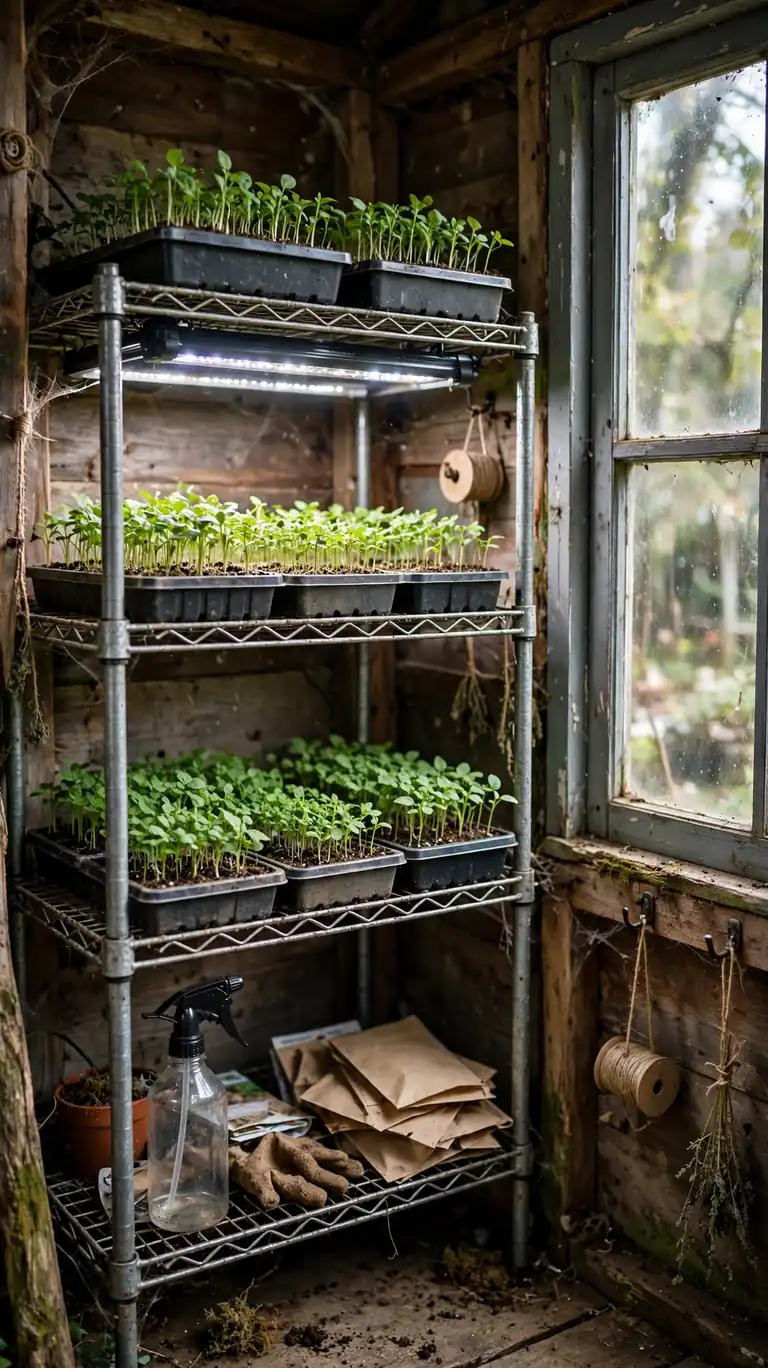
Gardeners know the pain of seed trays taking over the kitchen table every March. A dedicated corner of the shed solves it. Set up a simple shelving unit near the brightest window, or hang an inexpensive grow light over one shelf if the shed is dim. Seed trays, a spray bottle, a small bag of seed-starting mix, and your seed packets all live together on a tray that catches spills. Because everything is contained, starting seeds becomes a five-minute task instead of a whole production.
Temperature is the one thing to watch. Most seedlings germinate best in warmth, so a small heat mat under the trays makes a real difference in a cool shed, and you can harden plants off gradually by moving the tray closer to the door over a week. Keep a simple notebook or whiteboard nearby to track what you planted and when, because by week three every tray looks identical. When seedling season ends, the same shelves hold summer supplies like fertilizers and pest controls, so the station earns its space year round.
7. Create a Compact Home Office Nook
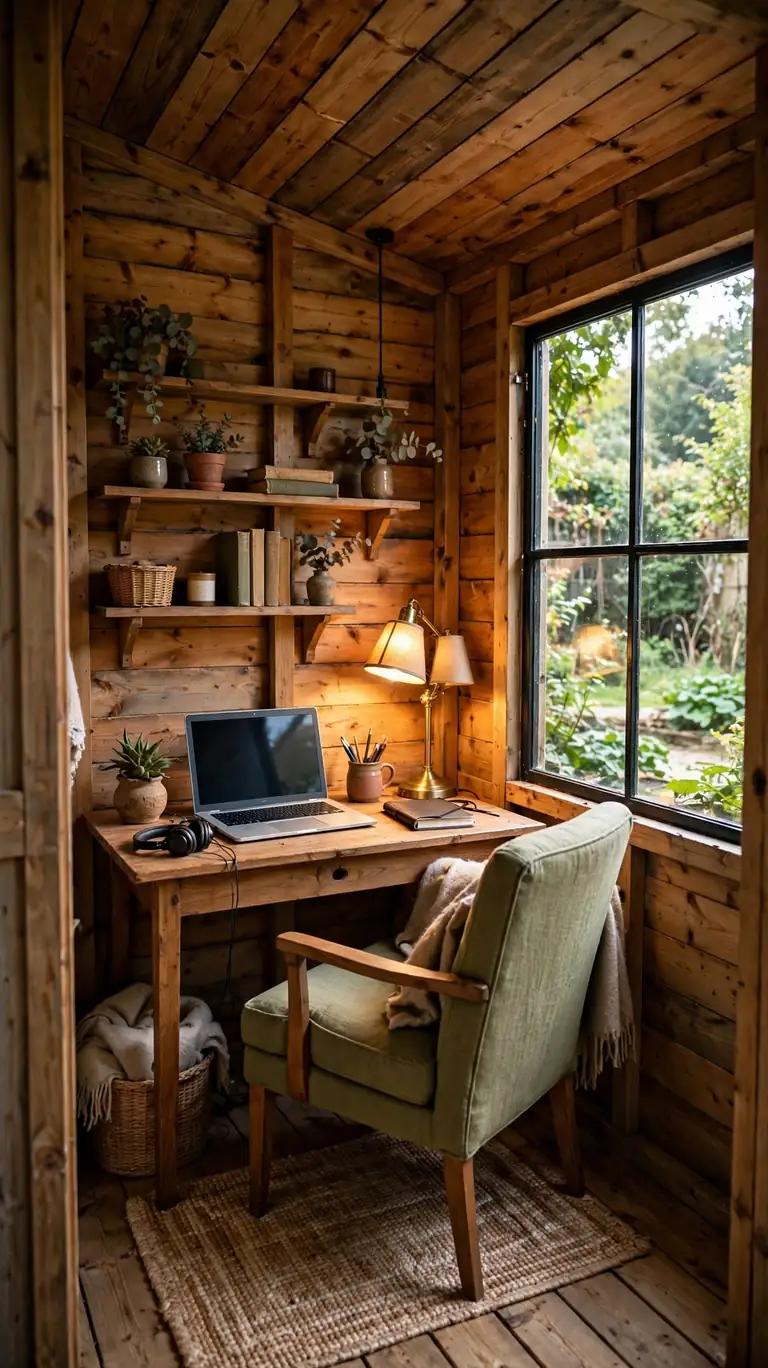
A shed office is the remote worker’s dream: a real commute of thirty steps, a door that closes, and no kitchen table negotiations. It works in sheds as small as 8×10 if you plan carefully. Place a desk against the wall with the best light, run power from the house (have an electrician handle this part), and insulate at least the walls and roof if you will use it outside summer. A rug, a comfortable chair, and one piece of art on the wall are the difference between “storage shed with a laptop” and “my office.”
The details make or break the daily experience. Ventilation matters, so make sure you have a window that opens or a small fan for airflow on warm days. Storage should be vertical: wall shelves and a narrow cabinet keep the floor clear. Noise is usually a plus here, sheds are naturally quiet, but add weatherstripping around the door if traffic noise bothers you. Keep the decor simple and warm: a desk lamp, a plant that tolerates shed conditions, and a bulletin board. You will be amazed how much more focused you feel in a space with a door you can close.
8. Designate a Craft and Hobby Zone
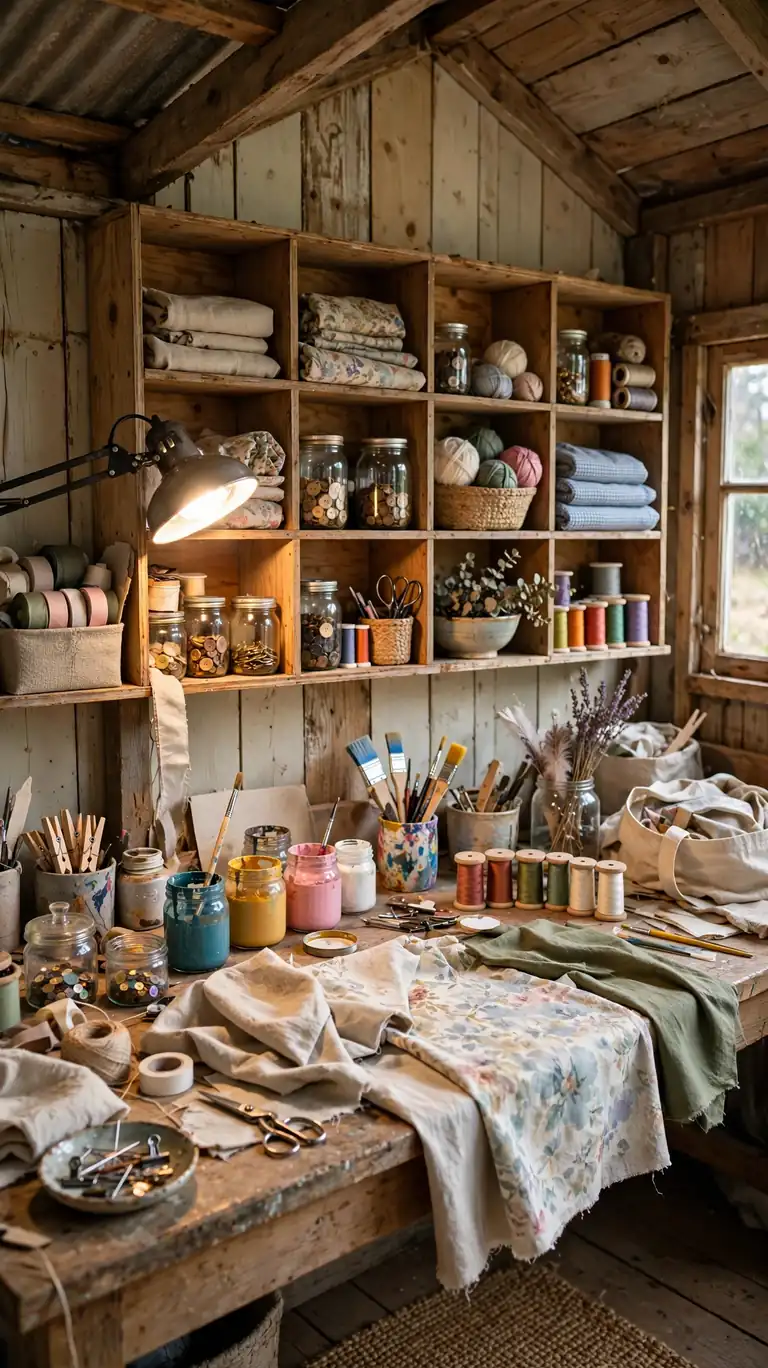
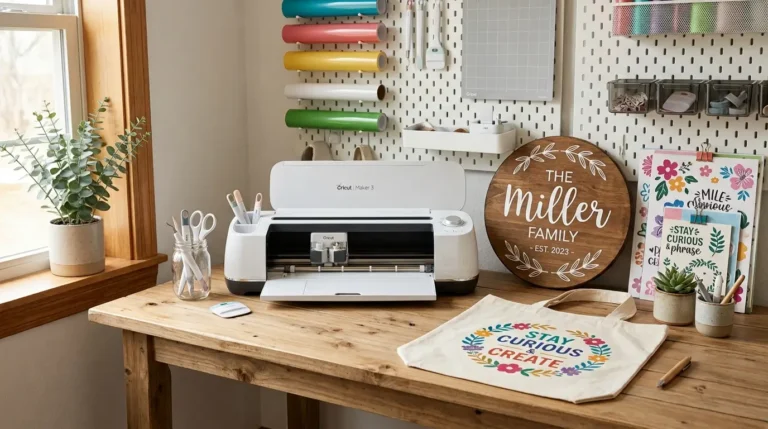
Craft supplies expand to fill whatever space allows, so give them a defined zone with a hard boundary. A wide countertop along one wall, good task lighting, and storage that matches your hobby (cubby shelves for fabric, drawer units for beads, a drying rack for paint) keep everything contained and findable. The shed is actually ideal for messy hobbies because a little spilled paint or glitter does not matter the way it would in the living room, and you can leave a project mid-step without clearing the dining table.
Set the zone up so cleanup is nearly automatic. A washable mat under the work area, a trash bin within arm’s reach, and a “put away” shelf where unfinished pieces wait for their next session. Good lighting is nonnegotiable: a daylight bulb in an adjustable desk lamp plus overhead light keeps colors true and eyes fresh. If the hobby involves fumes (glues, solvents, spray paint), make sure the area is near a window or door you can open, and store those products sealed in a ventilated cabinet away from heat. A comfortable stool and a small speaker make long creative sessions genuinely pleasant.
9. Build Floor-to-Ceiling Shelving on the Back Wall
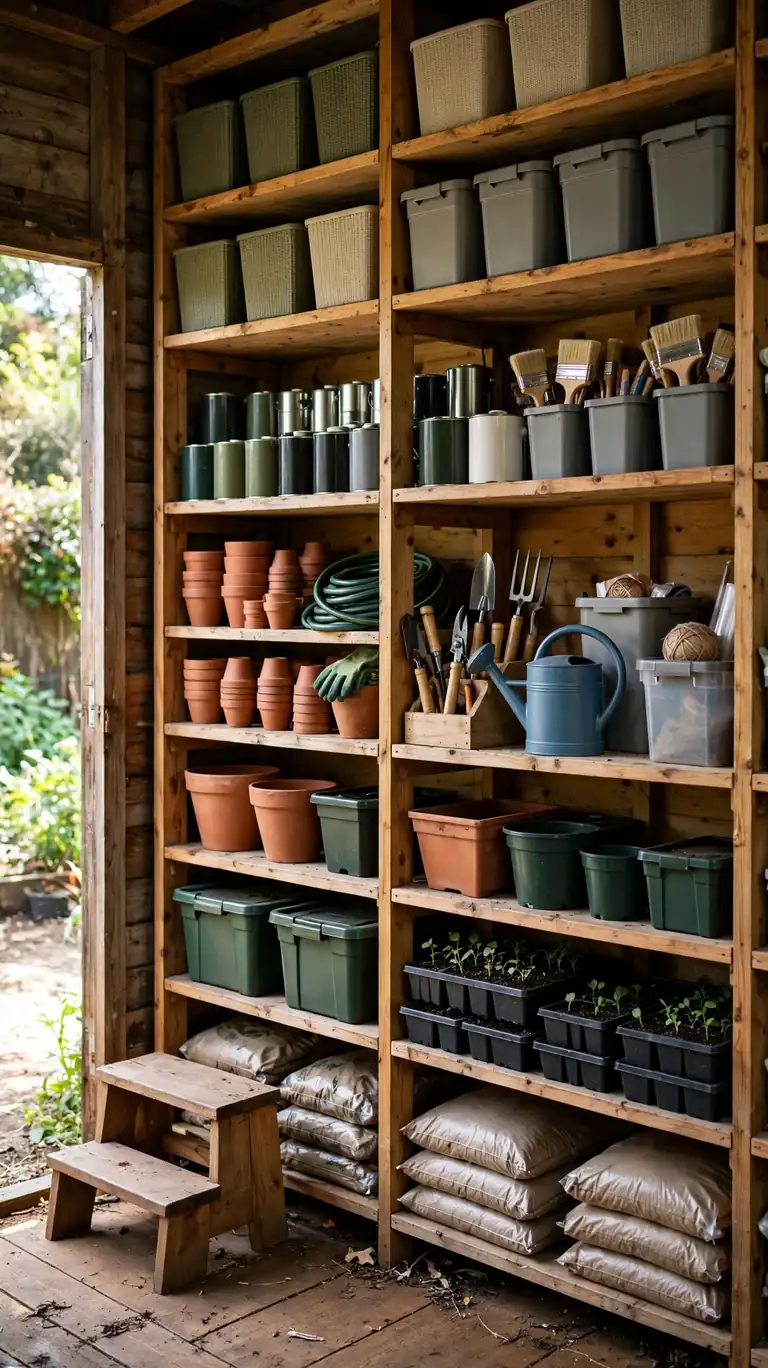
The back wall of most sheds is a wasted opportunity. Floor-to-ceiling shelving turns it into the highest-capacity storage in the building. Use sturdy freestanding units or build simple 2×4 and plywood shelves anchored to the wall. Go deep on the bottom shelves for bulky items like soil bags and tool cases, and shallower up high for paint cans, spray bottles, and small bins. Adjustable shelf heights mean you can fit exactly what you own instead of adapting to fixed spacing.
Organization beats capacity, though. Group shelves by category: garden chemicals on one section (stored high and locked if kids are around), paints and finishes on another, hardware and tools on a third. Face labels outward and keep a small step stool hooked nearby so the top shelves stay usable instead of becoming a graveyard. Leave the center of the floor clear by pushing everything to the walls; the shed will feel twice as big when you can walk straight to the back without weaving around things. If the shed floor is uneven, shim the shelving level before loading it, because a leaning shelf loaded with paint cans is an accident waiting to happen.
10. Hang Bikes and Bulky Gear From the Ceiling or Walls

Bikes, kayaks, ladders, and long-handled tools are the hardest things to store because they are big, awkward, and always in the way. Getting them off the floor changes everything. Wall-mounted bike hooks or a simple pulley hoist lift bikes to the ceiling, and vertical wall racks hold ladders, rakes, and skis flat against the studs. Suddenly the center of the shed is open, and you can actually use the space instead of navigating around it.
Choose hardware rated for the real weight, and mount it into studs or solid framing, never just into thin shed paneling. Pulley hoists are worth it for heavier bikes and kayaks because they let one person lift and lower without a struggle. Keep a clear drop zone under ceiling-mounted items so nothing lands on your head or your workbench. For families, assign each person a hook or slot so gear goes back to the same spot, which ends the pile of bikes by the door. This one change often frees more usable floor space than any other single idea on this list.
11. Set Up a Ventilated Paint and Chemical Cabinet
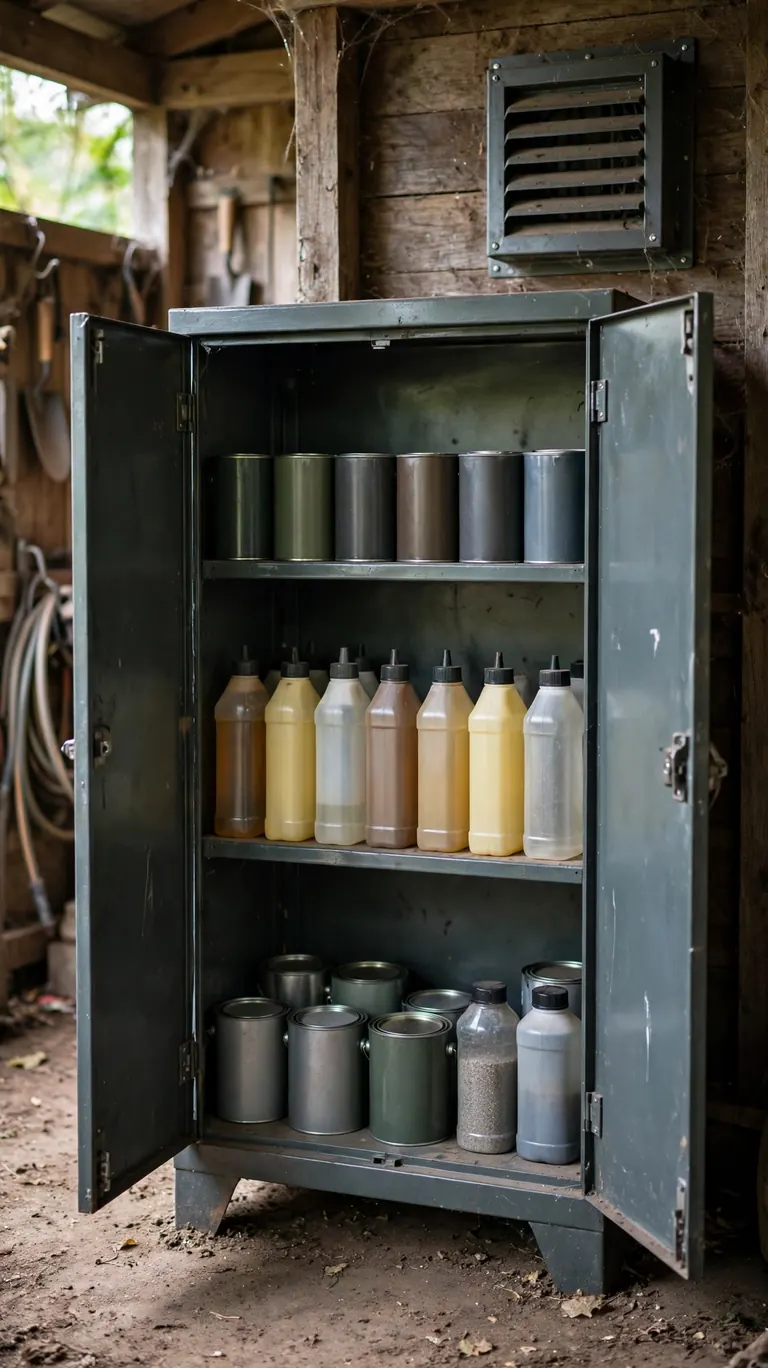
Paint, solvents, pesticides, and fertilizers do not belong on open shelves in a shed that bakes in summer sun. A dedicated metal cabinet with latching doors keeps them contained, and placing it in the shadiest corner (or insulating that corner) keeps temperatures steadier. Metal matters because it resists spills and will not absorb fumes the way wood does. Keep the cabinet locked or latched if children or pets ever enter the shed, and store products upright in their original labeled containers.
Ventilation is the safety feature people skip, so do not skip it. Crack a vent or window near the cabinet, and never store flammables near anything that produces heat or sparks, like a battery charger or a space heater. Keep a small spill kit nearby: cat litter or an absorbent pad, gloves, and a trash bag. Once a year, go through the cabinet and dispose of dried-up paint and expired chemicals properly through your local hazardous waste program. A clean, organized cabinet also means you stop rebuying things you already own, which is a quiet money saver.
12. Create a Cozy Reading or Relaxation Corner
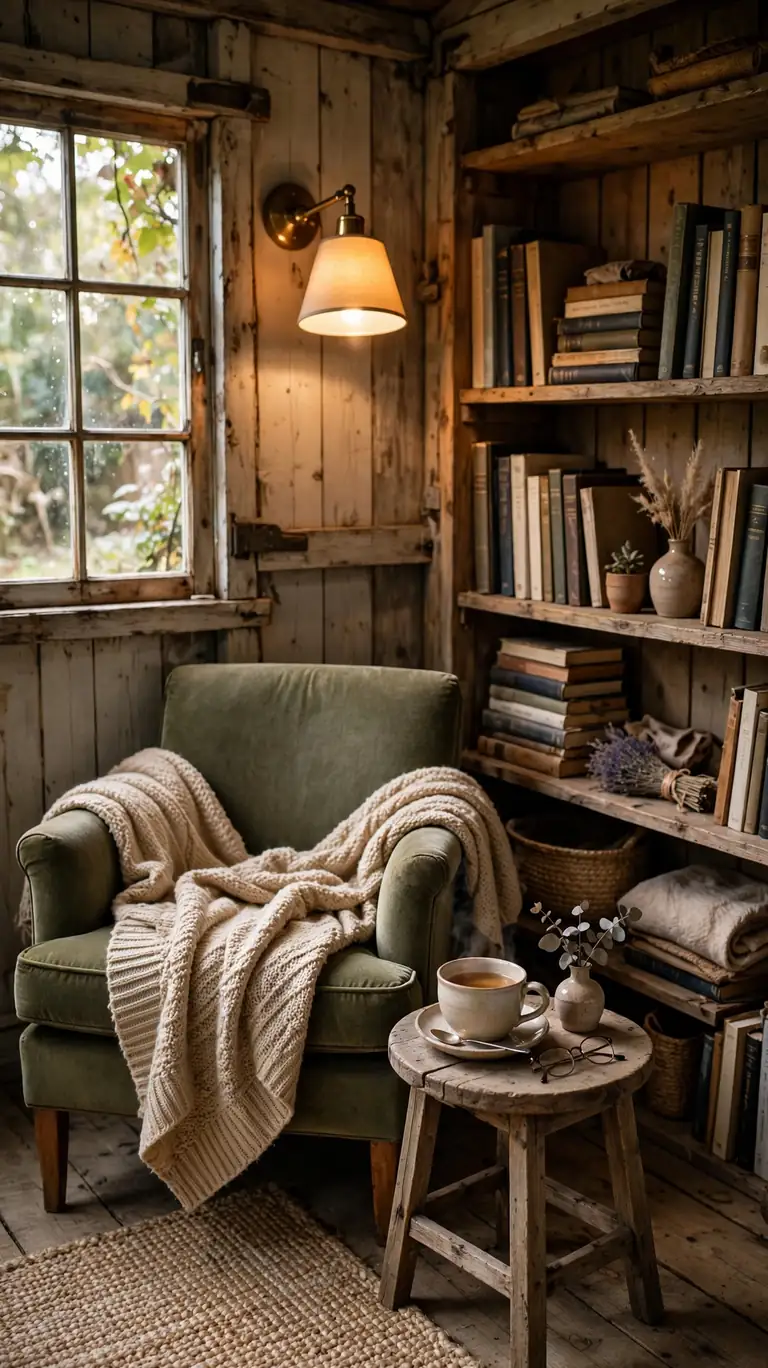
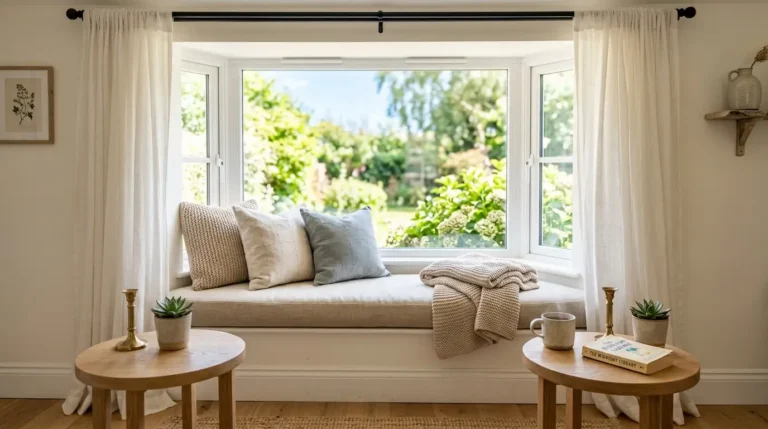
Not every shed has to be about tools. A small corner with a comfortable chair, a soft throw, a side table for tea, and a bookshelf turns a shed into a retreat. This works best in a shed with at least one decent window, and it shines in the shoulder seasons when the garden is gorgeous but the house feels stuffy. Insulation and a small safe heat source extend its use into cooler months; even a thick rug and draft sealing make a surprising difference.
Keep the corner genuinely comfortable, not just decorative. A chair you would actually sit in for an hour, a reading lamp with warm light, and a basket for a blanket are the essentials. Add hooks for a jacket and a small shelf for books or a journal. The trick is protecting the cozy zone from shed chaos: a curtain, a folding screen, or even just facing the chair toward the window and away from the tool wall creates a psychological boundary. Many people find their shed reading corner becomes their favorite seat in the whole property.
13. Install Good Lighting at Every Work Zone
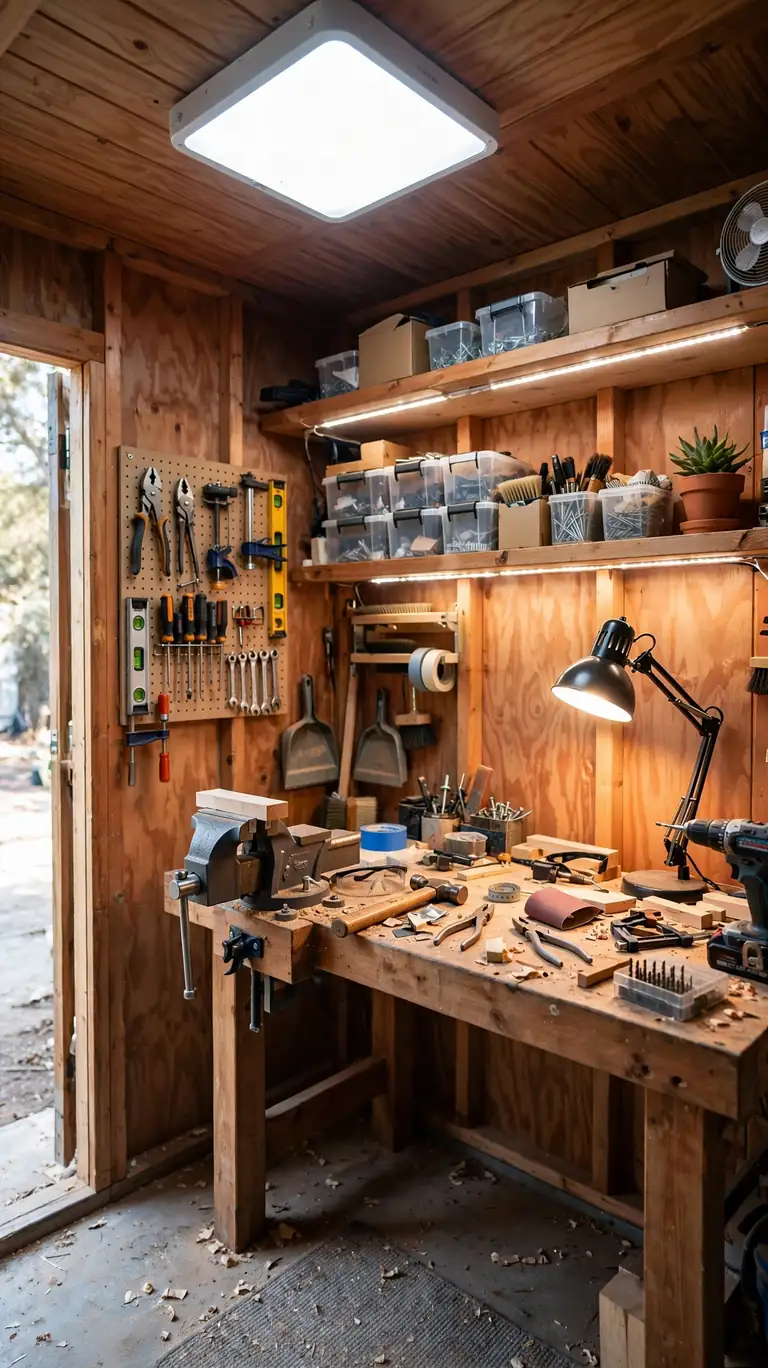
Sheds are famously dim, and dim sheds are sheds you avoid. Fix the lighting and you will use the space twice as much. Start with one bright overhead light per zone (workbench, storage, entry), then add task lighting exactly where your hands work: under-shelf strips over the potting bench, an adjustable lamp at the desk, a clip light near the pegboard. Daylight-temperature bulbs keep colors accurate for crafts and plant work, while warm bulbs suit relaxation corners.
If running full electrical is not in the cards yet, battery and solar options have gotten genuinely good. Solar motion lights at the entry mean you are never fumbling for the door in the dark, and rechargeable LED bars under shelves run for weeks between charges. Whatever the power source, make switches or lights reachable from the door so you are never walking into a dark shed. Good lighting is also a safety upgrade: you can see sharp tools, step over cords, and spot a wasp nest before you disturb it. It is one of the cheapest transformations on this list.
14. Build a Mudroom-Style Entry Zone
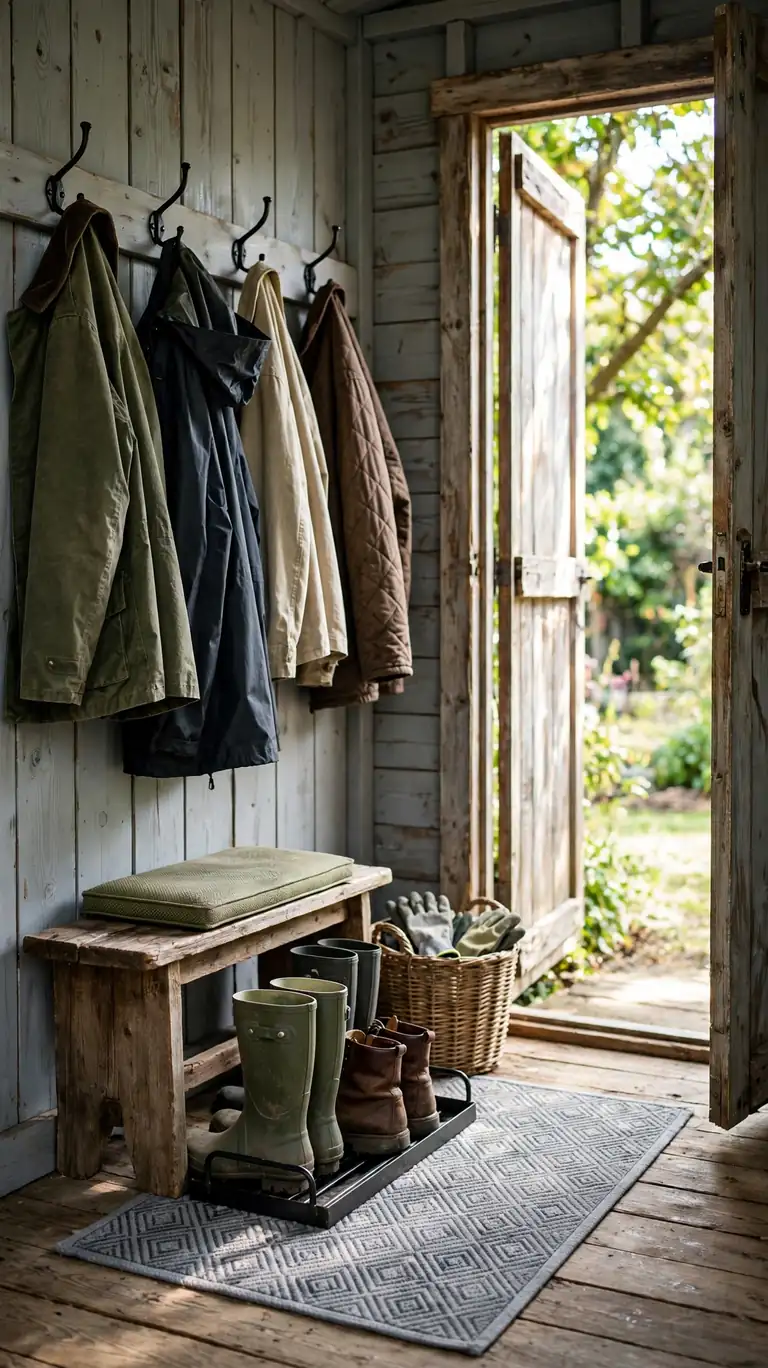
A shed that serves the garden or the outdoors gets dirty, and dirt tracked through the whole space makes everything feel grimy. Carve out a mudroom-style entry just inside the door: a boot tray or washable mat, wall hooks for jackets and hats, and a small bench or stool for pulling boots off. This tiny zone catches the mess at the door and keeps the rest of the shed clean enough to enjoy.
Add a few practical touches that make the entry work harder. A basket for gloves and dog leashes, a hook for the dustpan and brush so sweeping the mat takes seconds, and a small lidded bin for muddy odds and ends. In wet climates, a boot dryer or simply a slatted rack that lets air circulate keeps footwear from getting musty. The entry zone also creates a natural “airlock” that keeps heated or cooled air inside the main space when the door opens. It is a small footprint, usually just a few feet deep, but it sets the tone for the whole shed the moment you walk in.
15. Use Rolling Carts for Flexible Workstations
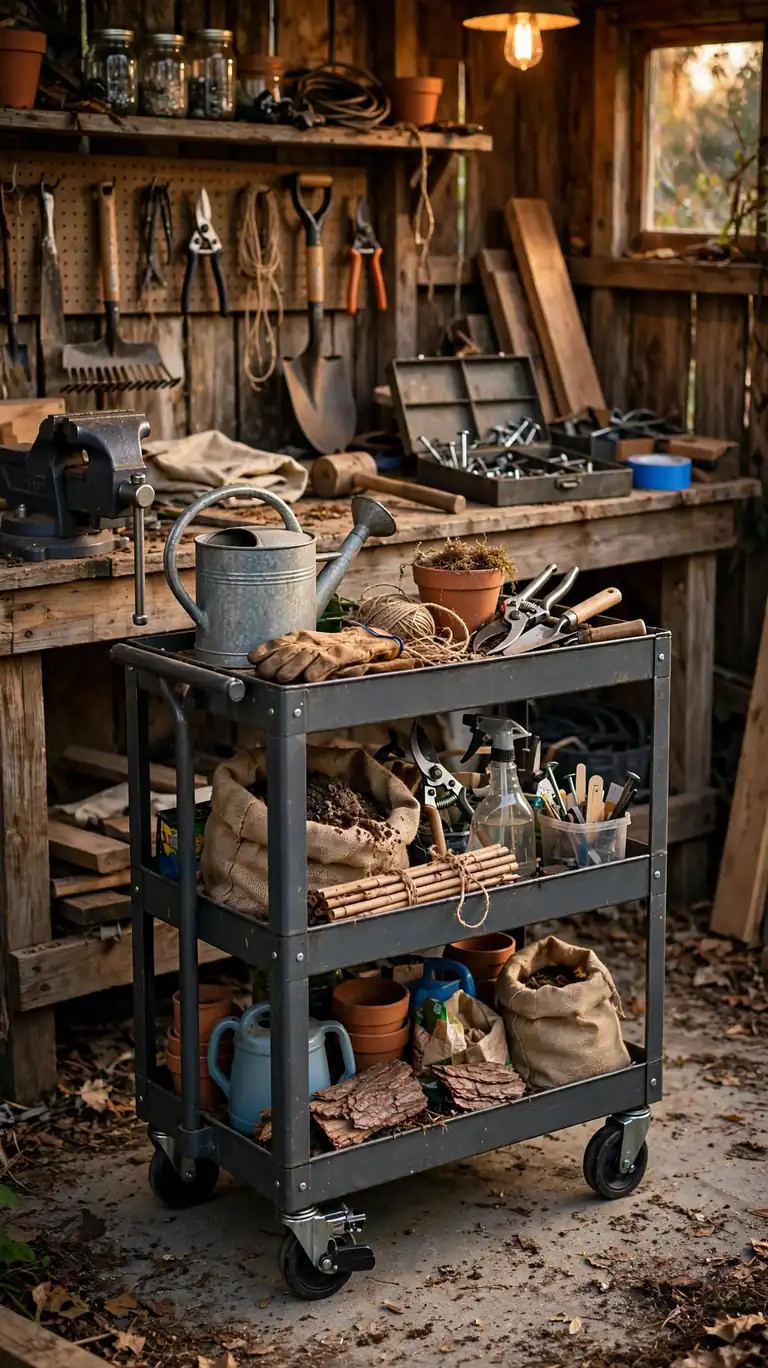
Fixed furniture locks a shed into one layout, but your needs change with the seasons. Rolling carts keep the layout fluid. A sturdy utility cart becomes a mobile potting station in spring, a paint station during summer projects, and extra holiday-decor sorting space in winter. Load it with the tools for the current task, roll it to where the light or the space is, and roll it back when you are done.
Choose carts with locking casters so they stay put on uneven shed floors, and look for ones with a solid top that can take real weight. Dedicate each cart to a job: one for garden tasks, one for repair tools, one for craft supplies. When a project starts, you wheel the whole station over instead of making ten trips. When it ends, everything is already put away because the cart IS the storage. This approach is especially good for shared sheds, because each person’s cart is their own contained system that does not creep into anyone else’s space.
16. Add a Small Lounge for Guests and Teen Hangouts
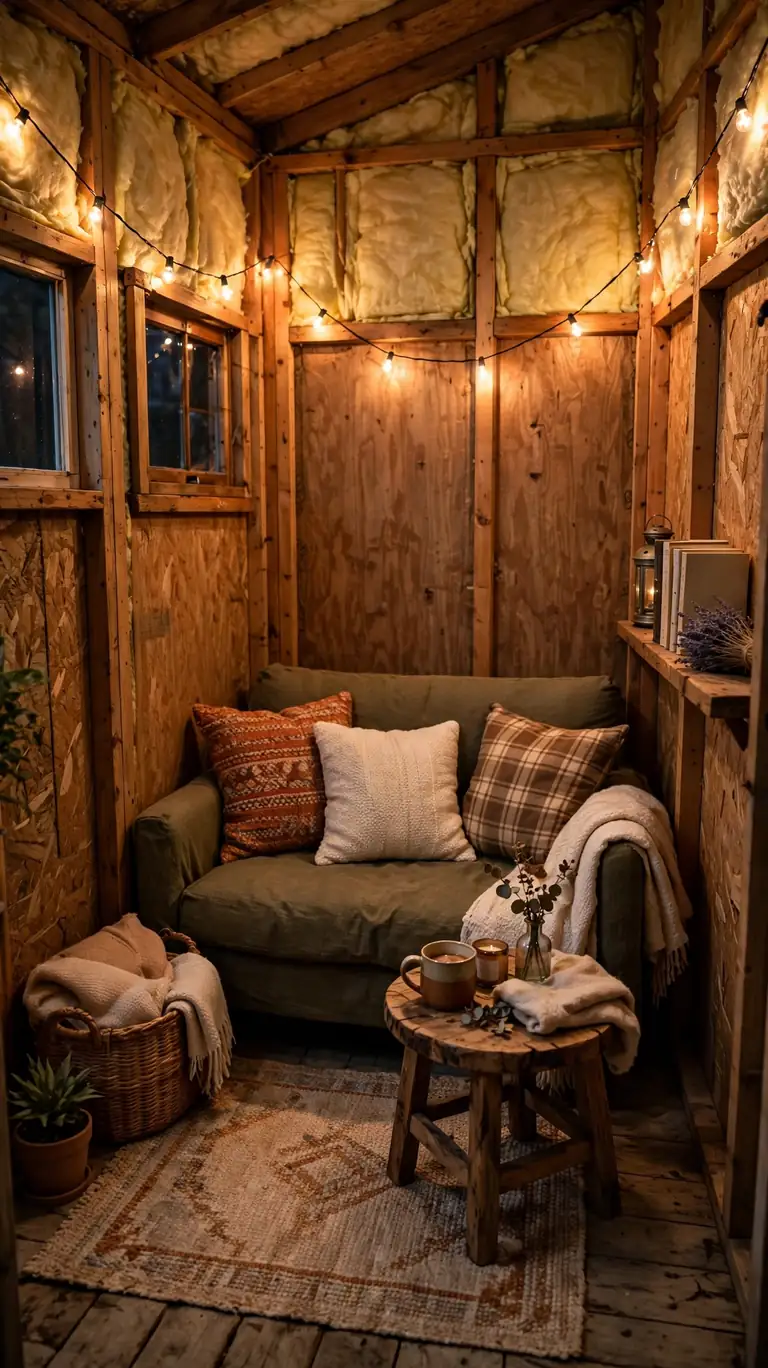
A shed lounge sounds extravagant until you realize it is just seating, light, and a little insulation. A compact loveseat or a pair of outdoor chairs, a rug, string lights, and a small table create a hangout spot that keeps teenagers, guests, or hobby friends out of the living room. It works beautifully for sheds that are past their heavy-storage years or for the front half of a larger shed while the back stays utilitarian.
Comfort details decide whether people actually use it. Weatherstrip the door and add insulation to the walls and roof so it holds temperature, and make sure there is ventilation for warm days. A small Bluetooth speaker, a couple of throw pillows, and a basket of blankets make it inviting. Keep expectations realistic: this is a three-season hangout in most climates, not a finished addition. But as a place for board games, sleepover overflow, or a quiet coffee away from the house, it punches far above its square footage.
17. Organize Garden Supplies by Task Station
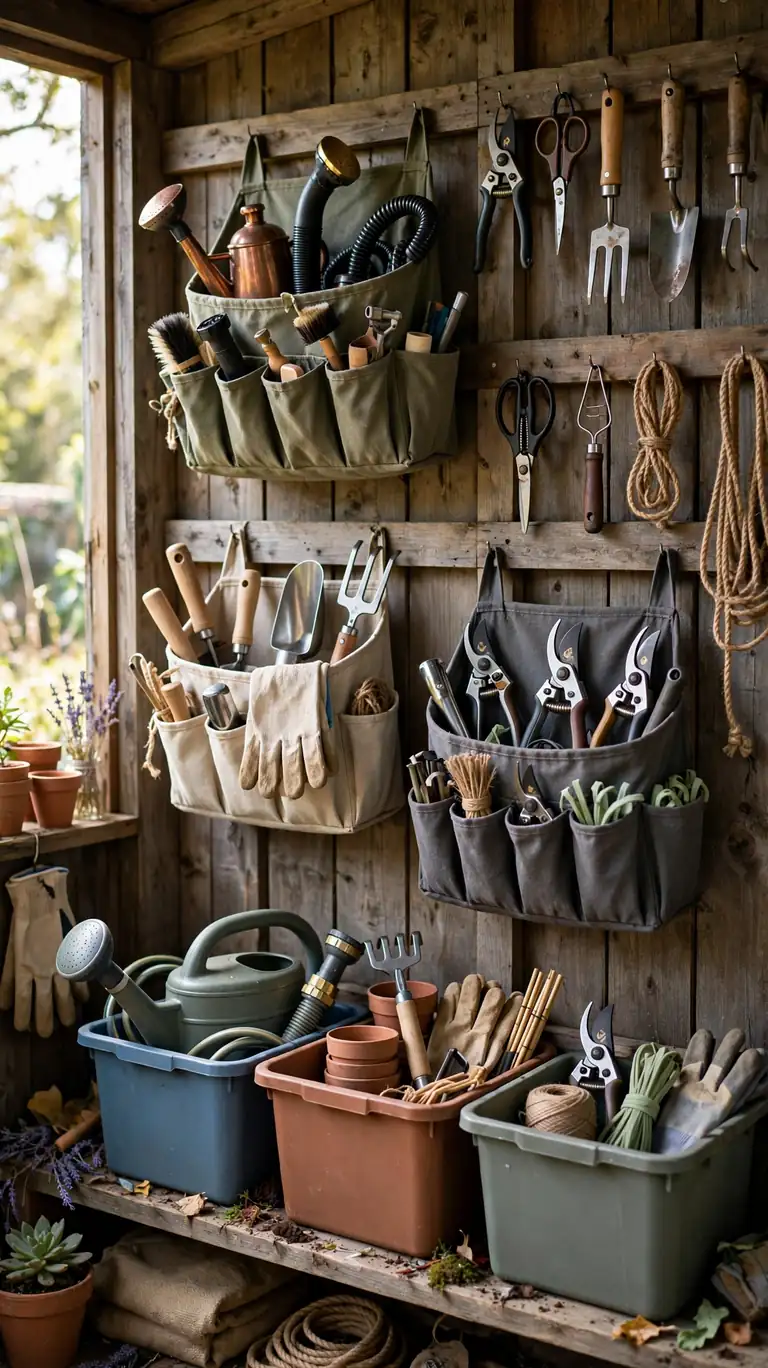
Instead of storing garden supplies by type (all fertilizers together, all tools together), try storing them by task. A watering station holds the hose nozzle, watering can, and liquid feed. A planting station holds trowels, dibbers, seed packets, and plant markers. A pruning station holds shears, loppers, saws, and a sharpening file. When you head out to do a job, you grab one station’s kit instead of hunting across the shed.
Implement this with bins, buckets, or tool bags that each hold a complete kit. A five-gallon bucket with a tool organizer sleeve is the classic version, and it carries itself to the garden. Label each station and keep a simple checklist inside the lid or on the bin so you notice when the twine runs out before you are mid-project. This system shines for shared households: anyone can grab the pruning kit and do the job right without asking where things are. It also reveals what you never use, because the station that stays pristine for a year can be downsized.
18. Create a Kids’ Corner or Play Nook
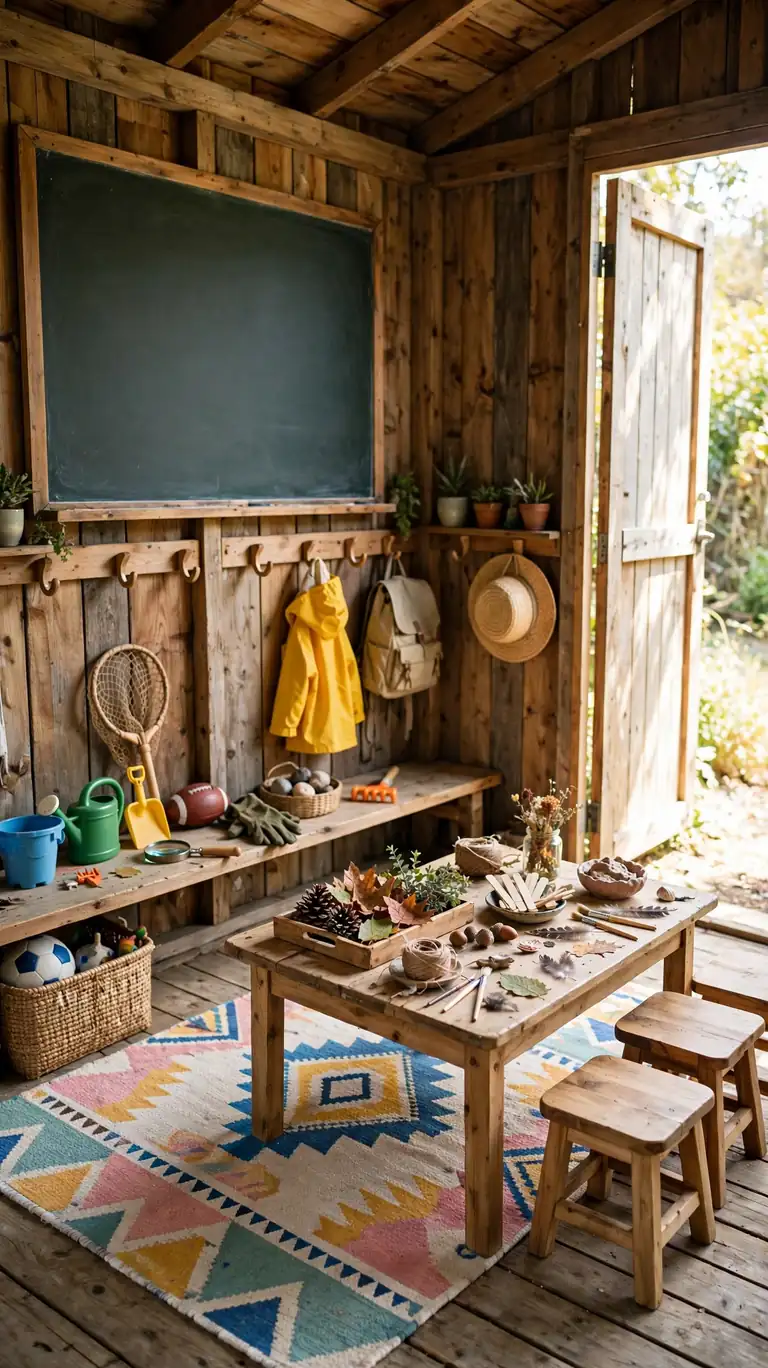
If kids play in the yard, the shed can hold their world too. Dedicate one corner to them: a low shelf for outdoor toys, hooks at kid height for their gardening tools or bug-catching kits, and a small table with washable supplies for nature crafts. A chalkboard on the wall gives them a canvas that never needs cleaning up. Keep their zone at their scale so they can get things out and put them back without help.
Safety comes first in a shared shed. Store sharp tools, chemicals, and heavy items well away from the kids’ corner, ideally behind a latched cabinet or on the opposite wall. Make sure nothing heavy is stored overhead where they play. A washable rug defines their space and makes the concrete or wood floor friendlier for sitting. Many parents find that a shed kids’ corner keeps outdoor toys from migrating into the house, and kids love having a “headquarters” that is theirs. A small step stool and a basket for treasures they find in the yard complete the setup.
19. Finish With Flooring That Handles Real Life
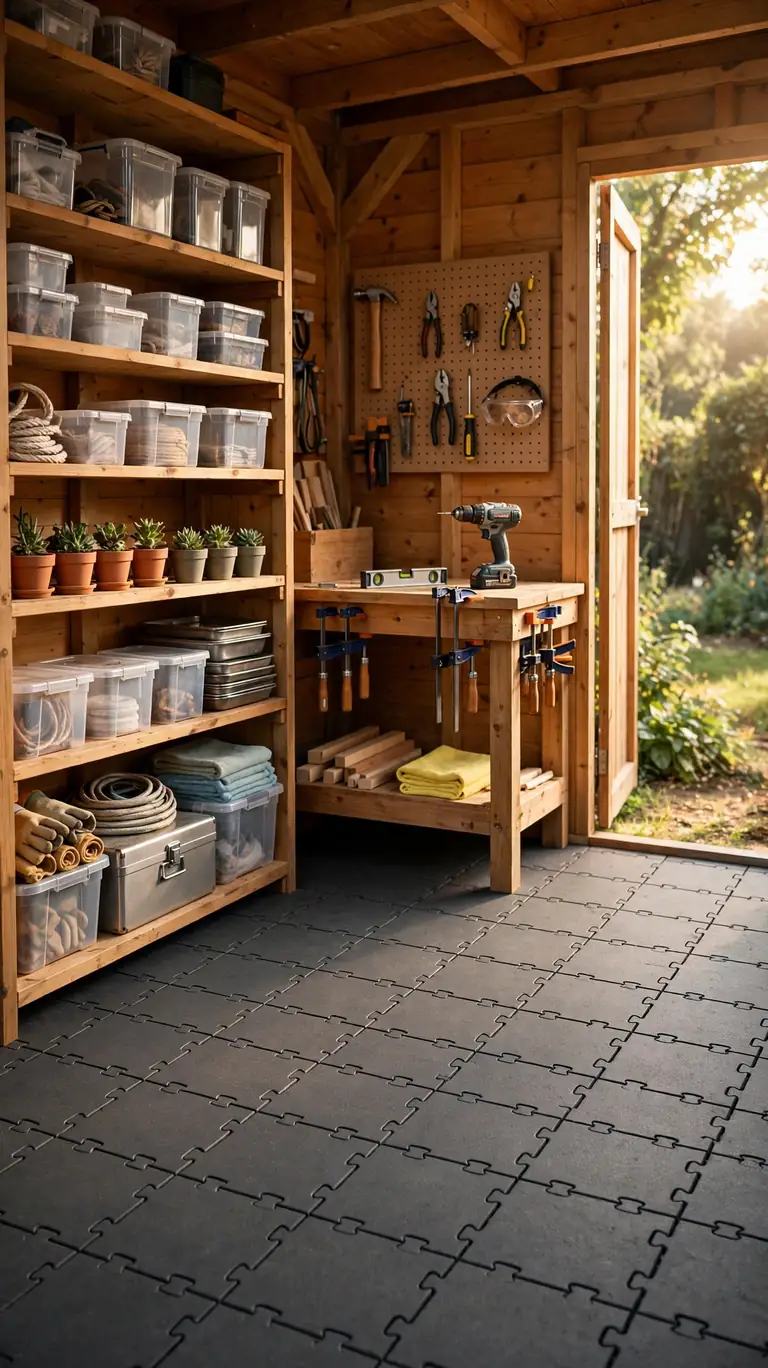
Shed floors take abuse: muddy boots, dropped tools, spilled soil, and dragged furniture. The right floor covering makes the whole interior easier to live with. Interlocking rubber or foam tiles are the easy win: they go down in an afternoon with no adhesive, cushion your feet, and individual tiles can be pulled up and hosed off. For a tougher, more permanent option, an epoxy or concrete floor paint seals the surface and wipes clean. Even a large washable outdoor rug over the existing floor softens the space instantly.
Match the flooring to how you use the shed. A workshop wants hard, flat, and sweepable. A potting area wants waterproof and hose-friendly. A lounge corner wants soft and warm underfoot, so layer a rug over the harder base. Whatever you choose, make sure it does not trap moisture against a wood floor, and leave a small gap at the edges for airflow if the shed sits close to the ground. Good flooring is the finishing touch that makes every other idea on this list work better, because a floor you can clean in minutes is a shed you will actually maintain.
Frequently Asked Questions
How do I keep my shed interior organized long term?
Give everything a labeled home and build the habit of returning tools at the end of each session. Zones help more than willpower: when the potting supplies, the repair tools, and the seasonal gear each have a defined area, clutter has nowhere to hide. Do a quick ten-minute reset once a month, tossing or donating what you no longer use. The sheds that stay organized are not the ones with the fanciest systems; they are the ones where putting things away takes less than a minute.
What is the cheapest way to improve a shed interior?
Start with light and decluttering, both nearly free. Clear out everything you do not use, sweep thoroughly, and add inexpensive LED lighting so you can actually see the space. Next, mount hooks and a basic pegboard on the walls to get tools off the floor. After that, cardboard boxes with handwritten labels work fine for sorting until you upgrade to bins. Most sheds feel dramatically better after a purge, a sweep, and better light, before you spend anything significant.
How do I keep a shed comfortable in summer and winter?
Ventilation is the summer answer: windows or vents that open, plus a fan to move air, keep the space bearable. Shade on the sunniest wall helps too. For winter use, insulate the walls and roof, seal drafts around the door and windows, and add a small safe heat source rated for the space. A thermometer on the wall tells you what is actually happening in there. Even without full climate control, insulation plus draft sealing extends comfortable use by months on both ends of the year.
Can I turn my shed into a home office or bedroom?
A home office is very doable with insulation, proper electrical work done by a licensed electrician, ventilation, and a comfortable setup. A bedroom is a bigger step: sleeping spaces have stricter requirements around egress windows, heating, and electrical safety, and local rules vary widely. Before converting a shed for overnight use, check your local building and zoning requirements. For an office or studio used during the day, most people find insulation, power, light, and a good chair cover the essentials.
How do I prevent moisture and mold inside my shed?
Keep water out and air moving. Make sure the roof does not leak and gutters direct water away from the walls. Do not stack items directly against exterior walls; leave a small gap for airflow. Ventilation, even just vents near the roof peak and a door that opens regularly, prevents the still damp air where mold thrives. Store anything moisture-sensitive in sealed bins, and if the floor sits close to the ground, a vapor barrier or raised flooring keeps ground moisture from wicking up.
Conclusion
A shed is never just a shed. It is the potting bench you have been dreaming about, the workshop where projects finally get finished, the quiet office with a door that closes, or the corner where your kids run their backyard headquarters. The difference between a shed you avoid and a shed you love is not size or budget. It is intention: walls that store, light where your hands work, zones that match your real life, and a floor you can clean in minutes. Start with the ideas that solve your biggest frustration. If tools are everywhere, build the pegboard wall. If you cannot see anything, fix the lighting first. If the space feels wasted, carve out the zone you will actually use, whether that is a potting station, a craft corner, or a reading chair by the window. Do two or three of these ideas this month and the shed starts pulling its weight. Do most of them over a season and you will wonder how you ever lived with a dark box of tangled hose and mystery boxes. Your shed is already there, waiting. Give its interior the plan it deserves, and it will give you back a room you use every single week.