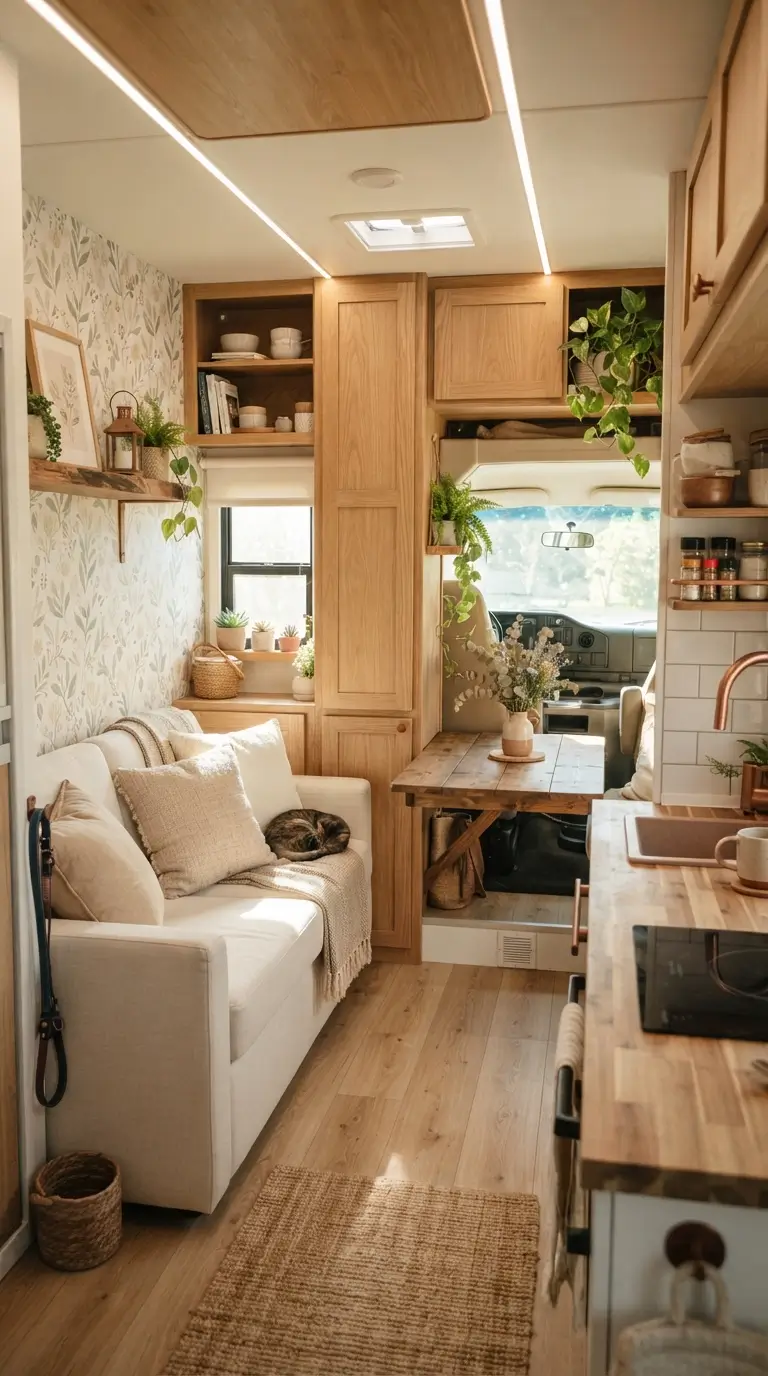
22 RV Wallpaper Ideas That Make a Camper Feel Like Home
Most RV interiors leave the factory in the same narrow range of colors: beige vinyl walls, a printed border near the ceiling, and dark cabinets. Wallpaper is one of the quickest ways to change that, and it adds very little weight compared with paneling, tile, or stone.
The catch is the surface. RV walls are usually thin panels covered in a printed vinyl wall covering, and that vinyl is often lightly textured. Peel-and-stick paper that grips drywall reliably can lift at the corners on a textured vinyl panel, especially after a summer parked in the sun. The ideas below cover where wallpaper works well in a camper, but start with the prep notes so your work has the best chance of lasting.
Before You Stick Anything to an RV Wall
Find out what your walls actually are. Run your hand over the surface. If it feels slightly grainy or patterned rather than smooth, that texture will limit how well adhesive-backed paper bonds. Some RVs have a smoother finish that accepts peel-and-stick easily, and the surface can vary from panel to panel within the same rig.
Clean before you test. Wall surfaces in an RV collect cooking residue and dust, and any film left behind will weaken adhesion. Use a cleaner suited to vinyl surfaces, check that it is compatible with your wallpaper’s preparation instructions, let the wall dry completely, then apply a test piece.
Run a test patch first. Apply a small piece in a low-visibility spot, leave it for several days through normal temperature changes, then try to lift a corner. This step can reveal adhesion problems before you commit to a full wall.
Expect temperature and humidity swings. A closed-up camper in summer heat, then a cold night, then travel vibration, puts more stress on adhesive than a typical house wall. Follow the wallpaper manufacturer’s guidance on application temperature and surface preparation. A bonding primer can improve adhesion where the product allows it, but it usually makes the change semi-permanent.
Plan for seams and battens. Many RV walls have visible joins covered by thin batten strips. Decide early whether you will paper up to them, remove them, or paper across the wall and reattach them.
| Wallpaper type | Why it can suit an RV | Trade-off |
|---|---|---|
| Peel-and-stick vinyl | No paste, easy to reposition, removable | Adhesion suffers on textured walls and in heat |
| Traditional paste-the-wall | Often bonds better on difficult surfaces | Harder to remove, messier in a small space |
| Prepasted paper | Less mess than paste, budget friendly | Water activation and humidity are an awkward mix in a camper |
| Fabric or paper on framed panels | No adhesive on the wall at all | Panels need secure fixing for travel |
1. Start With One Accent Wall Behind the Dinette
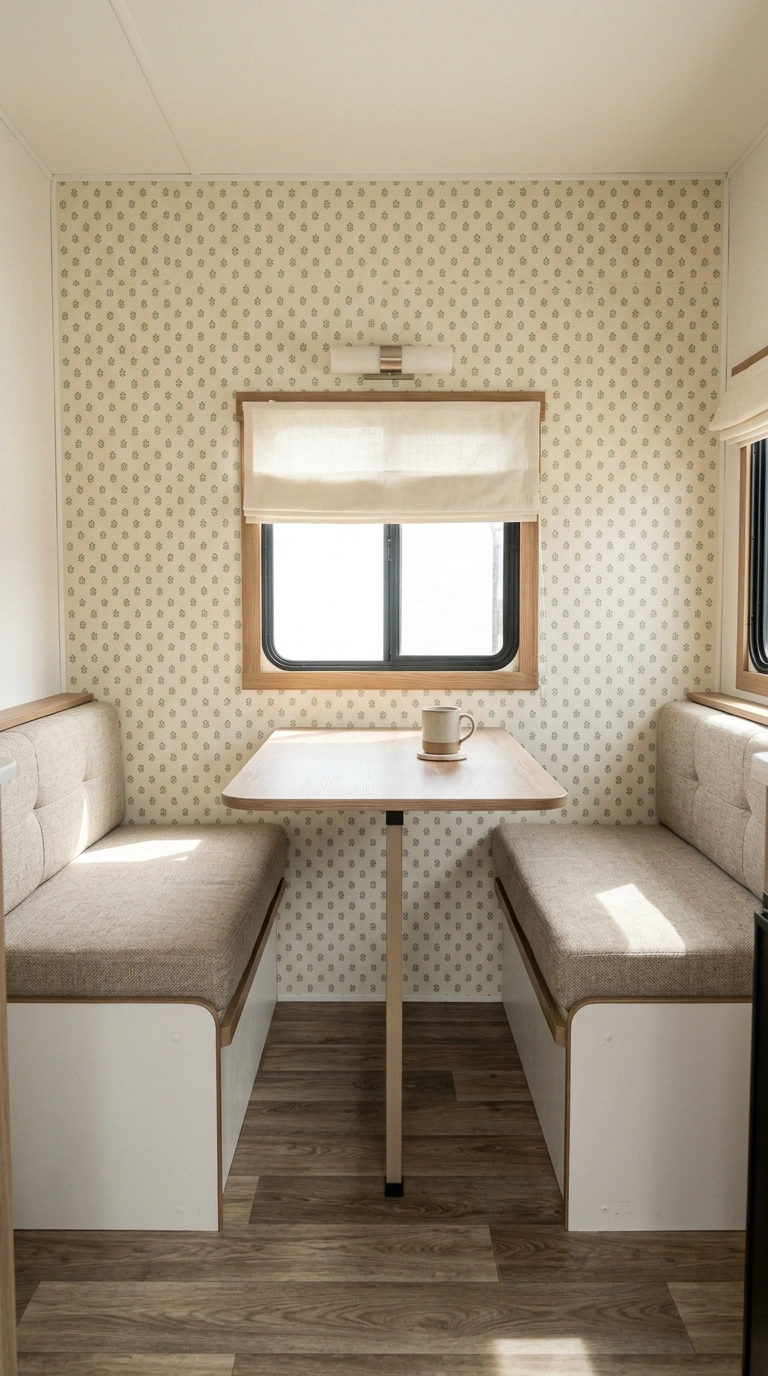
The dinette wall is a good place to test both your pattern and your adhesive. It is a defined area, often broken up by windows, and it faces you every time you sit down to eat, so the visual payoff is high for a small amount of material. It also limits the cost of a mistake. A small panel is easier to remove and redo, and you will learn how your walls behave before tackling the bedroom.
2. Paper the Wall Behind the Bed
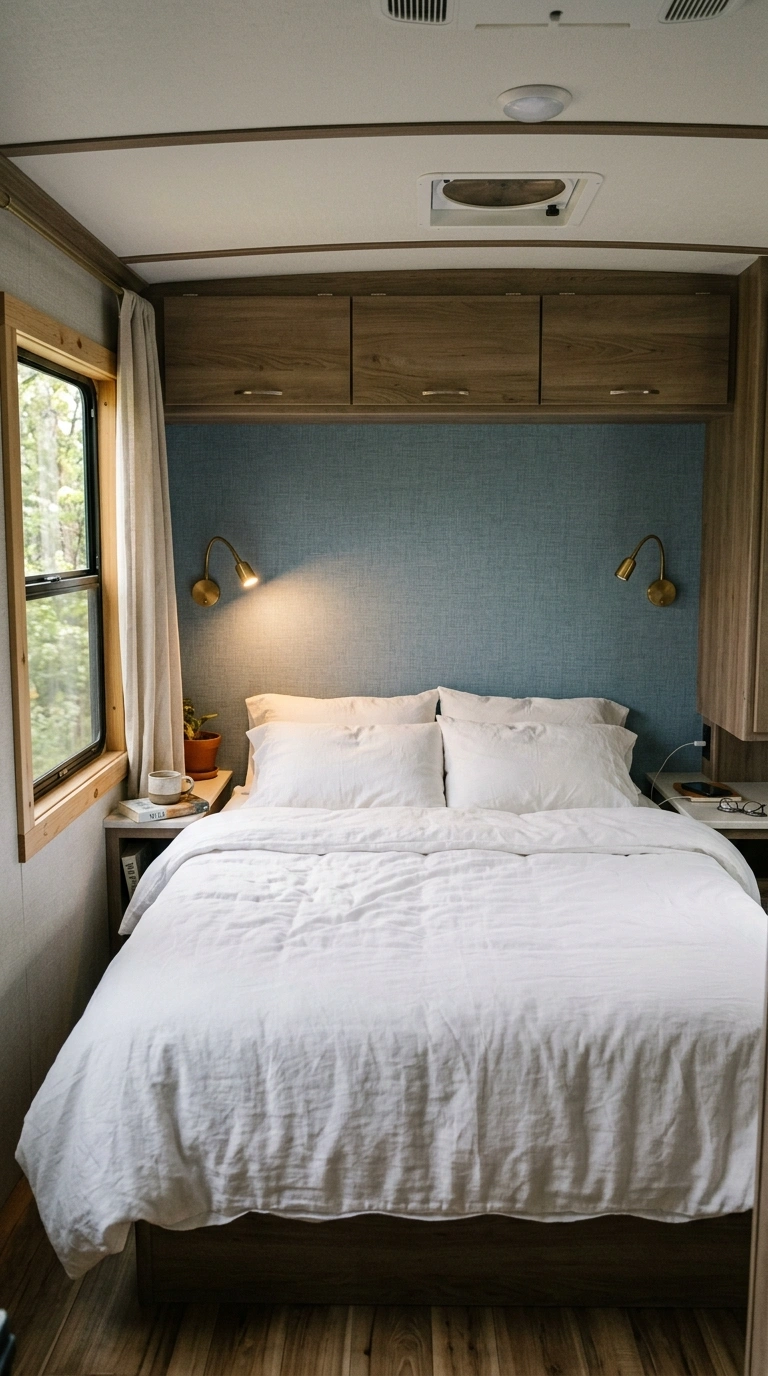
The headboard wall is another rewarding spot, partly because a bed usually covers the lower half. That means less surface to cover, fewer awkward cuts, and less wear from passing bodies. Consider a quieter pattern here than you would use in the living area. In a small sleeping space, a busy repeat close to your face at eye level can feel restless.
3. Use a Light Neutral Pattern to Open Up a Dark Interior
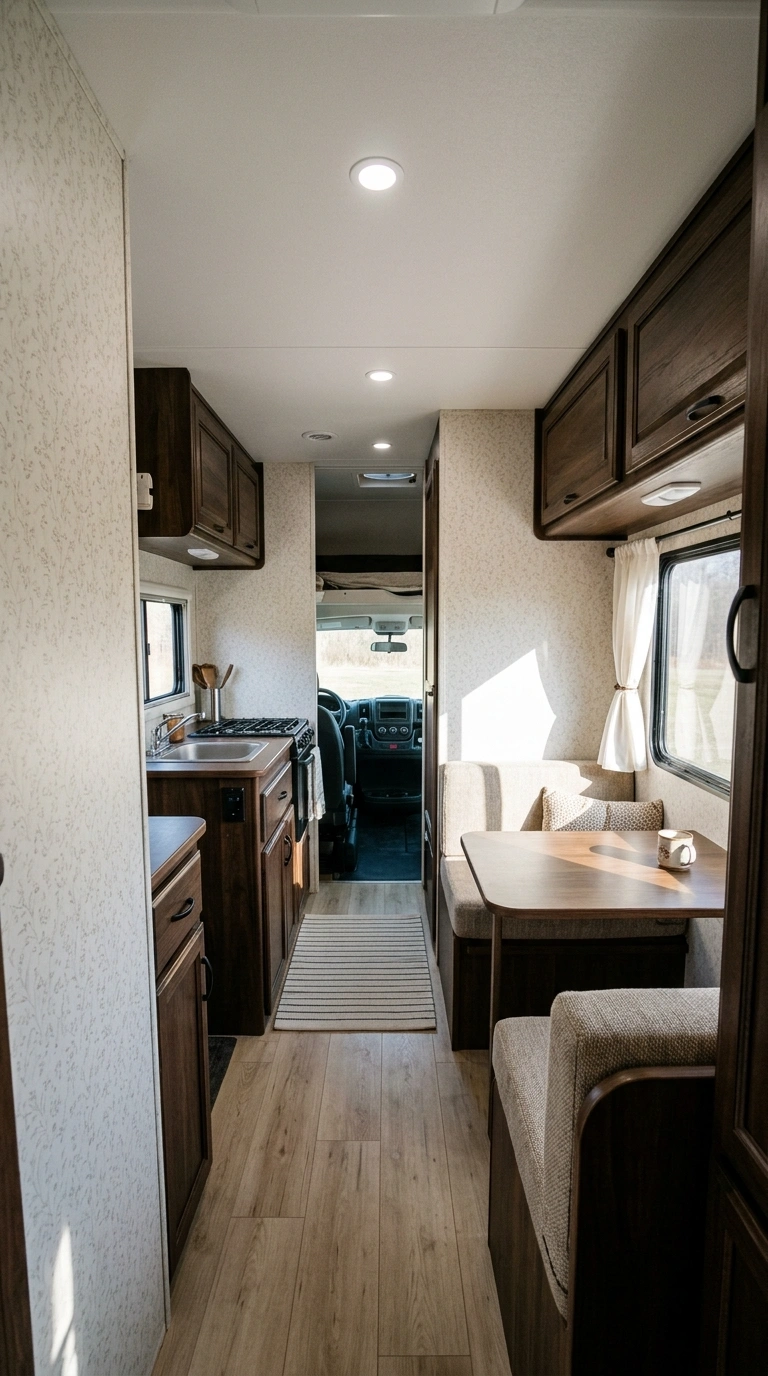
Many RVs have small windows and dark cabinetry, so the interior reads dim even on bright days. A light cream, soft white, or pale greige wallpaper reflects more of the limited light you have. Keeping the walls pale also reduces the contrast between the wall and the window, which can make the space feel less boxed in. If you want a stronger color, it often sits better somewhere with a defined edge, like a cabinet interior or a single bunk nook, than across the main living walls.
4. Choose Small-Scale Repeats in a Small Rig
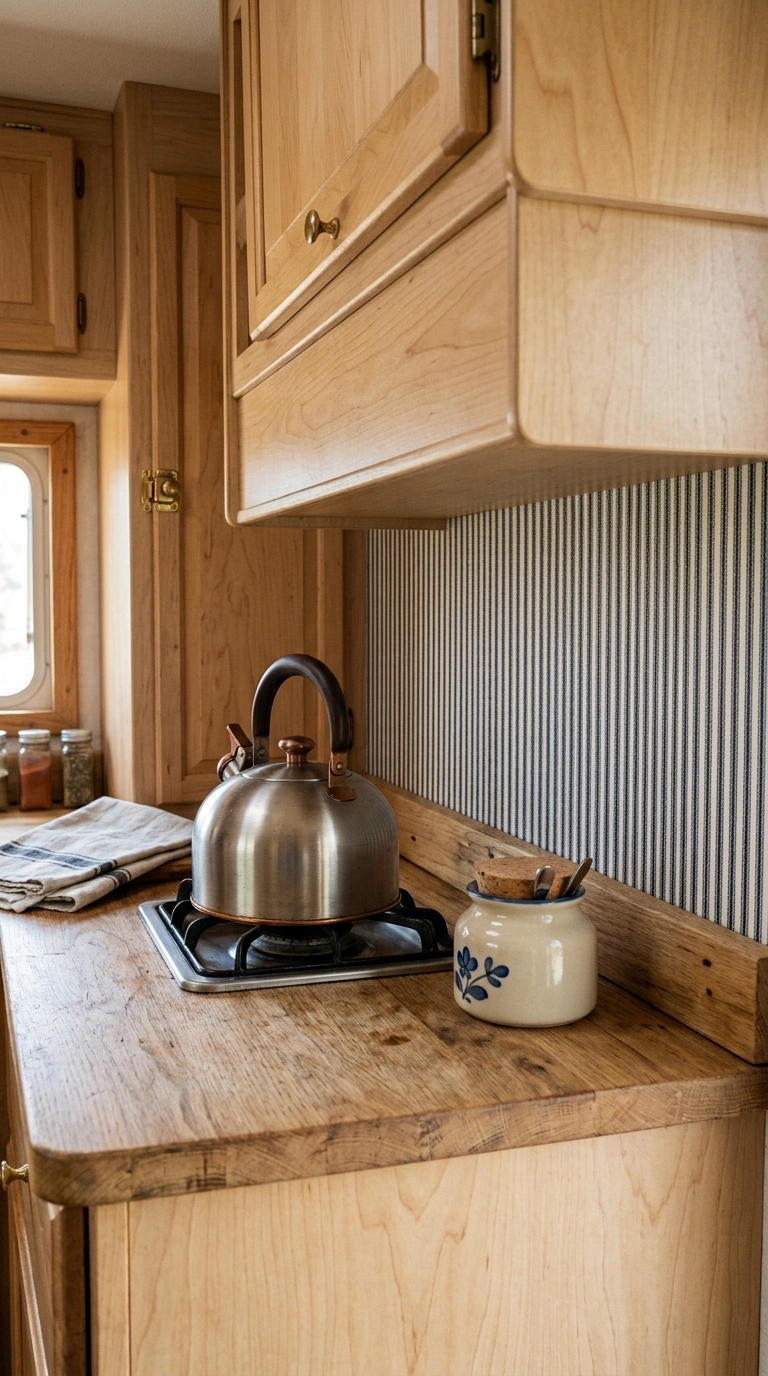
Pattern scale matters more in a camper than in a house because you rarely see a full wall at once. A large repeat gets chopped by cabinets, windows, and vents until it reads as random shapes. Small, dense patterns such as micro florals, fine stripes, ticking, or subtle geometrics survive that chopping. Before ordering, measure the tallest uninterrupted stretch of wall you actually have, then compare it to the pattern repeat listed by the manufacturer. If the repeat is taller than that space, most of the design will be hidden behind cabinetry.
5. Use One Large Mural Where a Full Wall Is Actually Visible
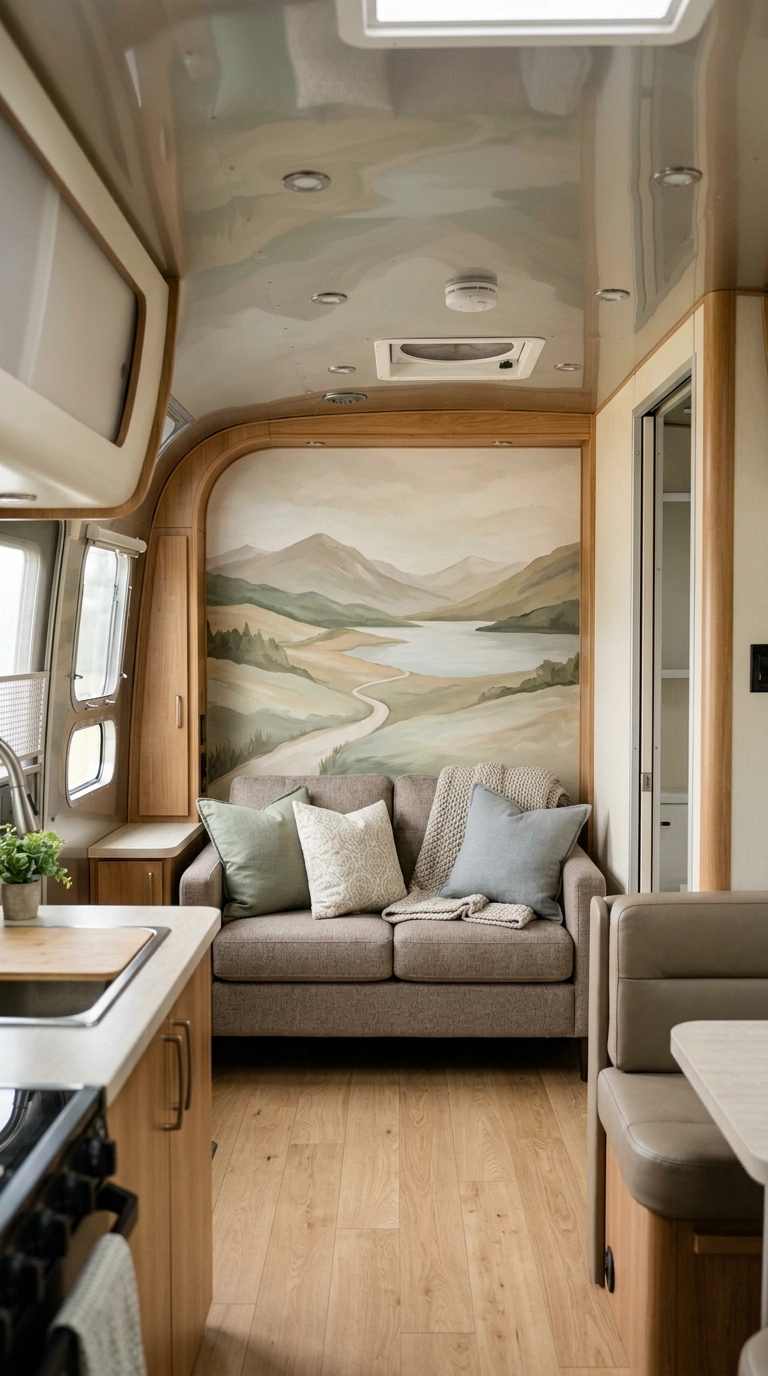
The exception to the previous idea is a wall you can see in one piece, most often the rear wall of a travel trailer or the back wall of a slide-out. A single mural or large-scale design there can add depth to a narrow interior.
Watch out for: anything you have to look at directly for hours. Murals with strong perspective or high contrast can feel overwhelming in a space where you sit a few feet away.
6. Try Faux Shiplap or Vertical Plank Paper
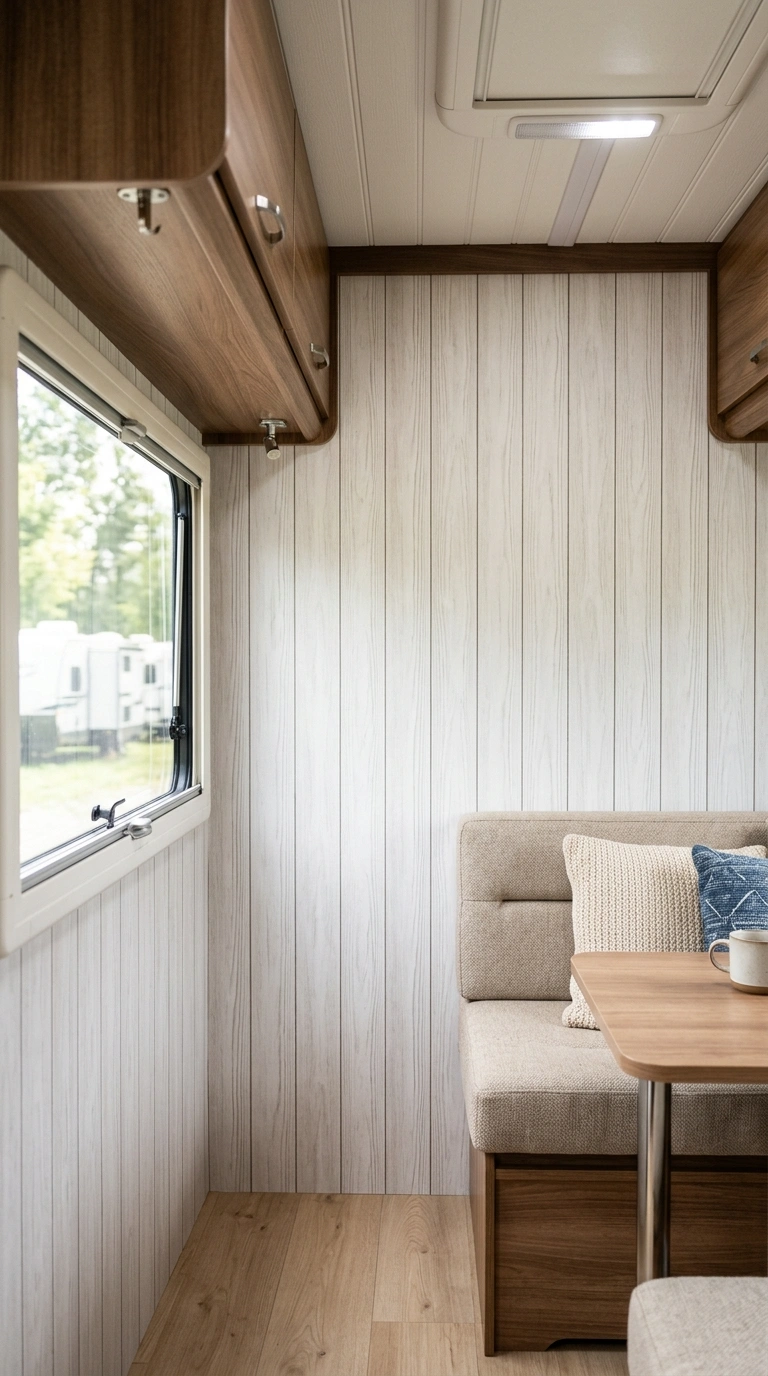
Plank-patterned wallpaper is popular in campers because it suggests the cottage look without adding real boards, which would add weight and reduce interior width. Running the planks vertically rather than horizontally helps if your ceiling feels low, since vertical lines draw the eye up. Choose a paper with soft, low-contrast grain, because heavy printed shadows tend to look obviously printed at close range.
7. Add Texture With a Grasscloth Look
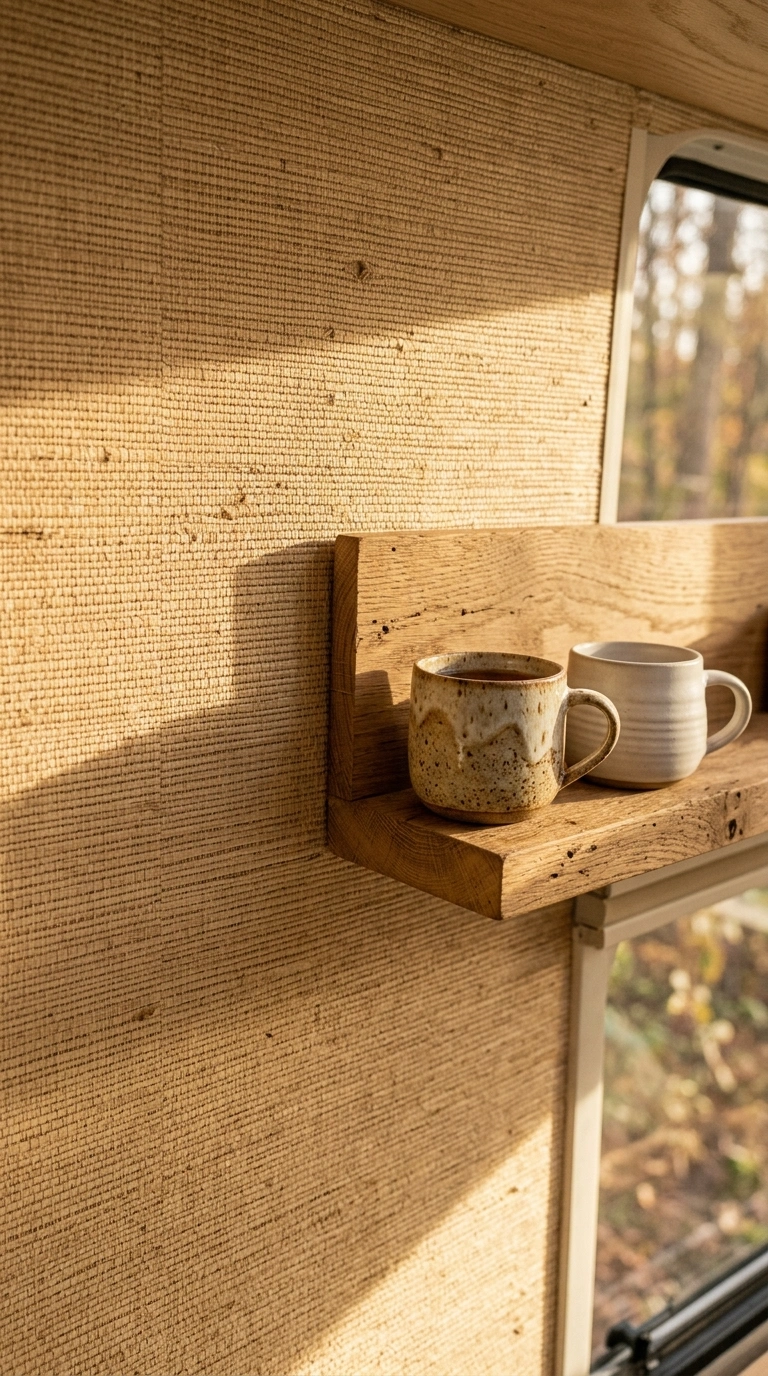
Grasscloth-effect wallpaper gives a woven, natural texture that softens the hard surfaces in an RV without adding real fiber that traps dust and moisture. Printed versions generally clean more easily than true grasscloth, which is worth something in a space where cooking happens a few feet from the wall.
8. Fake a Tile Backsplash Behind the Sink
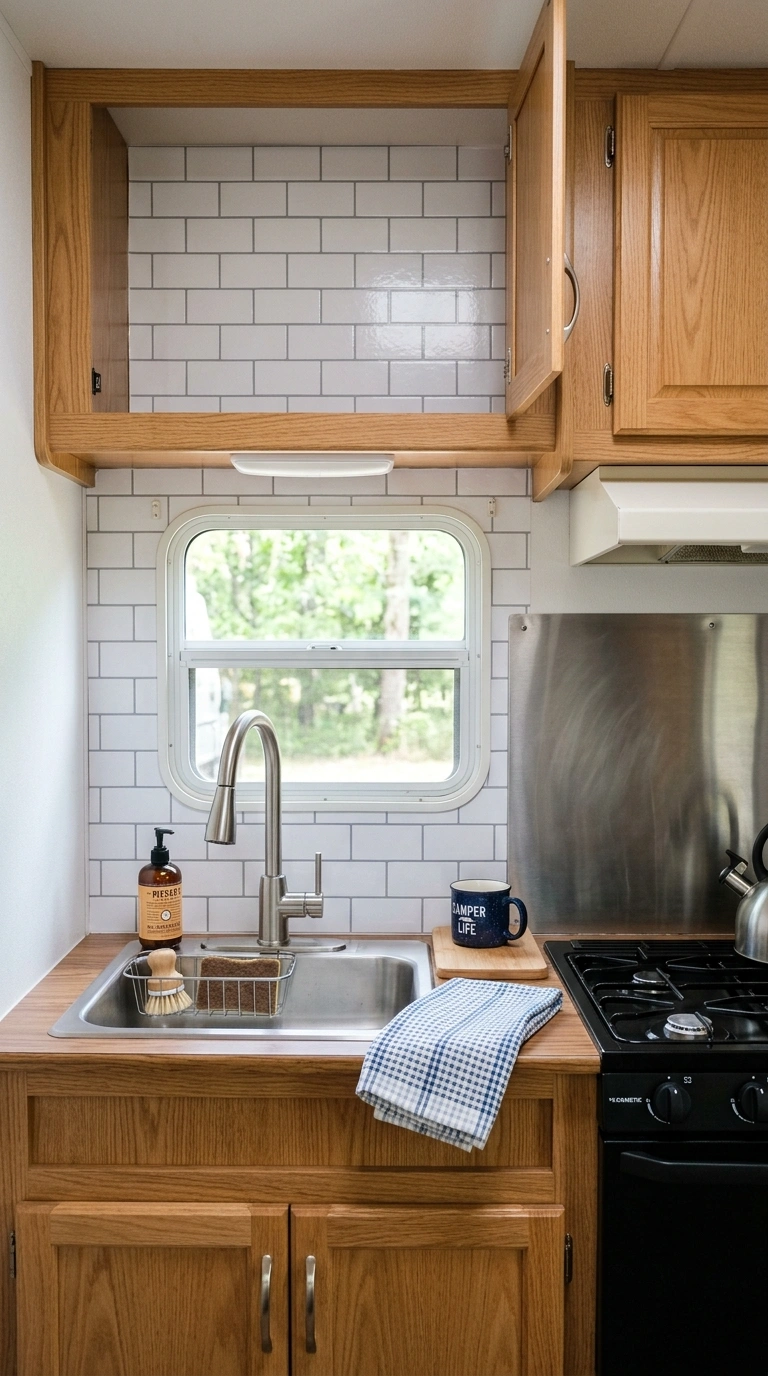
Tile-look wallpaper behind the galley sink is a common RV upgrade because real tile adds weight and can crack with road vibration. Keep it well away from direct heat. Behind a cooktop, use a material intended for that purpose, and check the clearance requirements in your cooktop’s manual rather than assuming wallpaper is acceptable there. Around the sink, choose a wipeable vinyl finish and seal the edges where water could run behind.
9. Use Faux Brick or Stone for a Rustic Camper
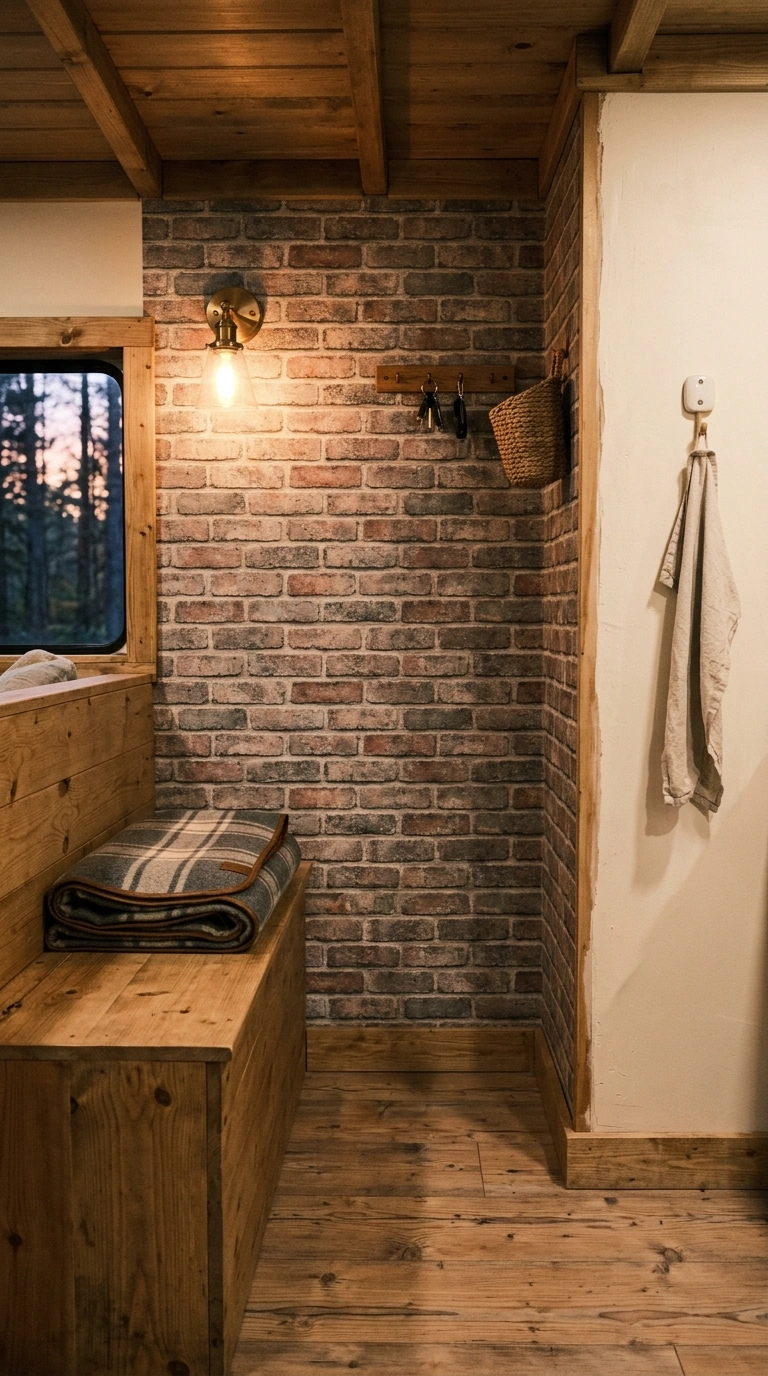
Brick-effect paper suits vintage trailers and rustic builds, particularly on a short wall near a wood-look floor. Realism depends heavily on scale. Full-size brick patterns look out of proportion in a camper, while a smaller thin-brick or reclaimed-brick print usually reads more believable. One wall is normally enough, since a whole room of printed brick loses the illusion quickly.
10. Paper the Cabinet Door Panels
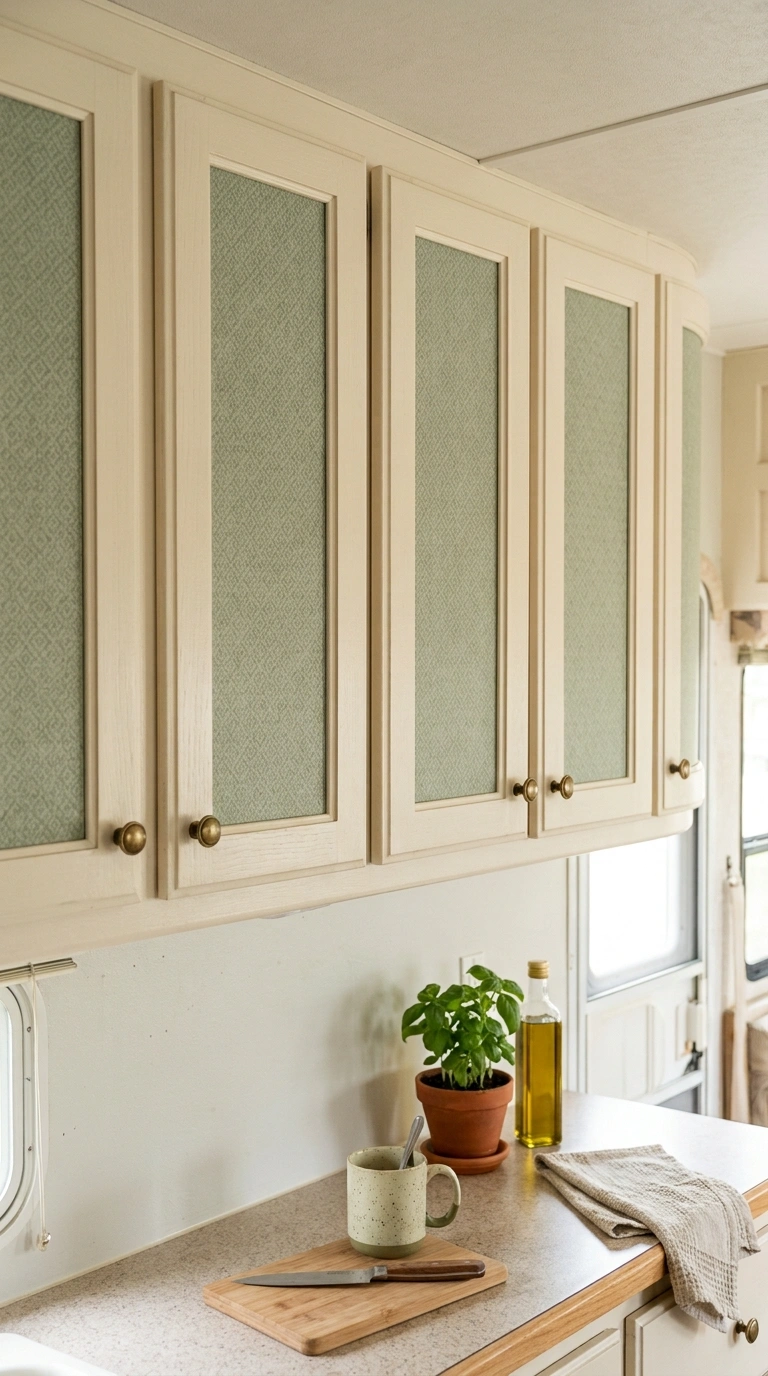
If your cabinet doors have recessed center panels, wallpapering only those panels changes the look of the galley without painting a single door. Cabinet fronts collect more cooking residue than walls do, so clean them thoroughly first and test adhesion the same way you would on a wall. The small panel size makes this one of the simpler areas to reverse later.
11. Line the Insides of Cabinets and Drawers
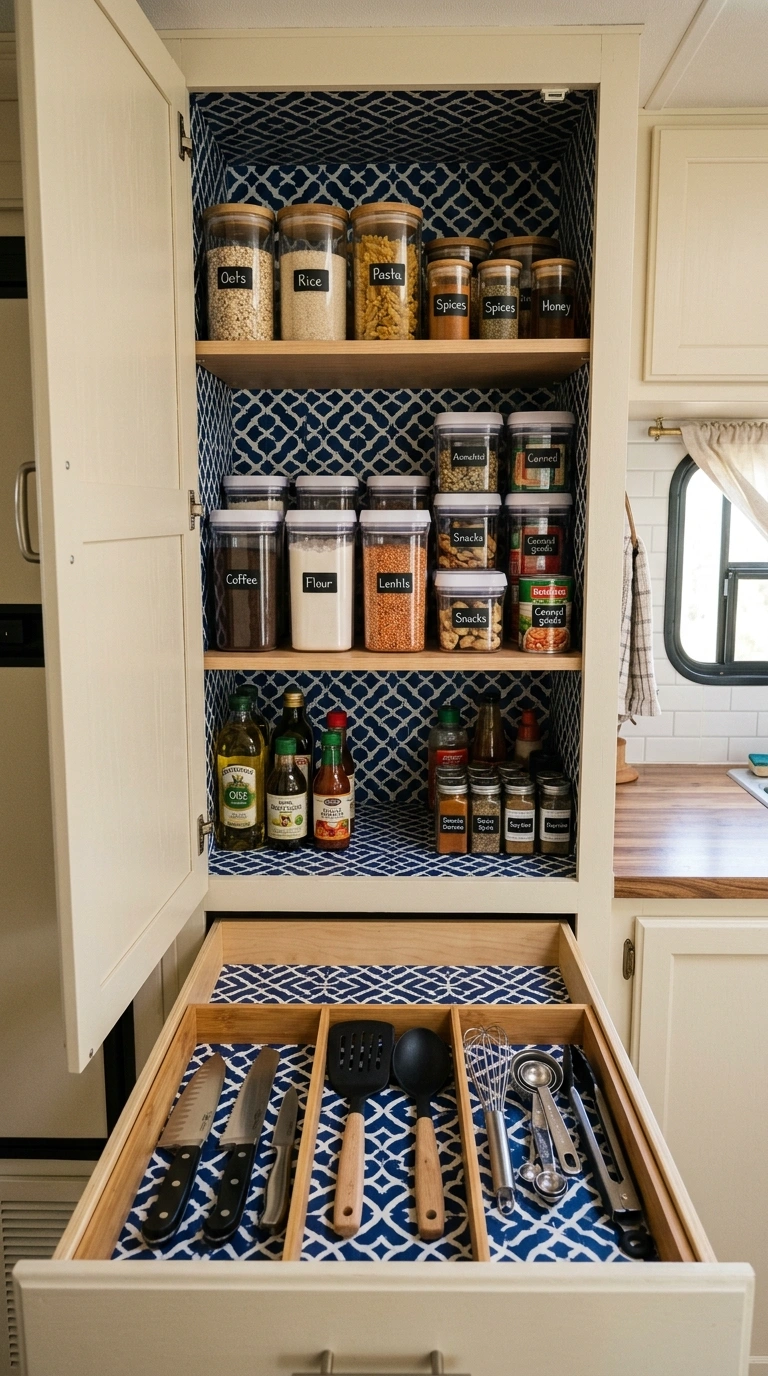
Wallpaper inside cabinets, drawers, and the pantry is a low-risk way to add pattern you see every day but no guest ever judges. Use whatever bold color or print you were too nervous to put on a wall. It has a practical side too. A wipeable lining makes crumbs and spills easier to clean out of a pantry shelf.
12. Take the Pattern Onto the Ceiling or Cab-Over Bunk
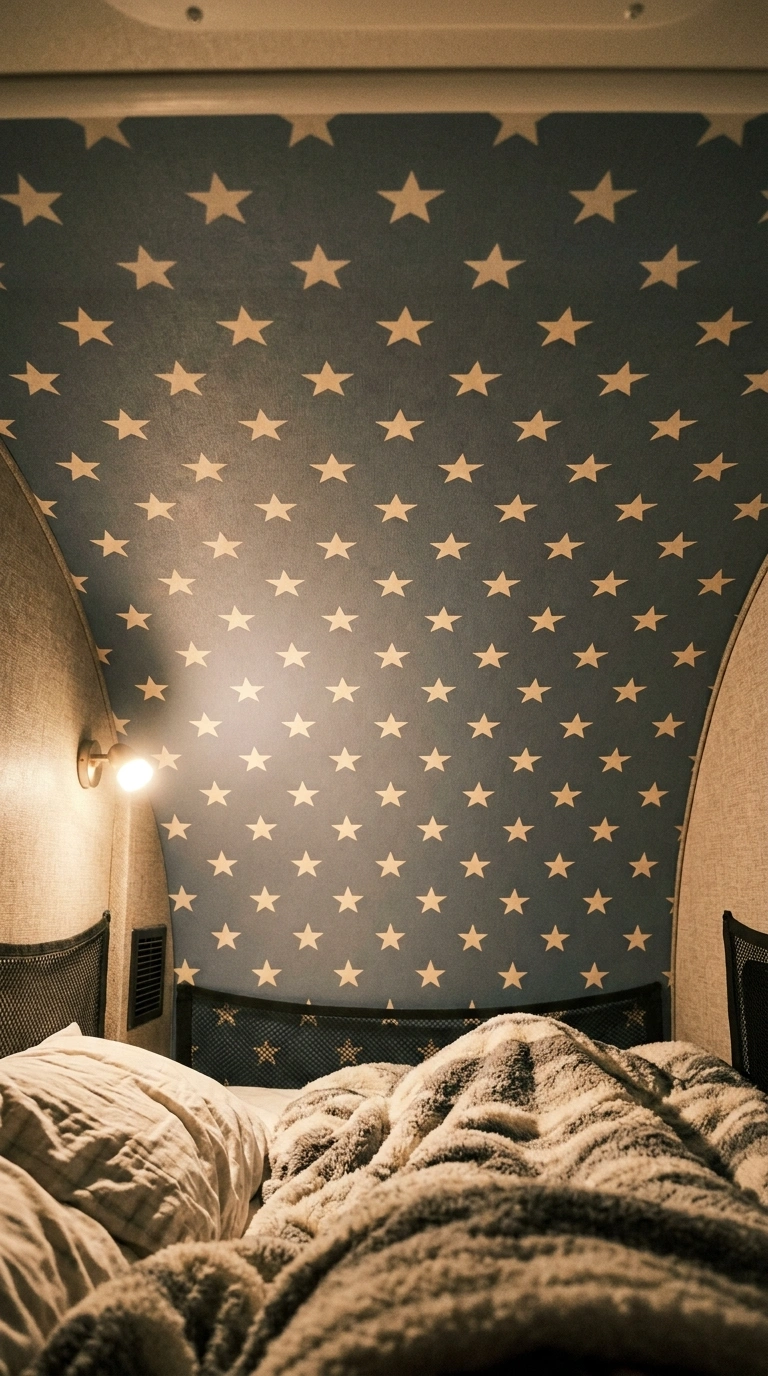
The ceiling of a cab-over bunk is directly in your line of sight when you lie down, which makes it one of the few surfaces in an RV worth decorating for its own sake. Ceilings put constant downward pull on the adhesive, so this is one of the more demanding surfaces for peel-and-stick. Test thoroughly, work with a helper, and consider a lighter-weight paper.
13. Give Kids Their Own Bunk Nook Pattern
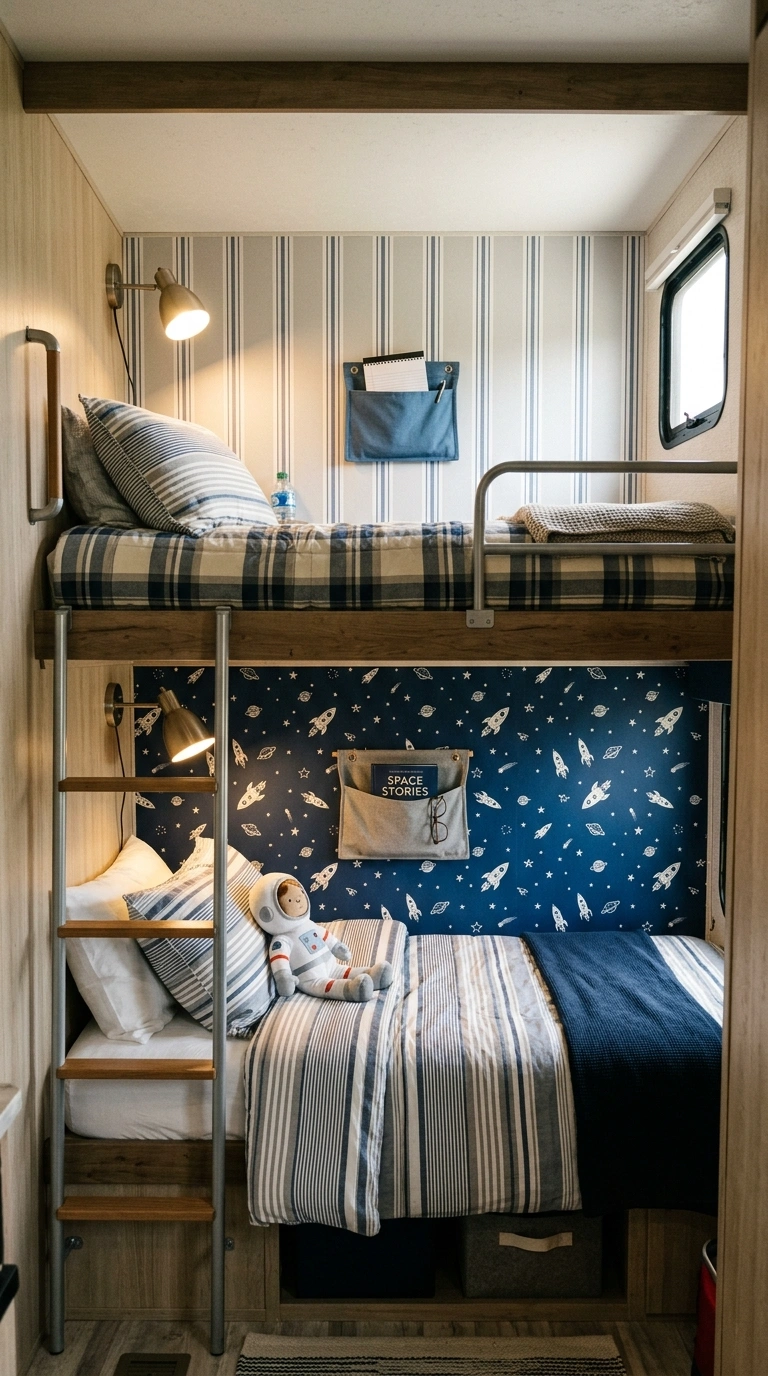
Bunk walls are small, enclosed, and personal, which makes them well suited to a pattern chosen by whoever sleeps there. Different paper in each bunk costs very little material. Where possible, mount a small light or a wall pocket over the paper rather than through it, so a change later means peeling rather than patching.
14. Wallpaper the Bathroom, but Not the Wet Zone
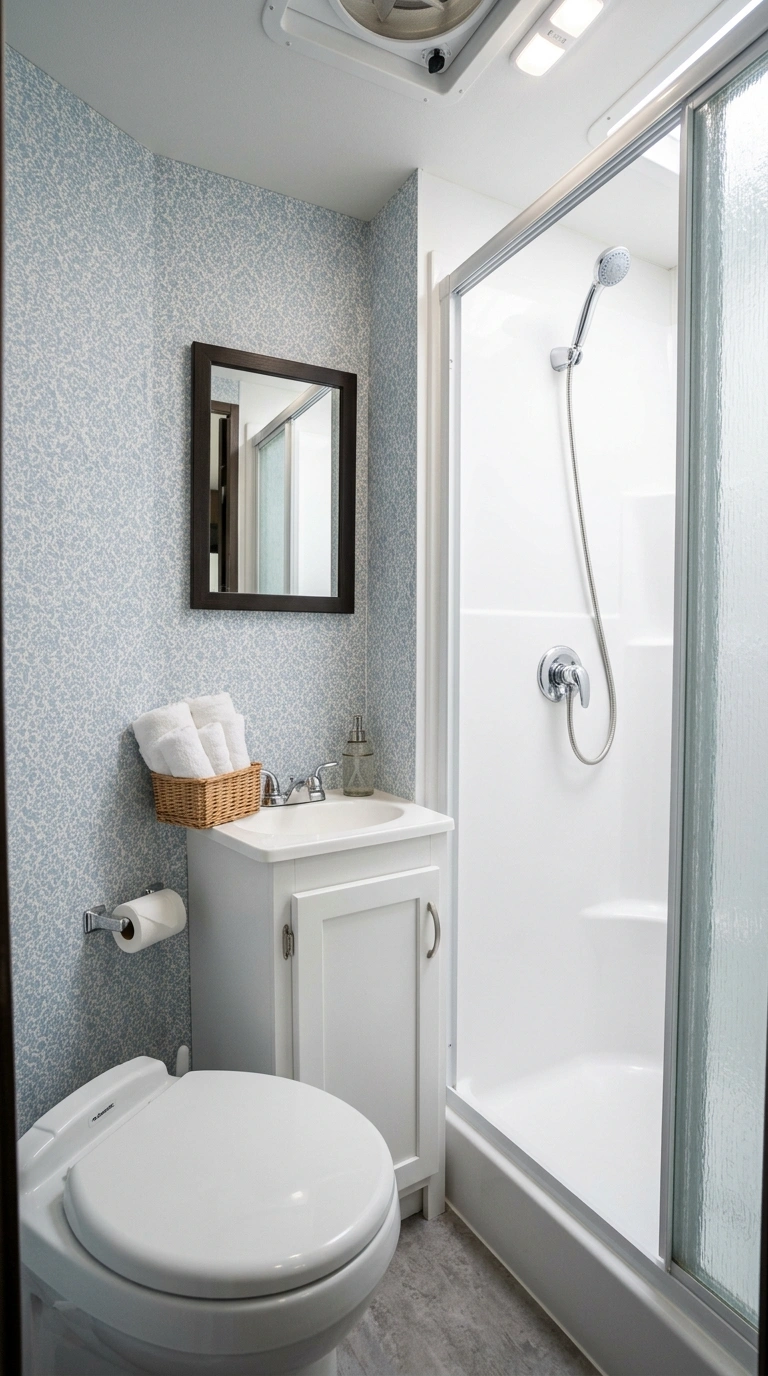
A small RV bathroom responds well to pattern because the walls are close and the area is small enough to finish quickly. Vinyl or vinyl-coated paper generally handles humidity better than plain paper. Keep it out of the shower surround entirely, and run the fan while showering. Steam that settles behind an edge can lift it, and a lifted corner in a wet area rarely reseals well.
15. Make Removable Framed Panels Instead
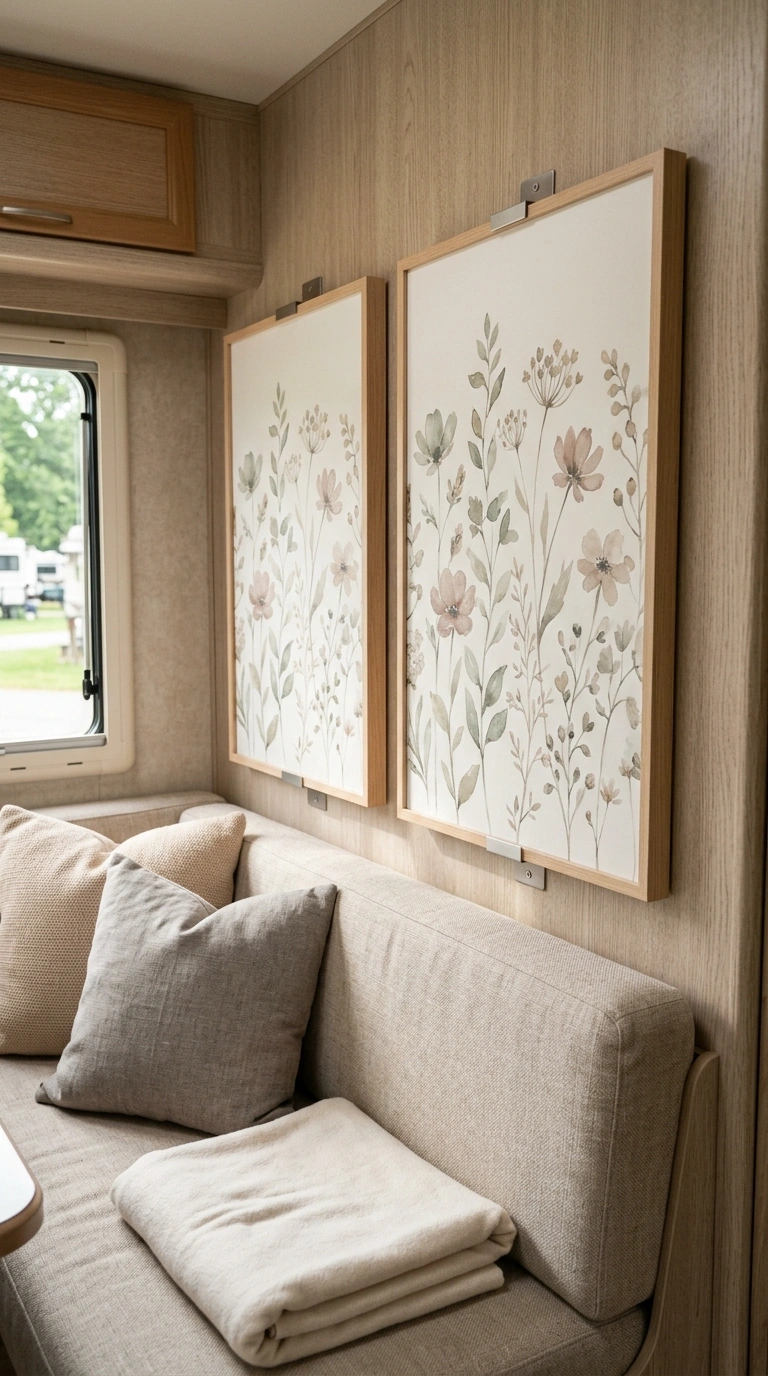
If you rent your rig, plan to resell, or simply do not want adhesive on the walls, mount wallpaper on thin lightweight board and hang the finished panels. You get the pattern with no bond to the wall surface at all. Secure them properly for travel. Anything hanging on a wall in a moving vehicle needs a fixing that will hold under vibration and braking, so check the weight rating of whatever mounting hardware you use rather than relying on a decorative hook.
16. Decide What to Do About the Batten Strips
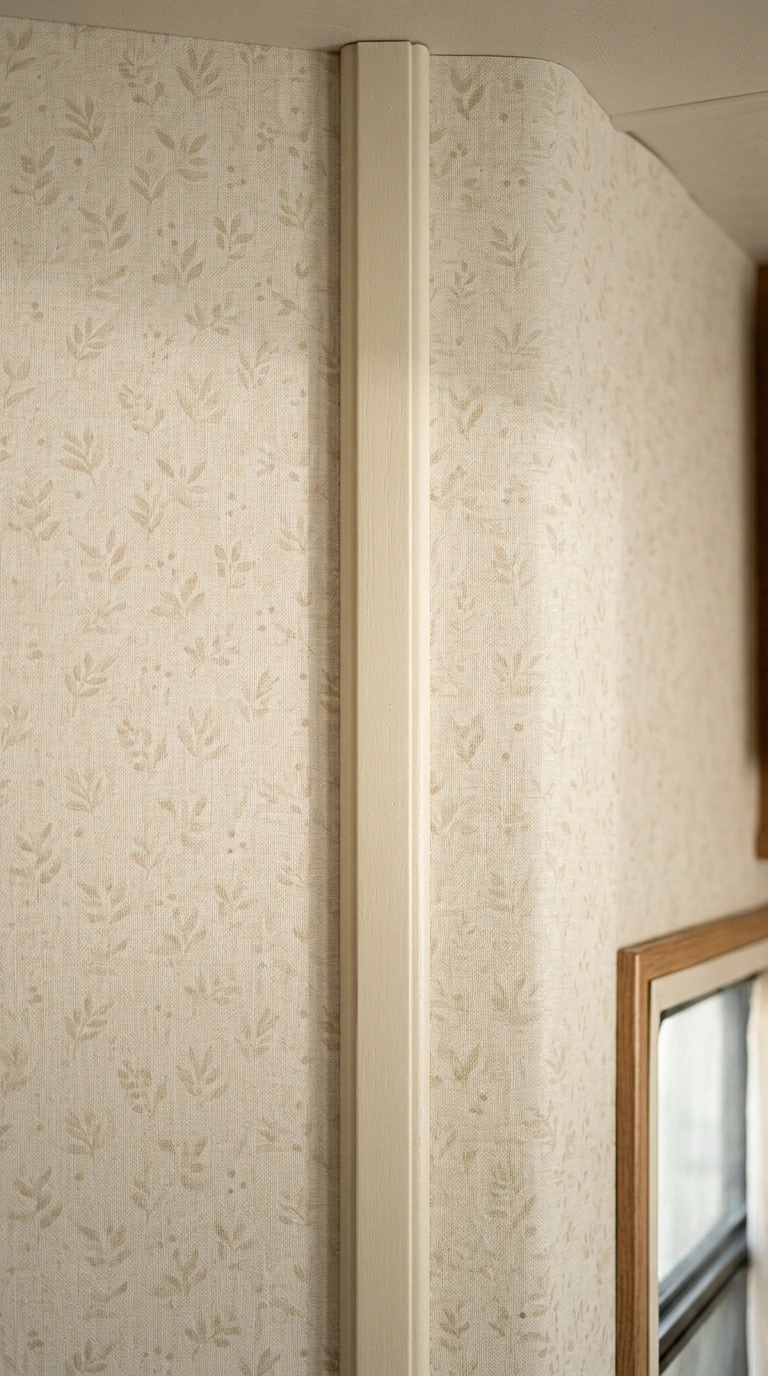
Those thin vertical strips covering the wall joins usually shape the whole look of an RV wallpaper job. There are three common approaches.
Paper up to each side of the strip and leave it exposed, which is the least work and can look intentional if you paint the strips to match. Remove the strips, paper across the wall, then reattach them over the paper, which gives an unbroken pattern behind the trim. Or remove them, fill and smooth the seam, and paper across, which gives the cleanest result but takes the most work and is the hardest to reverse.
Whichever route you choose, the wall behind a removed strip may look different from the rest of the panel, and screw holes or adhesive residue often need attention before papering.
17. Stop Cleanly at the Slide-Out Edges
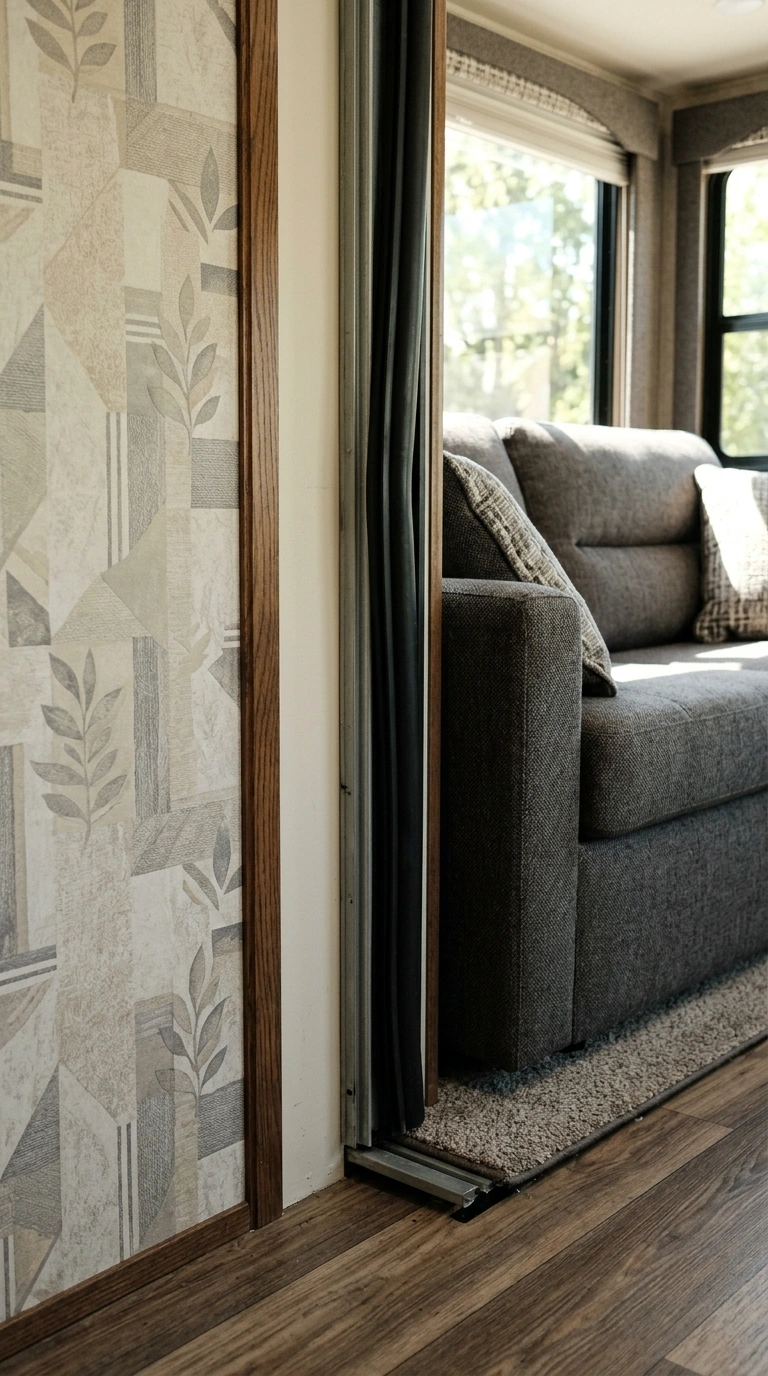
Slide-out rooms move, and their edges pass close to seals and trim. Wallpaper that runs to the very edge of a slide can catch, roll, or interfere with the seal. End the paper at a trim line or panel edge with a clear margin, and operate the slide through its full travel before you consider the job finished. If you are unsure where the seal contacts the wall, check your owner’s manual.
18. Cover the Entry Door and Closet Doors
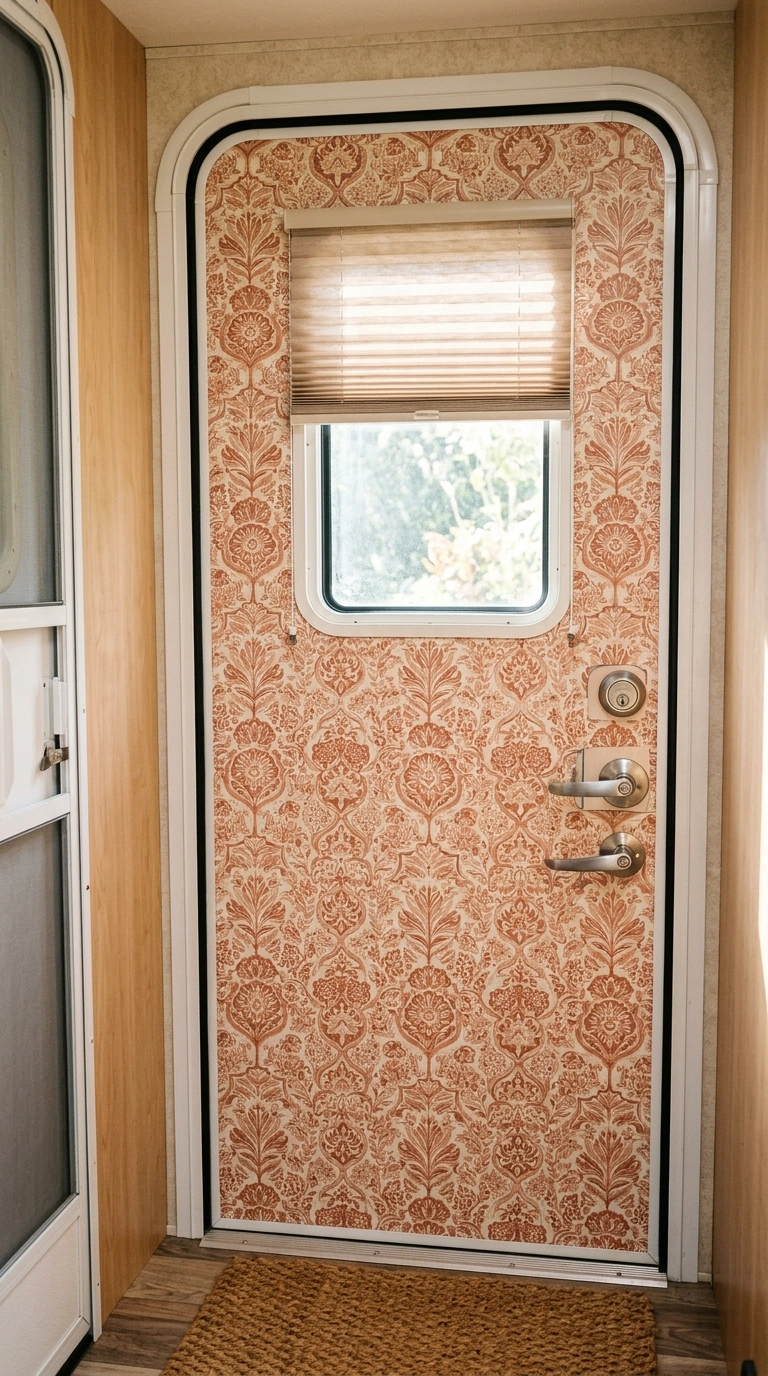
Door fronts are flat, self-contained surfaces, which makes them some of the easier places to work. The inside of the entry door in particular is visible from most of the living area and is often the most dated-looking panel in the rig. Keep hardware, latches, and any door-mounted storage accessible, and cut cleanly around them rather than papering over.
19. Wrap the Refrigerator Front
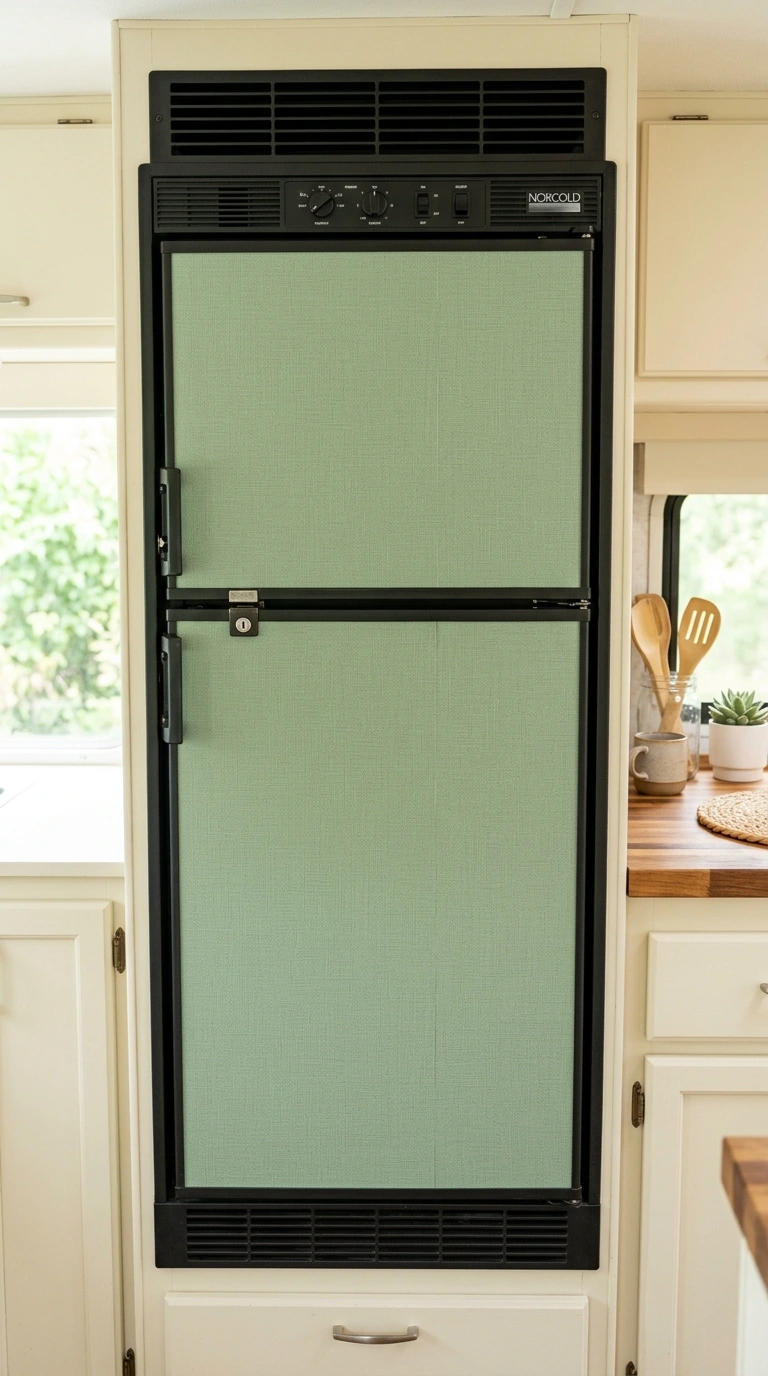
RV refrigerator panels are often plain, dated laminate, and covering them changes the look of the whole galley for very little cost. Use a wipeable finish, since the fridge front takes constant handling. Cut around vents, hinges, and the latch rather than covering them, and check whether your model uses removable front panels, which can be a simpler and fully reversible route.
20. Face the Stair Risers in a Fifth Wheel or Class A
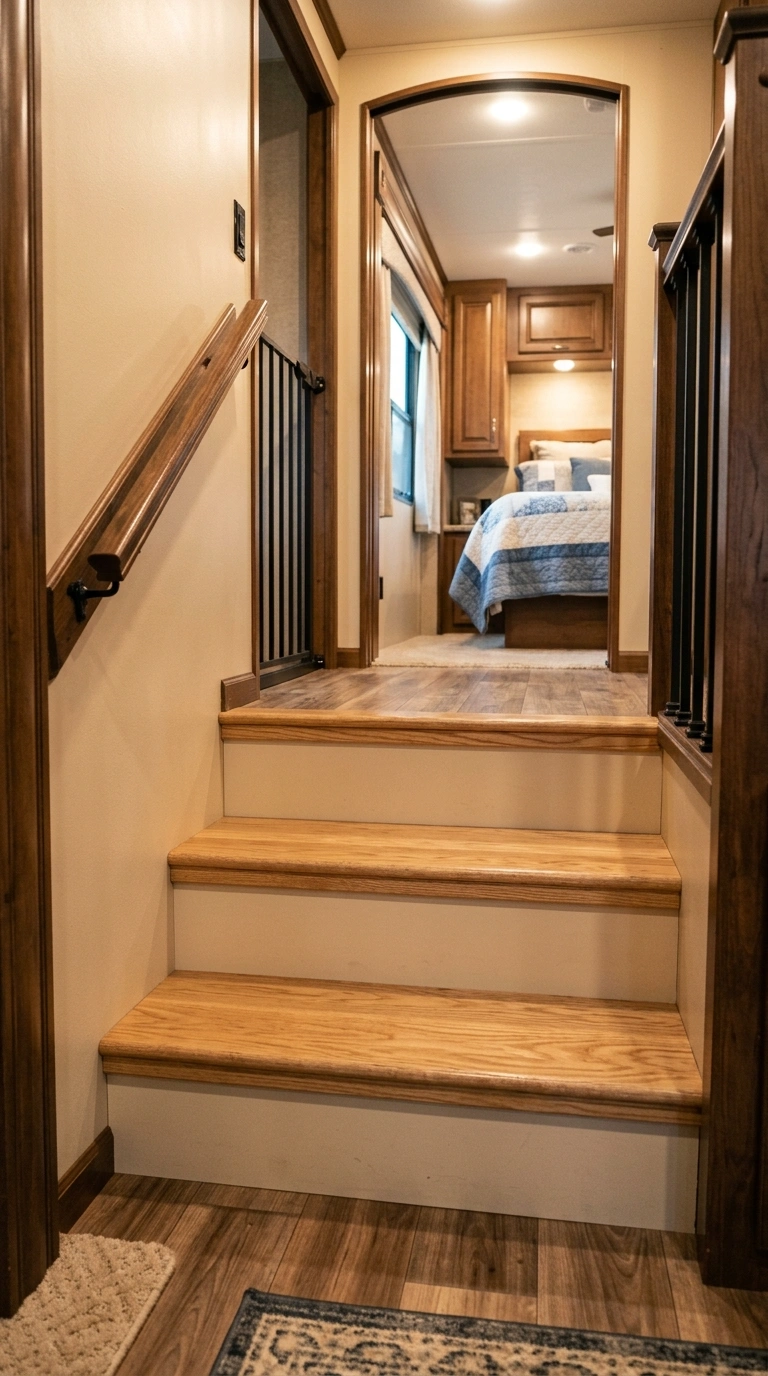
Steps up to a raised bedroom give you a stack of small identical surfaces, which suits patterned paper well. Facing the risers adds detail in a spot that is usually bare. Keep the paper off the tread surface. Anything applied to a walking surface can create a slip hazard, particularly with wet shoes.
21. Match a Vintage Trailer With a Period Pattern
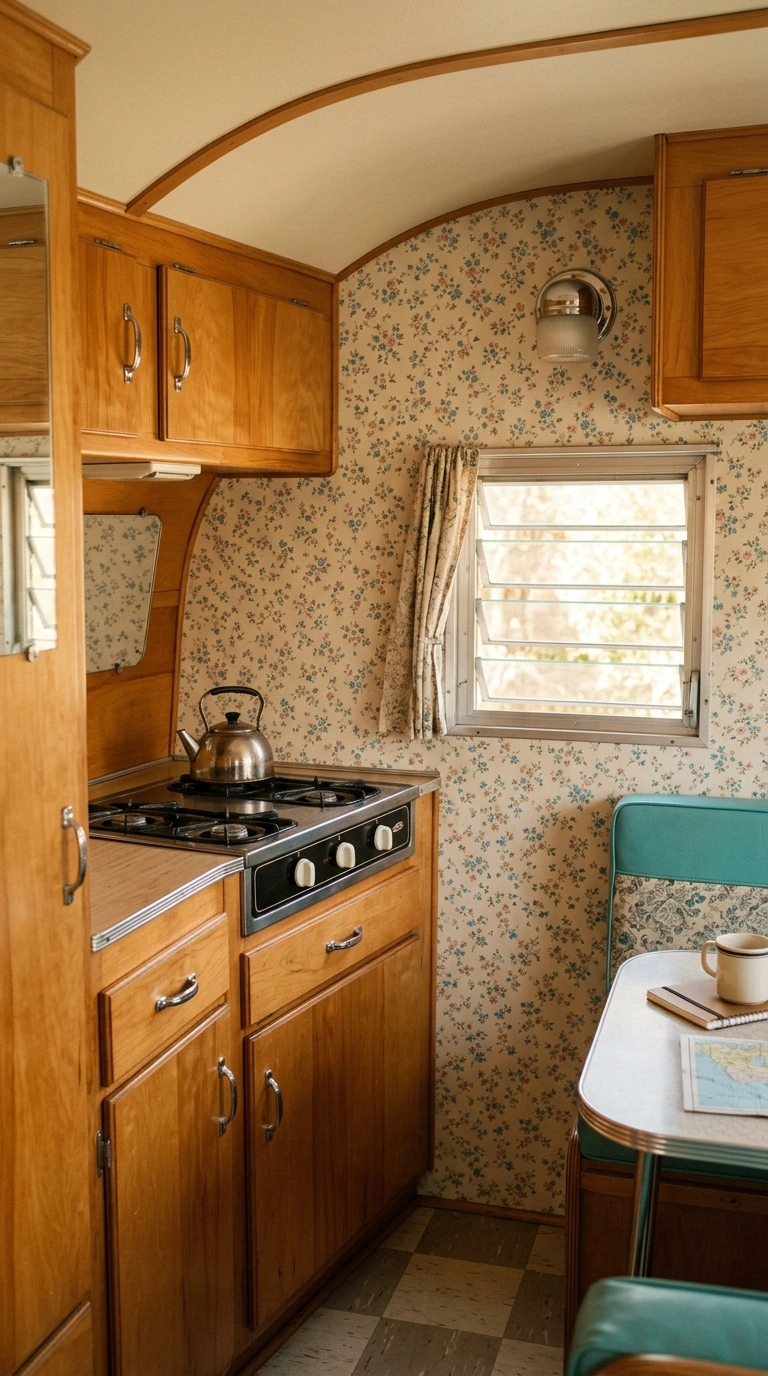
Canned-ham and other vintage trailers often look best with patterns from their own era: small florals, atomic geometrics, ticking stripes, or simple gingham. A modern large-scale print can fight the curved cabinetry and original hardware. Look at what you are keeping first. If the original birch cabinets, chrome trim, or a period stove are staying, choose the paper to suit them rather than the other way around.
22. Pull One Color From Something You Cannot Change
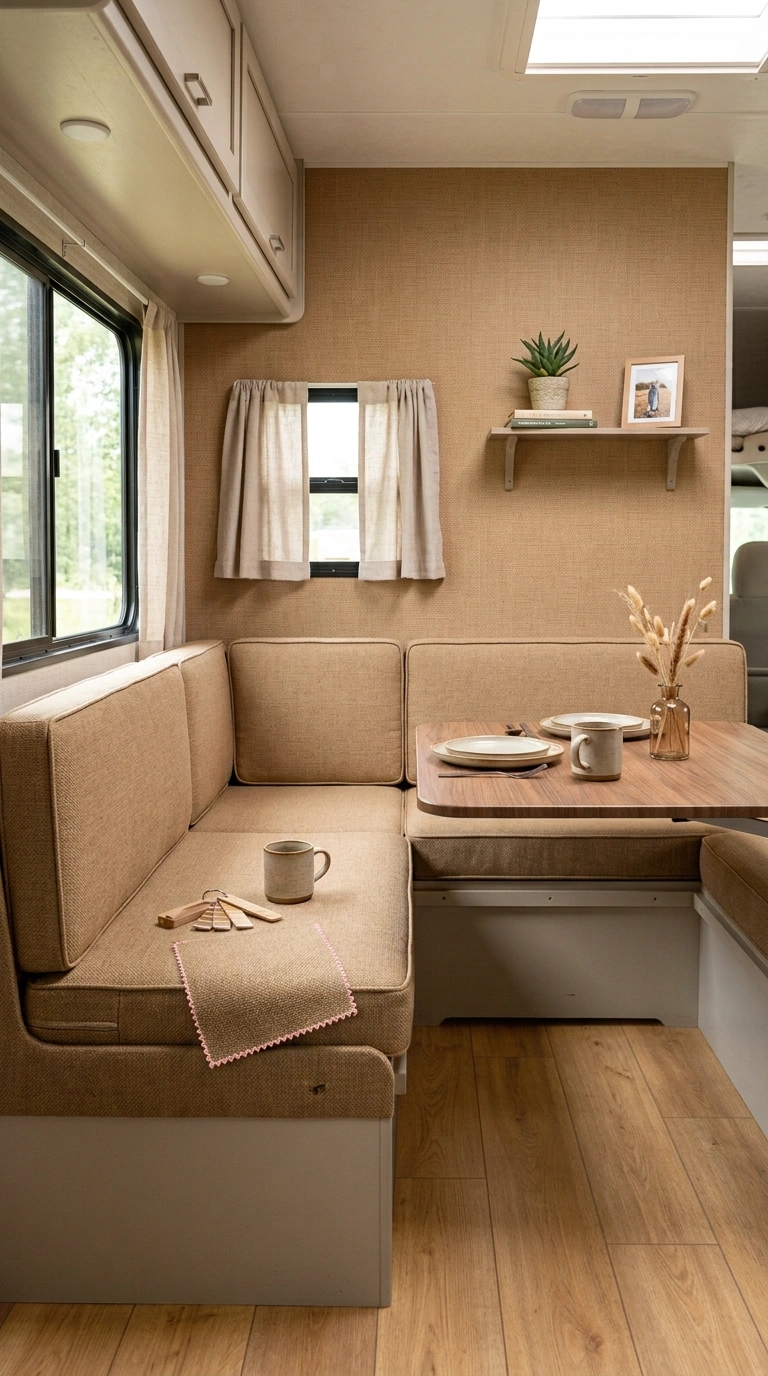
Most RV renovations keep at least one fixed element, usually the flooring, the upholstery, or the countertop. Choosing a wallpaper that contains a color already present in those pieces tends to make the interior look planned rather than layered over.
If your existing upholstery has a warm tan in it, a paper with a similar tan in the background will usually do more for the space than a paper you love in isolation. Take a cushion or a flooring offcut with you when you shop, and check the match in daylight rather than under store lighting.
Getting Started
The pattern matters less than the surface underneath it. Cleaning, testing, and waiting several days before committing to a full wall is what separates a camper makeover that holds up from one that peels at the corners, and it costs almost nothing to do.
Start with the dinette or the bedroom wall. Both are small enough to be manageable in a single session and visible enough to feel like a real change. Save the patterns you like, compare them against your existing flooring and upholstery, and buy a sample roll first wherever one is offered.
FAQs
Does peel-and-stick wallpaper work on RV walls?
Sometimes, and it depends heavily on your wall’s surface. Smoother panels usually accept it well, while lightly textured vinyl gives the adhesive less to grip and edges are more likely to lift. Clean the wall, apply a test piece, and check it after a few days of normal temperature changes before committing.
Will wallpaper damage my RV walls when I remove it?
Removable products are designed to peel away, but RV wall coverings are thin and the printed vinyl layer can tear if the bond is stronger than the surface beneath. Removing paper slowly and at a low angle helps. If you want to avoid that risk entirely, use framed panels instead of applying anything directly.
How much wallpaper do I need for a camper?
Measure each wall section separately rather than treating the interior as one room, because cabinets, windows, and vents break the walls into small pieces. Add extra for pattern matching, and remember that offcuts are useful for drawer bases and cabinet interiors.
Can I wallpaper over the existing RV wallpaper border?
Removing the border first generally gives a better result. Papering over a raised border edge leaves a visible ridge and creates a weak point where the new paper is more likely to lift. Peel it off, clean off any residue, and make sure the surface is smooth and dry before you start.